The SA is not the problem. The problem is the CSA like Internal Paths are additional paths added to a pattern piece. In the case of the CSA it’s added to main path. The intenal paths are not a problem as they don’t affect the SA, where a CSA obviously does. The SA code is messy enough, and adding the CSA in the mix makes it even messier. The SA code gets into all these nested IF / ELSE statements - is it built in, are there double notches, is the seam line hidden, is the cutline hidden… then on top of it does it have any CSA’s? The Union tool already needs work with the iPaths, and I have never even tried to untite 2 pieces with either having any CSA’s. I have my doubts if RT ever tried.
1 Like
I think what I would do is add the corner angle options first as that would not affect the existing CSA. Then we could look at removing the CSA, and possibly adding a conversion of sorts to the new method to maintain some compatibilty. Although I’m always hestitant to change the app’s behavior, in this case it may be one “feature” we could just cut and it wouldn’t even be noticed. And to be honest, as I’ve pointed out, the only thing the CSA does is shade (fill) the entire CSA area… which commerial patterns don’t do anyway, nor does a Seamly “layout”.
2 Likes
Good idea. Thank you very much, @Douglas
![]()
@Douglas @Grace if only i could make sense of all your explanation here, that would be bliss. i guess i have to wait for the hem/turndown option instead.
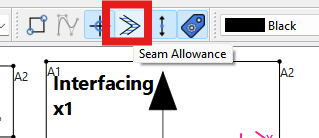
I do need some help with seam allowance though - I used to be able to see my seam allowance in piece mode (it really helped me with adjusting my seam allowances with the before and after nodes) but not any more.
could this change be from my settings? Although I have made various adjustments to try solve the issue but nothing has worked yet.
OH by the way, seam allowance shows in layout but not in piece mode.
3 Likes
oh wow! In all of my messing around with my settings, i never touched that. But you were so right, problem fixed again.
Thank you again.
4 Likes
Forget about the Custom Seam Allowance. It’s complicated and both @Douglas & I wish it wasn’t there. Just work with the normal seam allowances and if you need to mirror a section to get the hem to fit after it has been folded, then do that in Draft Mode.
2 Likes
That’s an understatement. It’s a rather convoluted feature, and it’s even more confusing that it’s tied in with the Internal Paths. It also complicates the coding for calculating the seam allowance and combining pieces in the Union tool.
I’d agree with @Grace - for now I’d draft the hem in draft mode, and accept the fact that the whole hem SA section will not be shaded.
3 Likes
Thank you again @Grace and @Douglas .
Yes, I considered the mirroring option but didn’t want to be cut doing things the non seamly way (hides face).Now that I know I am right on track, off I go
4 Likes
LOL, there is no “Seamly way”. Thanks to all of the programmers and especially @Douglas and SL Spencer, the software is created to mostly fit in with YOUR way..When there isn’t a specific tool to do the job for you, there are other tools that will achieve whatever it is you’re wanting to do. This is why I love Seamly so much.
Here’s an example of a sleeve that has a turn up cuff where I’ve drafted the hem and excluded the seam allowance, since it’s built in on the hem section:
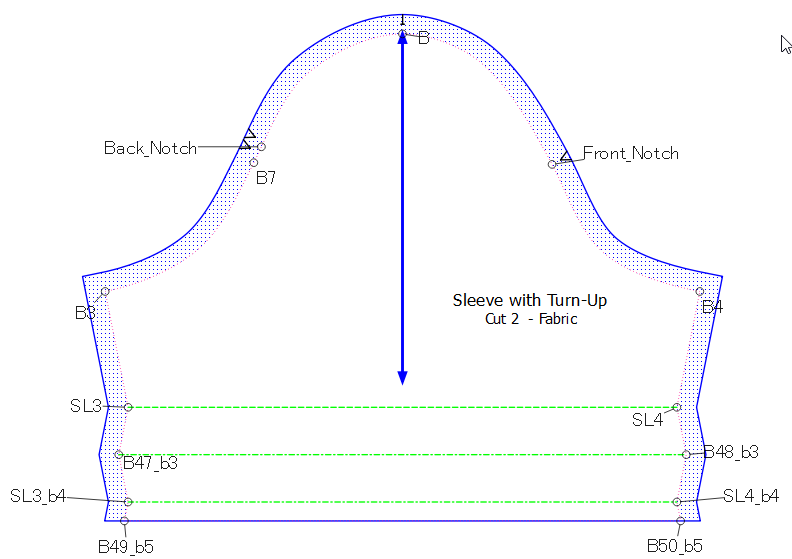
For the internal paths, I use specific line types for ‘mountain’ and ‘valley’ folds throughout my patterns. A mountain fold is dash-dot-dash & a valley fold is dash. (Something left over from my paper crafting days.) This way, I can read the pattern without needing to read a label that’s not there. You may use whatever line types you wish or just use a standard line type throughout for your internal paths.
I hope this helps you ![]()
7 Likes
Thank you so much. Yes this makes sense and it helps.
3 Likes