Ok, firstly, Seamly2D doesn’t “grade” the pattern. It only “resizes” the pattern. If you want multiple sizes on one pattern, like with commercial patterns, you will have to make patterns in the different sizes, save them as .svg and use some graphics program, like Inkscape or Illustrator to lay them on top of each other and change the line colours & styles to suite you.
So now, how to use the multisize…
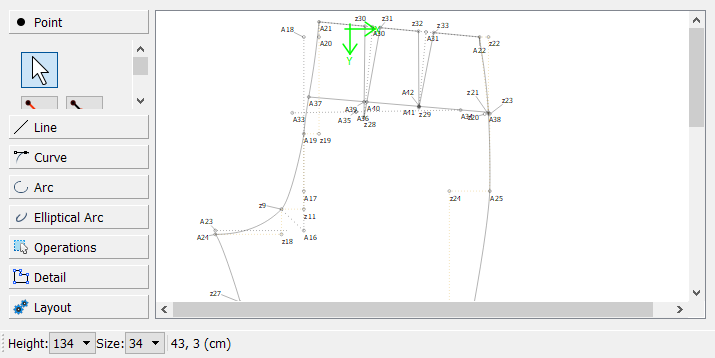
If you have the .vst file (multisize measurements file) attached to your pattern, you will have a Height and Size selection box at the bottom left of your screen:
![]()
By adjusting these 2, you will be able to adjust the size of your pattern. Here is a picture of my pattern at the above settings:
And here, I have changed the settings:
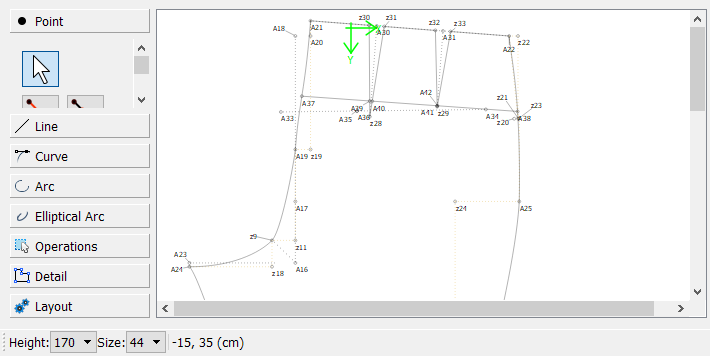
When you change these settings, it will also change the Details of your pattern so that you can just create another pattern at the size you require, you don’t need to redraw the whole pattern.
Care must be taken to draw curves so that they remain nice & smooth while resizing, so for this reason, I like to draft my patterns using a multisize measurements file and I change the settings just to see how these will behave. Once I have my pattern created, I can load someone’s personal measurements file to the pattern before printing it.
If you are going to export the pattern to .svg or some other graphics or cutter format, it may be wise to place a 2cm x 2cm block onto the pattern part as an internal path so that you can check the size of that block in the other program.
I hope this helps you to get started on Multisizing 