Welcome to Seamly, @seidhadi ! To setup Individual measurements follow these steps:
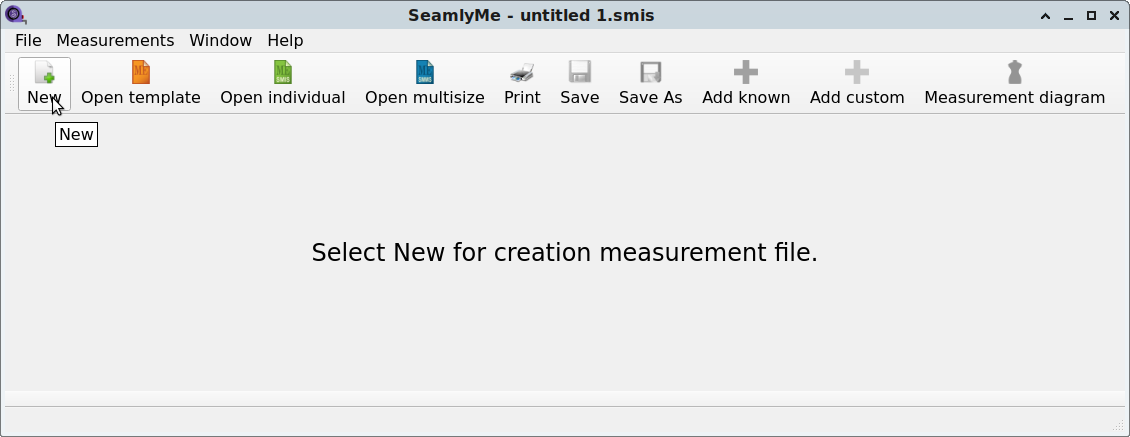
- Open SeamlyMe, (ctrl-M, if you already have Seamy2D open)
- Create a New measurement file
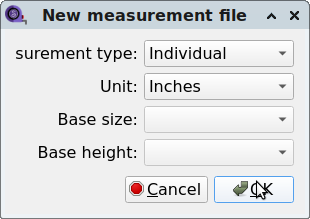
- Choose what type of measurement file to make. I will be choosing a file for an individual’s measurements, because that’s what I do. Measurement units can be Inches, cm, or mm.
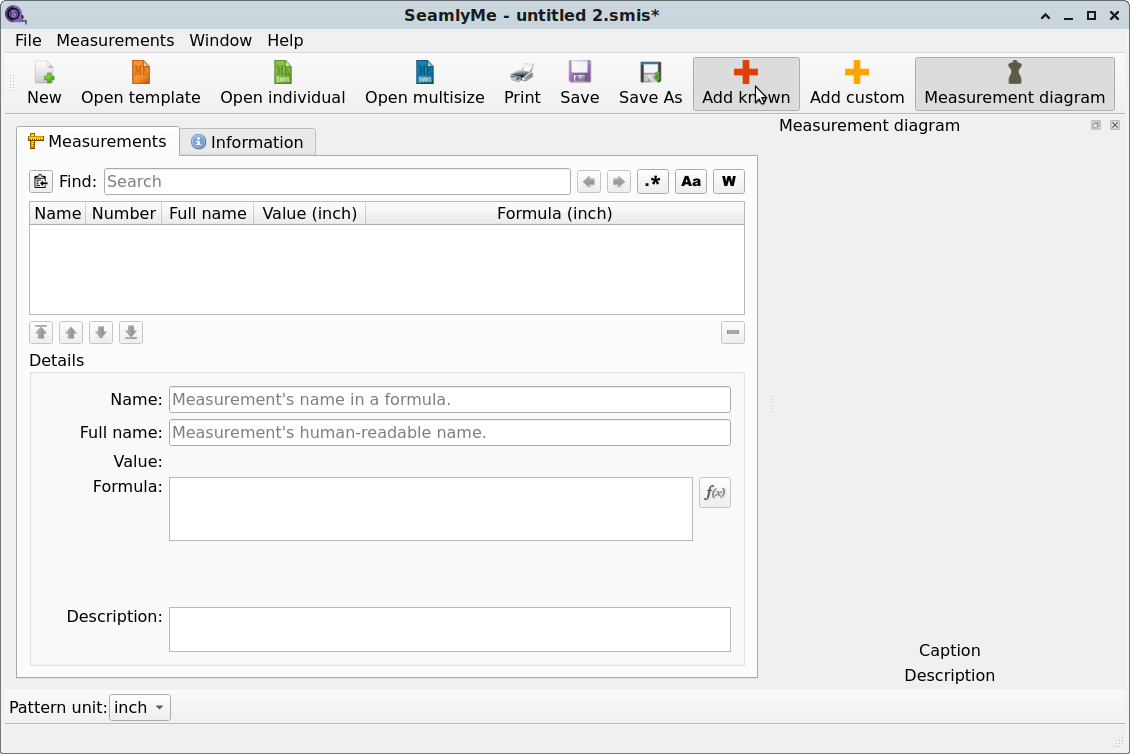
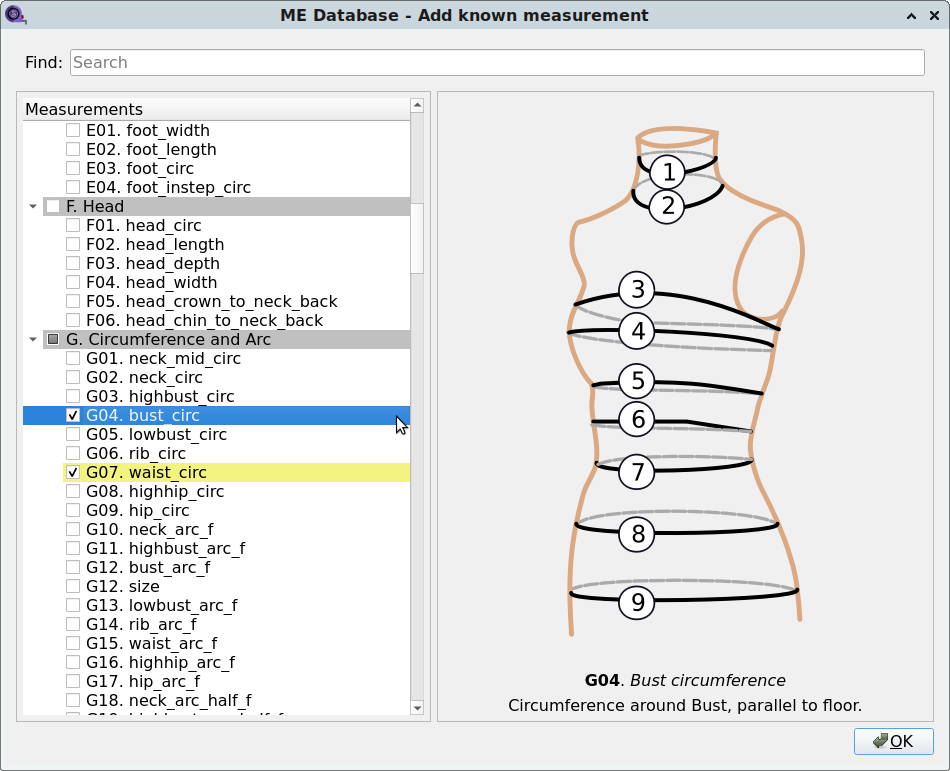
- Add known measurements. (or for Custom, skip to step 8)
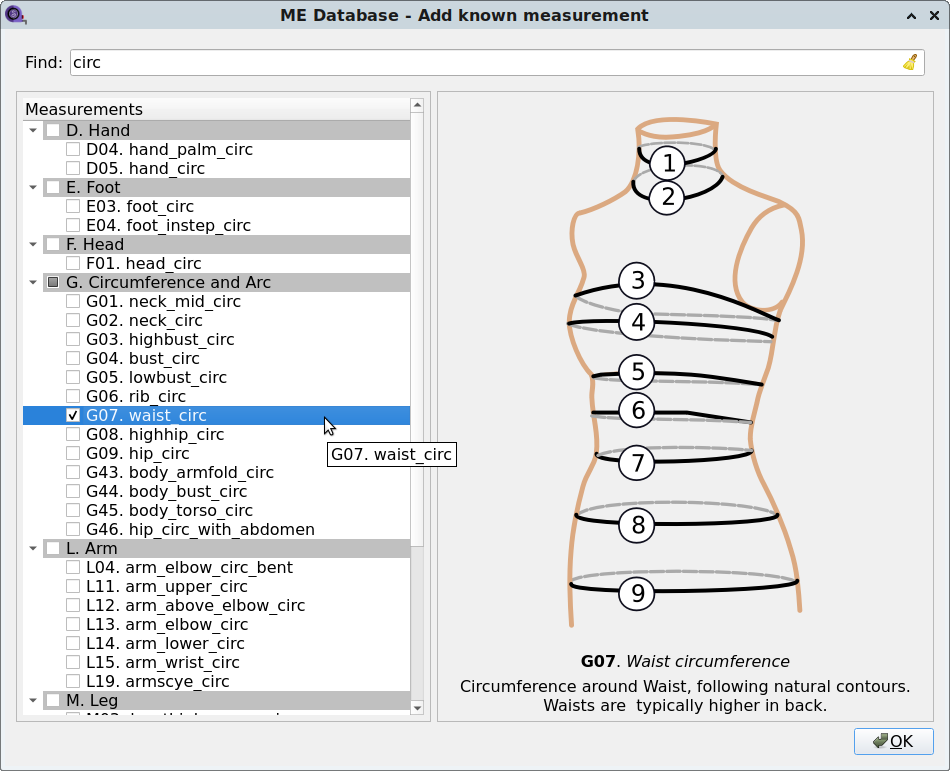
- You can use the search bar at the top of the known measurements list to constrain it to measurements containing a certain string of characters. Click the checkboxes for the measurements you want. Click OK when done.
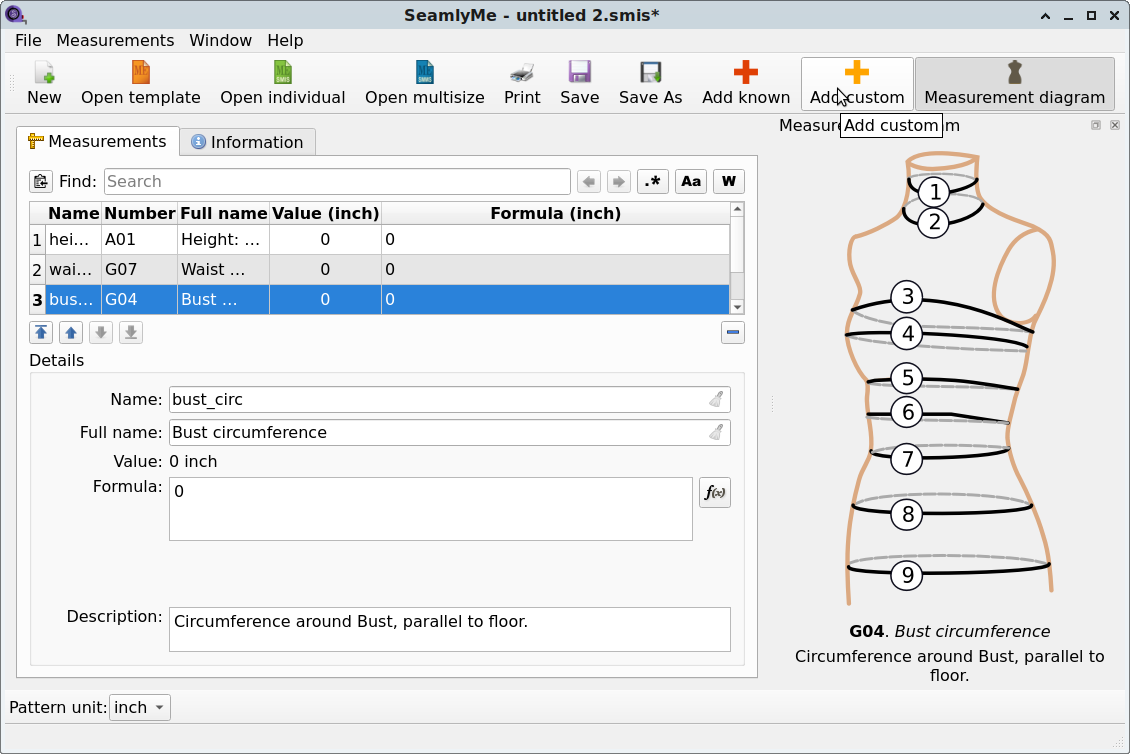
- Don’t forget to Save your progress! But wait! I forgot that I need a chest measurement!
- This time I just scrolled down to measurement, because I’m familiar enough with this one that I didn’t think to use the constraint. Just add any additional measurements same as before. The measurements that were previously selected will be highlighted with yellow. I should have used the constraint so that you could see this, but didn’t. I hope it’s not a big deal

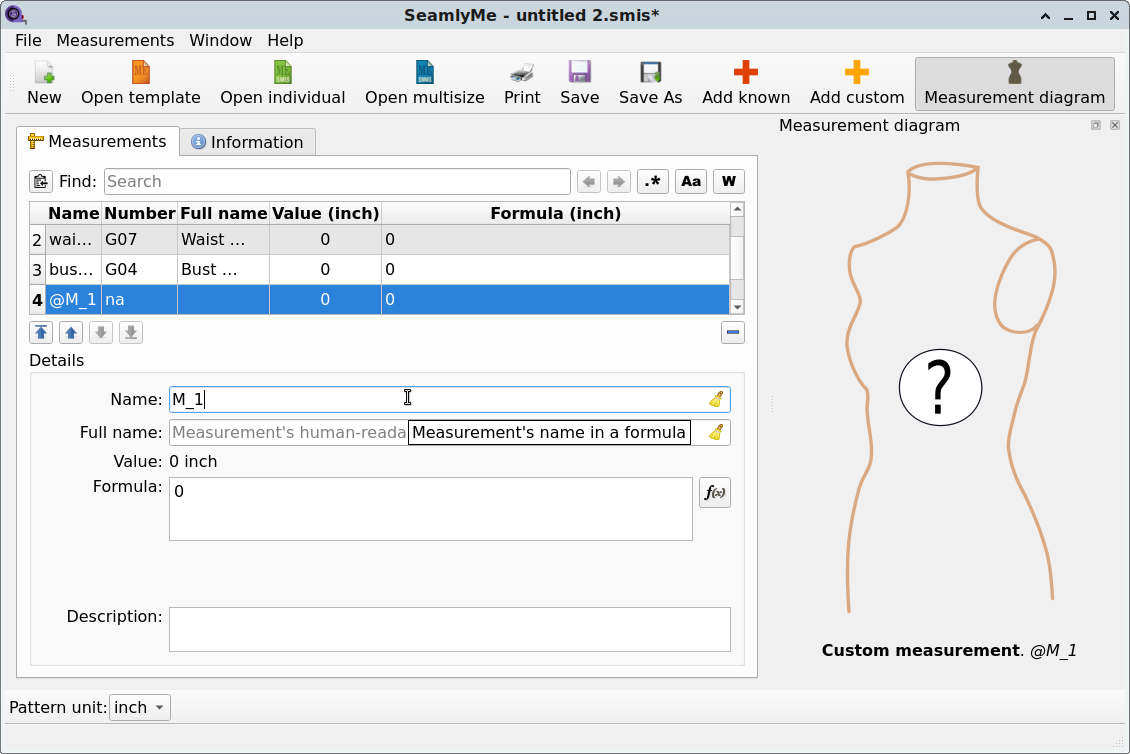
- To Add custom measurements, measurements which are not part of the “known” list, or you prefer to call differently, such as for following the Muller drafting system, click that button.
- The name defaults to M_1(2, 3, &c.) but you can name it whatever you want as long as it doesn’t include mathematical or C programming calls. I suggest something fairly basic. When using it in a formula, you will call it with an
@e.g.@M_1if you use the default name.

I hope this helps!
