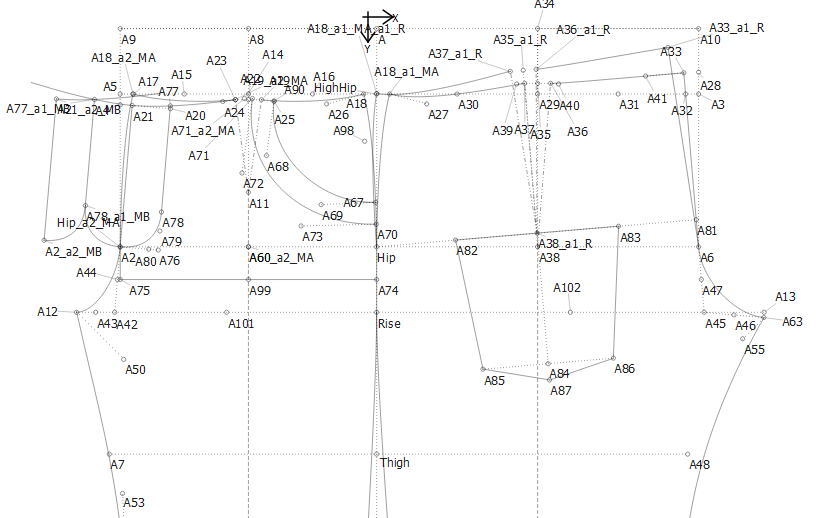
Hello, My name is Chris and I just started patternmaking a month ago on paper. Came across seamly and using the alrich system for men for jeans. I am stuck lol. I finished my front and back pattern but i somehow got stuck by adding the crotch ease where you need on paper to cut the piece and raise the crotch. How can I accomplish this on seamly.ty
Hi!
One way of doing it is to rotate all the points that are higher than the cut line using the rotate tool ![]()
Then you can draw the new back seam spline.
You can then put all of the all non-rotated items in a separate “crotch ease construction elements” group that you can hide in order to only display the rotated elements.
I’m currently on my phone, but if you need more help tell me and I’ll send you screenshots later in the day ![]()
Hello and welcome to the Seamly Forum, @medic931.
I’m also running a bit thin on time at the moment, however, here is an old reply to someone who also needed to use the Slash and Spread method. In your case you may need to overlap and spread and the tools have become more versatile since this post.
If you do a search for Slash and Spread, you’ll find a number of topics that show how to do this. If you don’t find one, I’ll do a decent reply this evening, just leave a reply here, please.
ty so much for the quick reply, i will try it
thank you i will try

Please excuse this messy pattern ![]()
From the image of your pattern, I’m guessing that this is what you want to do.
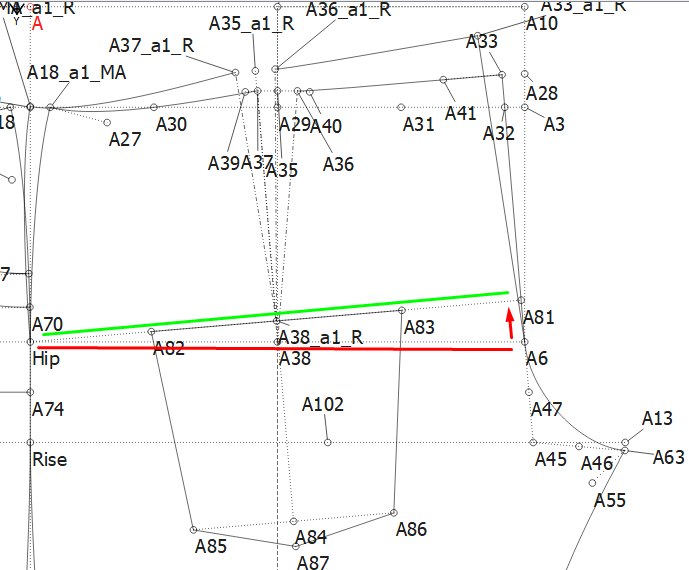
I used the hip line as the slash point and rotated all the points from the right waist around to the left hip up to open a wedge on the crotch side.
To do this, place a node (A81) above the hip line the distance that you need to open the wedge and draw lines from the Hip node to the new notch and make sure that the line goes from the Hip node to the original node (A6).
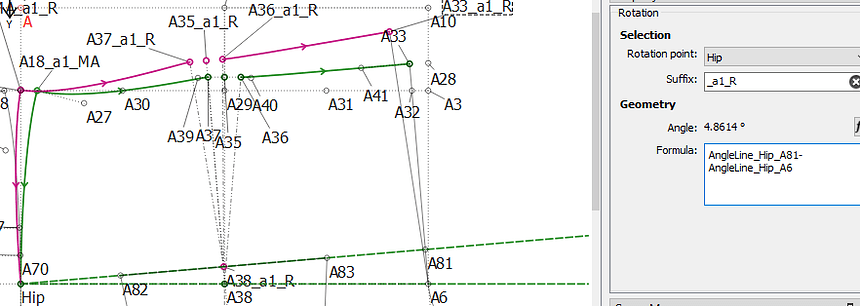
Next, pick up the Rotate tool and select all the objects, including the dart nodes and curves but not the Hip node, and hit Enter. Now select the Hip node as your rotation point. In the angle formula, enter the AngleLine_Hip_A81-AngleLine_Hip_A6 and hit OK, and your rotation is complete:
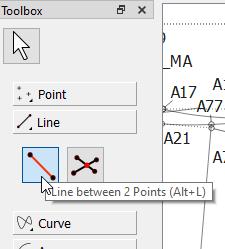
Now you’ll need to draw in the lines using the Line Between 2 Points tool:

And you’re done!
P.S. This is called the “Slash and Spread” method when working with paper and scissors, where you cut the Hip line from the crotch side to almost at the Hip and then spread the upper part to open the back seam. It’s also used to rotate darts, etc.
Omg this is actually what i was looking for. Thank you so much Grace. I was looking at a few youtube videos but really couldn’t find anything. Again thank you
You’re very welcome, just happy to help. Please don’t hesitate if you have any other questions.
yes one more than i leave you alone, I can’t add a node, i tried to select it but it doesnt work
Sorry I’m only seeing this now…
Pick up the Point - On Line tool, select the 1st point (on Hip line) and the 2nd point (at waist side), hit Enter & then enter the length from the Hip line to where you want to place the point:
I assume that you are here:
& are trying to select the Insert Nodes tool in the Piece toolbox. As you can see from Grace’s reply, “Point” might have been a better term instead of “Node”. The Insert Nodes tool is for if you missed something / added a point/curve at the tracing stage of the pattern after tracing it off, so that you don’t have to trace off the entire path again.
I hope this post is relevant to your experience!
![]()
thank you so much guys.
i hope this is correcthttps://drive.google.com/file/d/1cJWrVqRA1hNbG46p7MUehFGjWXuHf2d6/view?usp=drive_link
Well done! It looks good to me. ![]()
Now to draw in the dart legs and then to add all of the other details. When you’re done, it will look as messy as mine ![]()

Thank you again all of you.
Except a node can also be a curve.
Which technically is also incorrect. A “node” is generally what would be at the end of or on a curve (or line). If we could only select points… then Insert Points makes perfect sense.
Some other ideas… ??
Insert Object(s) Insert Item(s) Edit Path
Also something to keep in mind. All the underlying code refers to “nodes”. So if we start renaming UI terms, we should also be renaming the code to match or we start to create a disconnect from the UI and the code,. As a dev you then have to keep in the back of your mind things like the insert_node.png toolbutton is really the so_and_so.png toolbutton. There’s already enough of that I’ve been slowly fixing.
Also changing from Insert Nodes probably requires a new keyboard shortcut… as well as updating all the translations.
Ah. Context. medic931 had just posted that they couldn’t select the insert node tool, in response to Grace’s instruction to add nodes to the draft in preparation for slash&spread. Grace managed to get a clarification in before my post was finished, but I felt that it still added clarification to what had gone wrong. I’ve now added a quote of their post to make it more clear what I was responding to. But to summarise:
- Grace instructed medic to insert nodes into the draft in preparation for slash&spread,
- the user couldn’t select the “Insert Nodes” tool, since they were working on the draft, & hadn’t traced off any pieces yet.
- I posted that “points” might have been a better term than “nodes”, the Insert Nodes tool is for something completely diifferent. *Grace posted a clarification at the same time, so I didn’t bother rehashing what she had to say about it but in a less clear manner.
![]()
At the end of the day, he managed to follow my instructions with the valuable help of others - which is what matters. Thank you for all the assistance, everyone.

