Hello,
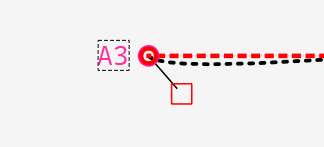
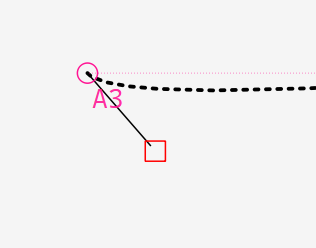
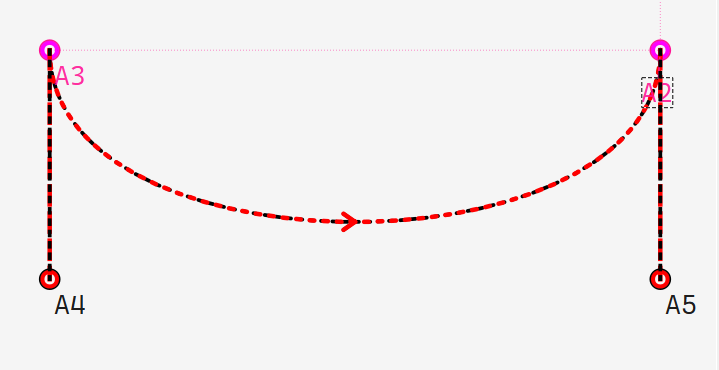
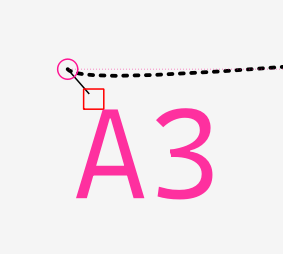
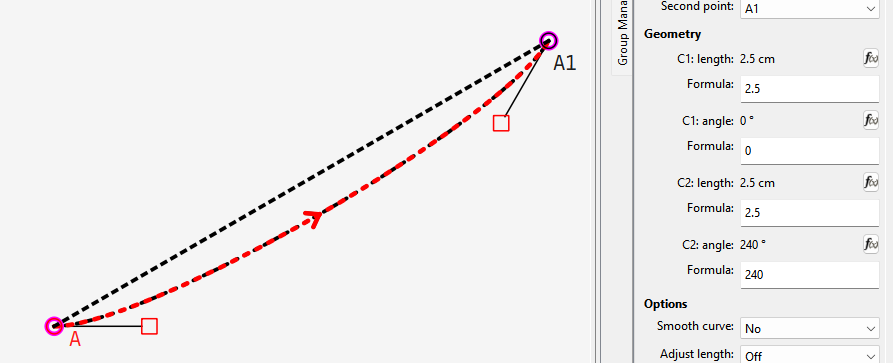
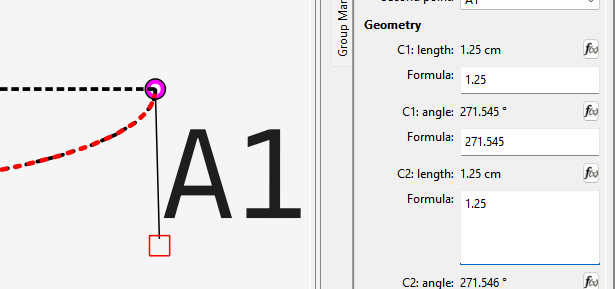
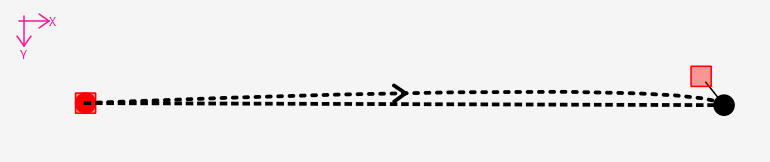
Every time I start a curve, one of the curve handles/control points always overlaps with the point name. (I usually use defalt point names.) When I try to adjust the curve, Seamly always moves the point name instead of the curve handle. This happens even on very simple shapes, not just busy drafts. It would be nice if the default curve handle were longer.
And last… Can I assume you mean larger’? … making the control handle ‘longer’ changes the shape of the curve. The fact you can resize the point name makes making the control handles larger a moot point.
Just to add to what @Douglas has said… I don’t know if I missed it, but here it is…
When selecting a point - whether the 1st one or the last one or any in between - Click, hold and drag a bit without lifting your finger and releasing it until you have the handle line going more-or-less in the direction and the length that looks good, then release it and move on to the next point doing the same. When you’re done, your curve should look pretty good and you can use the lengths and angles to guide the formulas later.
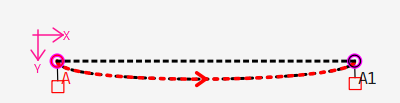
I do mean longer. Since the default curve has to be adjusted anyway after selecting two points, I thought the initial curve could be curvier with longer handles, rather than the current shallow curve.
I hadn’t considered that people might be using tiny or giant fonts.
Maybe because I work with a trackpad, grabbing and dragging the curve to distort it feels a bit cumbersome. I’ve developed a habit of doing this every time I draw a new curve before adjusting the handles. But if it’s just me and no one else is bothered by it, I can live with it.
Decreasing the font size of the point names might help. I’ll see if I can get used to it.
I tried formulating all the control handles before, but I’ve given up for now. I might need to learn how to do that eventually, but for now, I’m just drafting for myself.
Ok. That’s possible. I wasn’t around when the code was first written so I’ll have to decipher exactly where the control handles are created and with what default length (s) and angle(s).
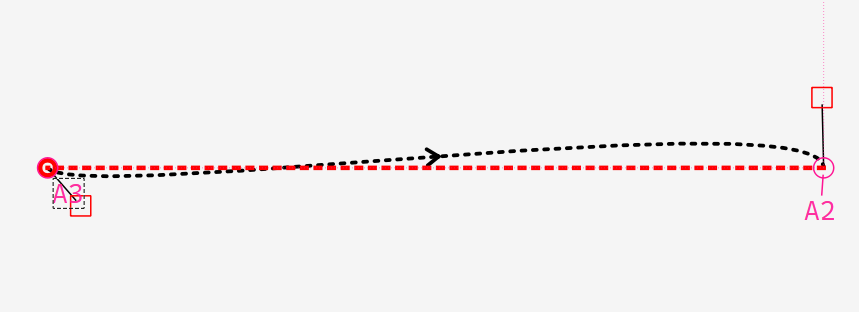
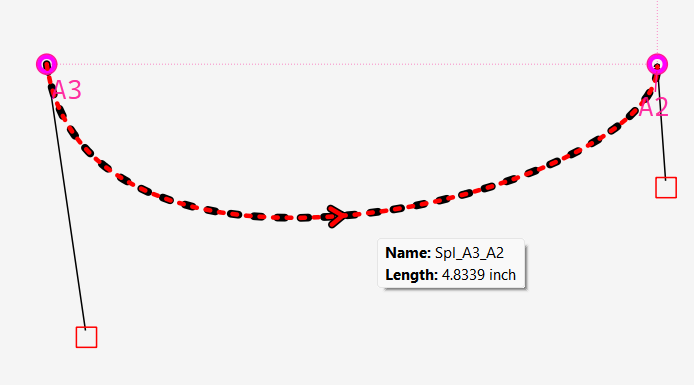
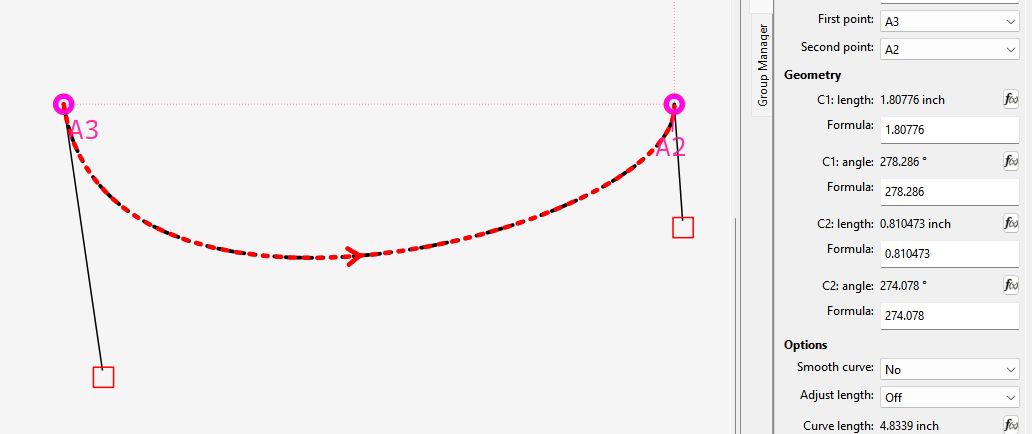
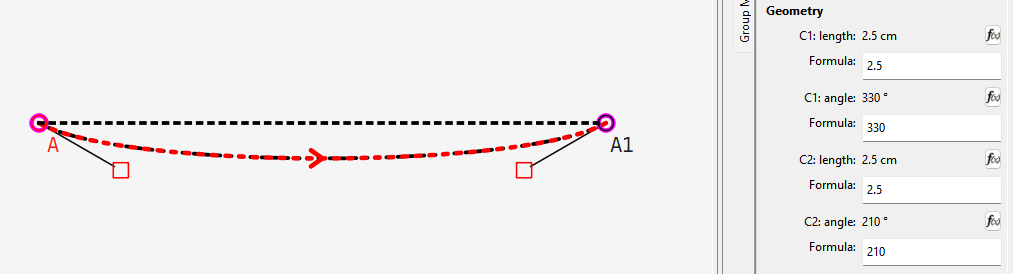
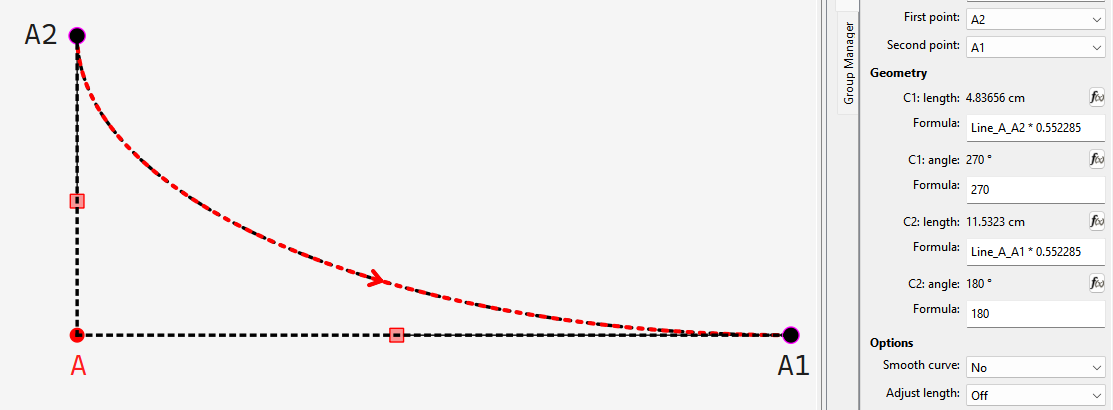
This is how this curve in my previous reply was created…and the lengths & angles do seem rather arbritary.
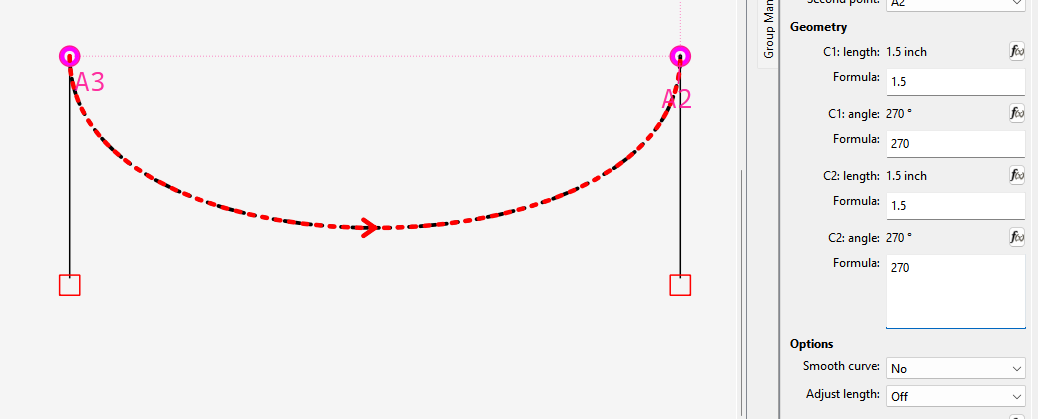
I think what would work is setting the default length to 2.5cm (or what ever that is in pixels) and each handle 30 degs off of the line between the 2 points.
How about making it proportionally longer than the point name font size, like 250% to 300%? That way, if someone is working on tiny doll clothes, they won’t have to deal with oversized curve handles.
I assume the default lengths & directions will only be meaningful if someone merely clicks (mouseDown-mouseUp) instead of mouseDown, drag, mouseUp. Which, as @Grace said, should be one’s default action, (though I must confess that I forget fairly often.)
Assuming, of course, that the changing of the control-point defaults does not in some mysterious manner break the tool.
Or most of the time if I’m actually drafting a pattern, I’m just going to formulize the length (with the bezier constamt- κ ≈ 0.55228475) & angles… which is why the handle length has never really been an issue for me.
I guess it is a bit confusing that one has to drag the phantom mirror of the second control point. mouseDown, drag, mouseUp for first control point, then mouseDown, inverse-drag, mouseUp for the second control point.
I always try to approximate first, & then formula. It feels more orderly.
I will usually click click… drag the curve… then drag the handles (using the ctrl key to constrain the angle) close to where I think they should be. Then edit the length formula.
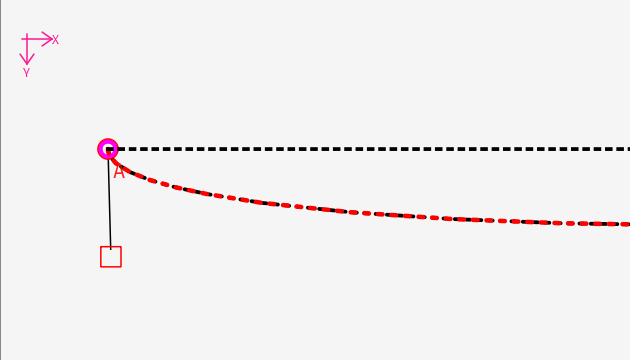
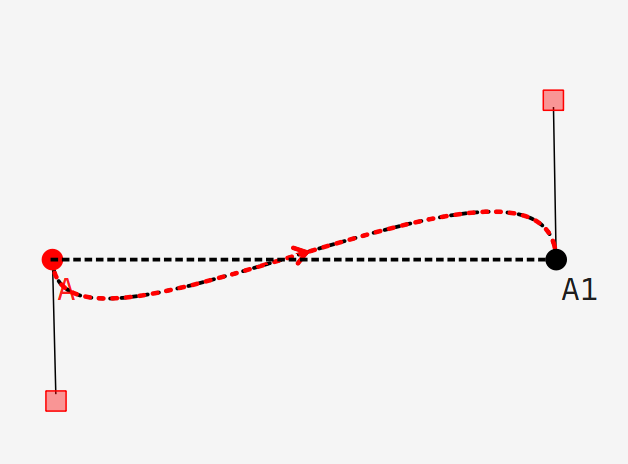
I haver discovered a bug… which is probably why I’ve never draged the handles while creating. The bug is when dragging the second handle, the handle is created 180 opposite from the direction you are dragging. - which is rather disorienting. Below I dragged down while the second handle went up:
So…if we start over… I’d would say there is no issue with the handle lengths - once I fix the out of phase 2nd handle. Just click and while holding button drag the 1st hoandle… click 2nd point and while holding button drag the second and the point name is not an issue.
I thinlk I might improve the status bar tooltip to clarify with “Select start point of curve and while holding button drag handle” and “Select end point of curve and while holding button drag handle.”
After re-reading Grace’s comment, I now see what she meant. I tried it with my trackpad, and it’s so much better than trying to drag the curve itself. Thanks for the tip!
I understand that’s the best practice, but I would still prefer the longer 1.25 cm default handles.
That may help new users to become accustomed to how Seamly works.
You’re very welcome. It does take some getting used to, but when it comes to putting in formulas, it helps to see the approximate length and angle of the control handle when looking for something to use in the formulas.
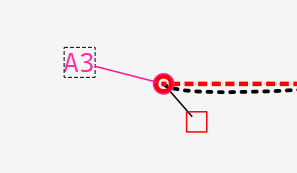
If I release the control handle too quickly, then I finish the curve and then drag the control handle around to the approximate position, which is probably why you’d prefer the extra length. For my part, I just move the point label out of the way & get on with it.
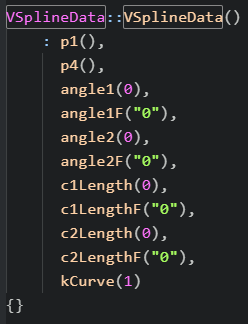
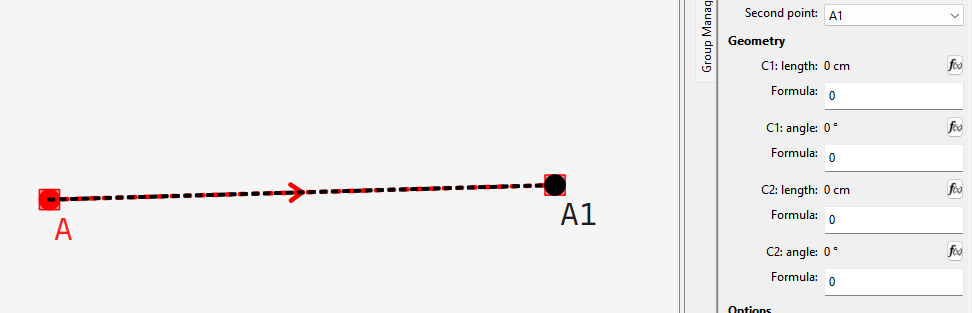
I don’t think you understood what I last said. I now understand where & how the control handles are created and there is no default length / angle… well technically it’s 0 to instantiate the splinedata class members, but the length is dynamically created during mouse press / mouse (drag ) move / mouse release events in the spline tool and an itemchange event in the ControlPointSpline tool. I already tried setting the splinedata data to non zero vales, but they are immediately overwritten with the mouse position (control point - spline point) as soon as you click the 1st and 2nd points… and continue to update the length until the mouse release. We really can’t change the behavior without creating other issues… such as having the tool create default handle lengths of 0. It would defeat the purpose of creating a “line” with the curve tool… which I’m sure some users would have an issue with.
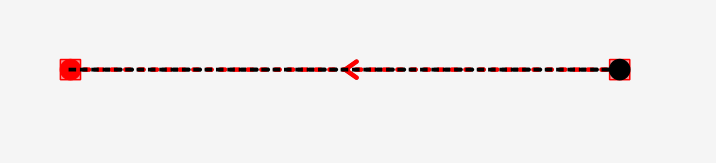
which means it’s hard to select if it’s on top of… or rather under a point… as shown by the black point over the red square. The red square can only be selected if you click a red part in a corner.
Ich bin ganz bei Douglas. Ich arbeite bei Kurven immer mit Formeln und vorgegeben Längen. Der erste Weg ist diese in den Eigenschaften einzugeben und dann schaue ich mir die Kurve an. Ich arbeite nie mit den Griffen einer Kurve.