Yes… sort of. You can either drag the curve iteslf (which moves both handles) or drag a square handle to adjust the curve.
Sort of part:
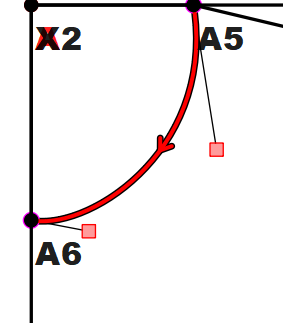
- Generally you want the angle of the control handle to be 90 degs to the seam it intersects with. This is just a basic sewing principle. In your case both control handle angles are not correct:
A6 should be 0 (or 360) degs - assuming A_A6 is 270. You can either
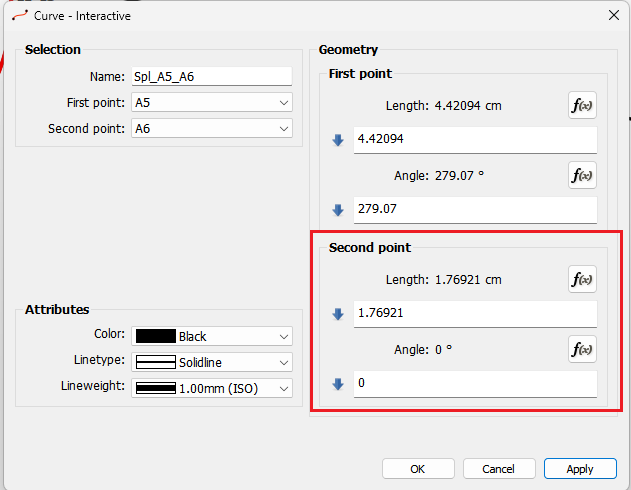
- Open the curve tool properties and you can adjust the angle of control point 2:
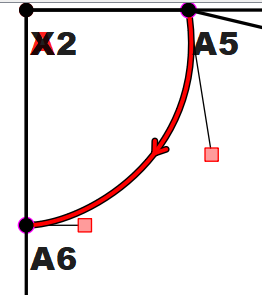
- Hold the shift key down while you grab the A6 control point and it will snap to 0 degs as you move it. Hint… always read the tooltips in the staus bar it will tell you how to use the tool:

A5 is a bit trickier as it has to be 90 to the shoulder seam: In that case you need to set a formula for the angle of Control point 1: Problem is you created the curve before you created the Line_A5_A8 so we can’t get the angle.
So Delete the curve and make a new one… which is now after point A8. Also draw it from A6 to A5 which will make things easier.
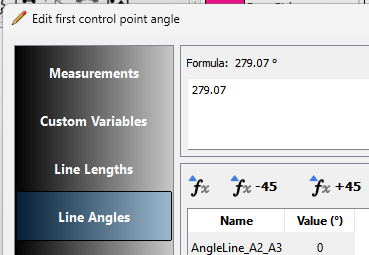
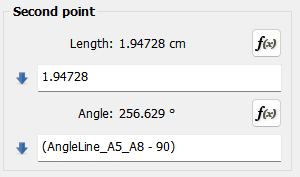
Click fx for the CP (control point) 2 angle:
Select Line Angles:
Clear the formula:
Find and select the shoulder Line_A5_A8 and to subtract 90 from the shoulder angle click:

The formula should now show:
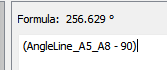
Click OK.
tool dialog will show:
Click OK.
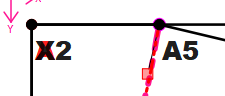
And now the control point is 90 to the shoulder seam:
That will work, but technically the curve will not resize properly without also using frmulas for the control point lengths.
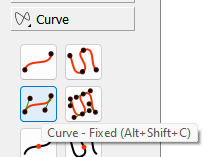
There’s an easier solution. Use the Fixed - Curve tool.
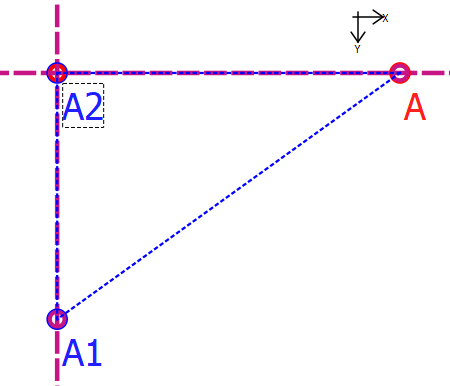
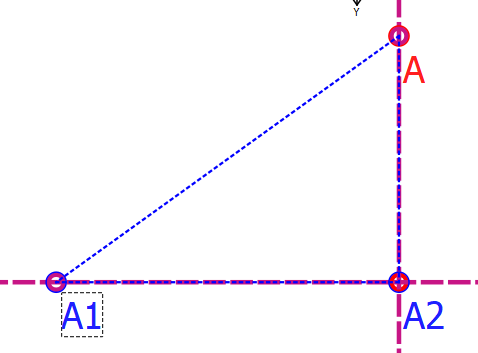
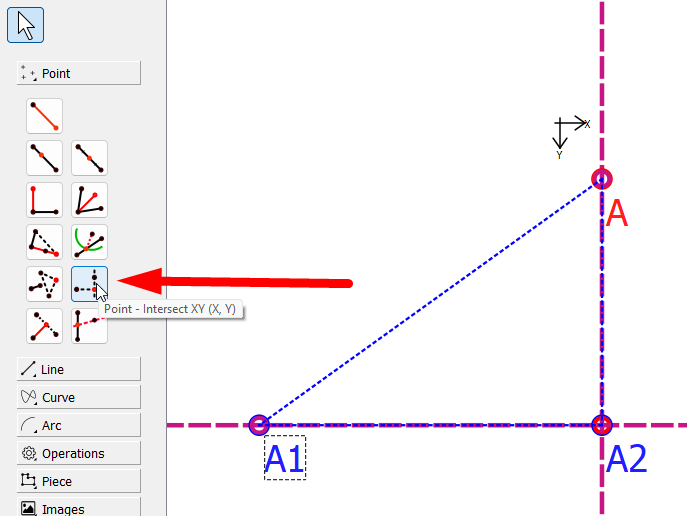
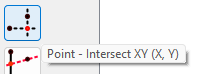
First we need to create a fixed control point…which we can use the Point - Intersect XY tool using A5 and A6 as our points:
Now using the Fixed curve tool select Point A6, A10 (or what ever the pointname is), A5, and then A5 again:
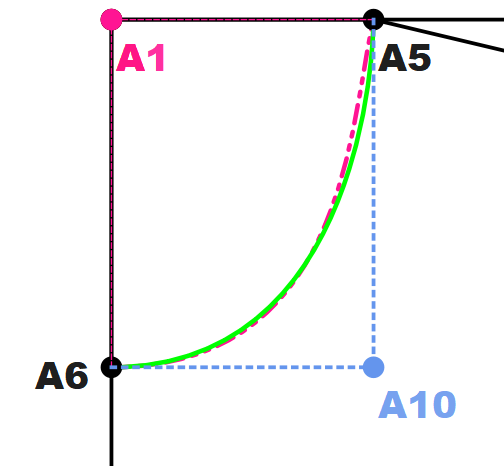
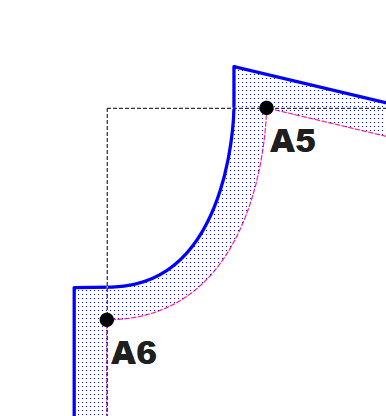
It will now create a curve that is correct at both ends, and will automatically adjust to change in measurements - without having to deal with the control points. The new curve is in green:
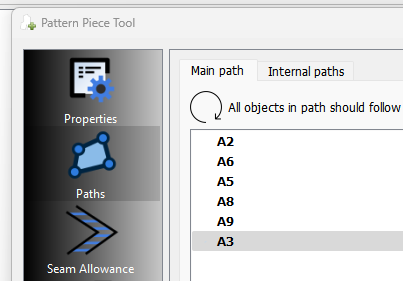
No. You either have to select the curve when you create a new pattern piece OR use the Insert Nodes tool to add the curve node to the pattern piece main path
- as I have pointed out twice before now:
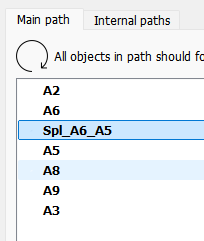
You currently have no curve in the main path of the pattenr piece:
Here I have added the (green) curve: