I was wondering what was the best way to cut fabric according to a pattern: do you pin the pattern onto the fabric, use weights, or trace the pattern onto the fabric before cutting it? Do you use shears or a rotary cutter?
I’m asking because I read people arguing that tracing the pattern on the fabric with chalk or with a running stitch before cutting it was the best way of doing it, and I was wondering if it was really a good thing to do.
Personally, I pin the pattern to the fabric & use shears to cut it out, however, I know that a lot of people prefer using weights and still more people who project the pattern onto the fabric & use a rotary cutter to cut it out. And we were taught in school to baste the pattern to the fabric by hand.
It largely depends on the type of fabric you’re using. I believe that chalking, depending on your method, is the most universally excellent method. A charmeuse or velvet would do best with a holes-in-paper chalking method, especially the charmeuse. Any Calico or heavier cotton really doesn’t have an objectively better method of marking, any subjective preferences quickly overwhelm any technical advantages.
I generally use weights (giant washers, & speaker magnets) with a rotary.
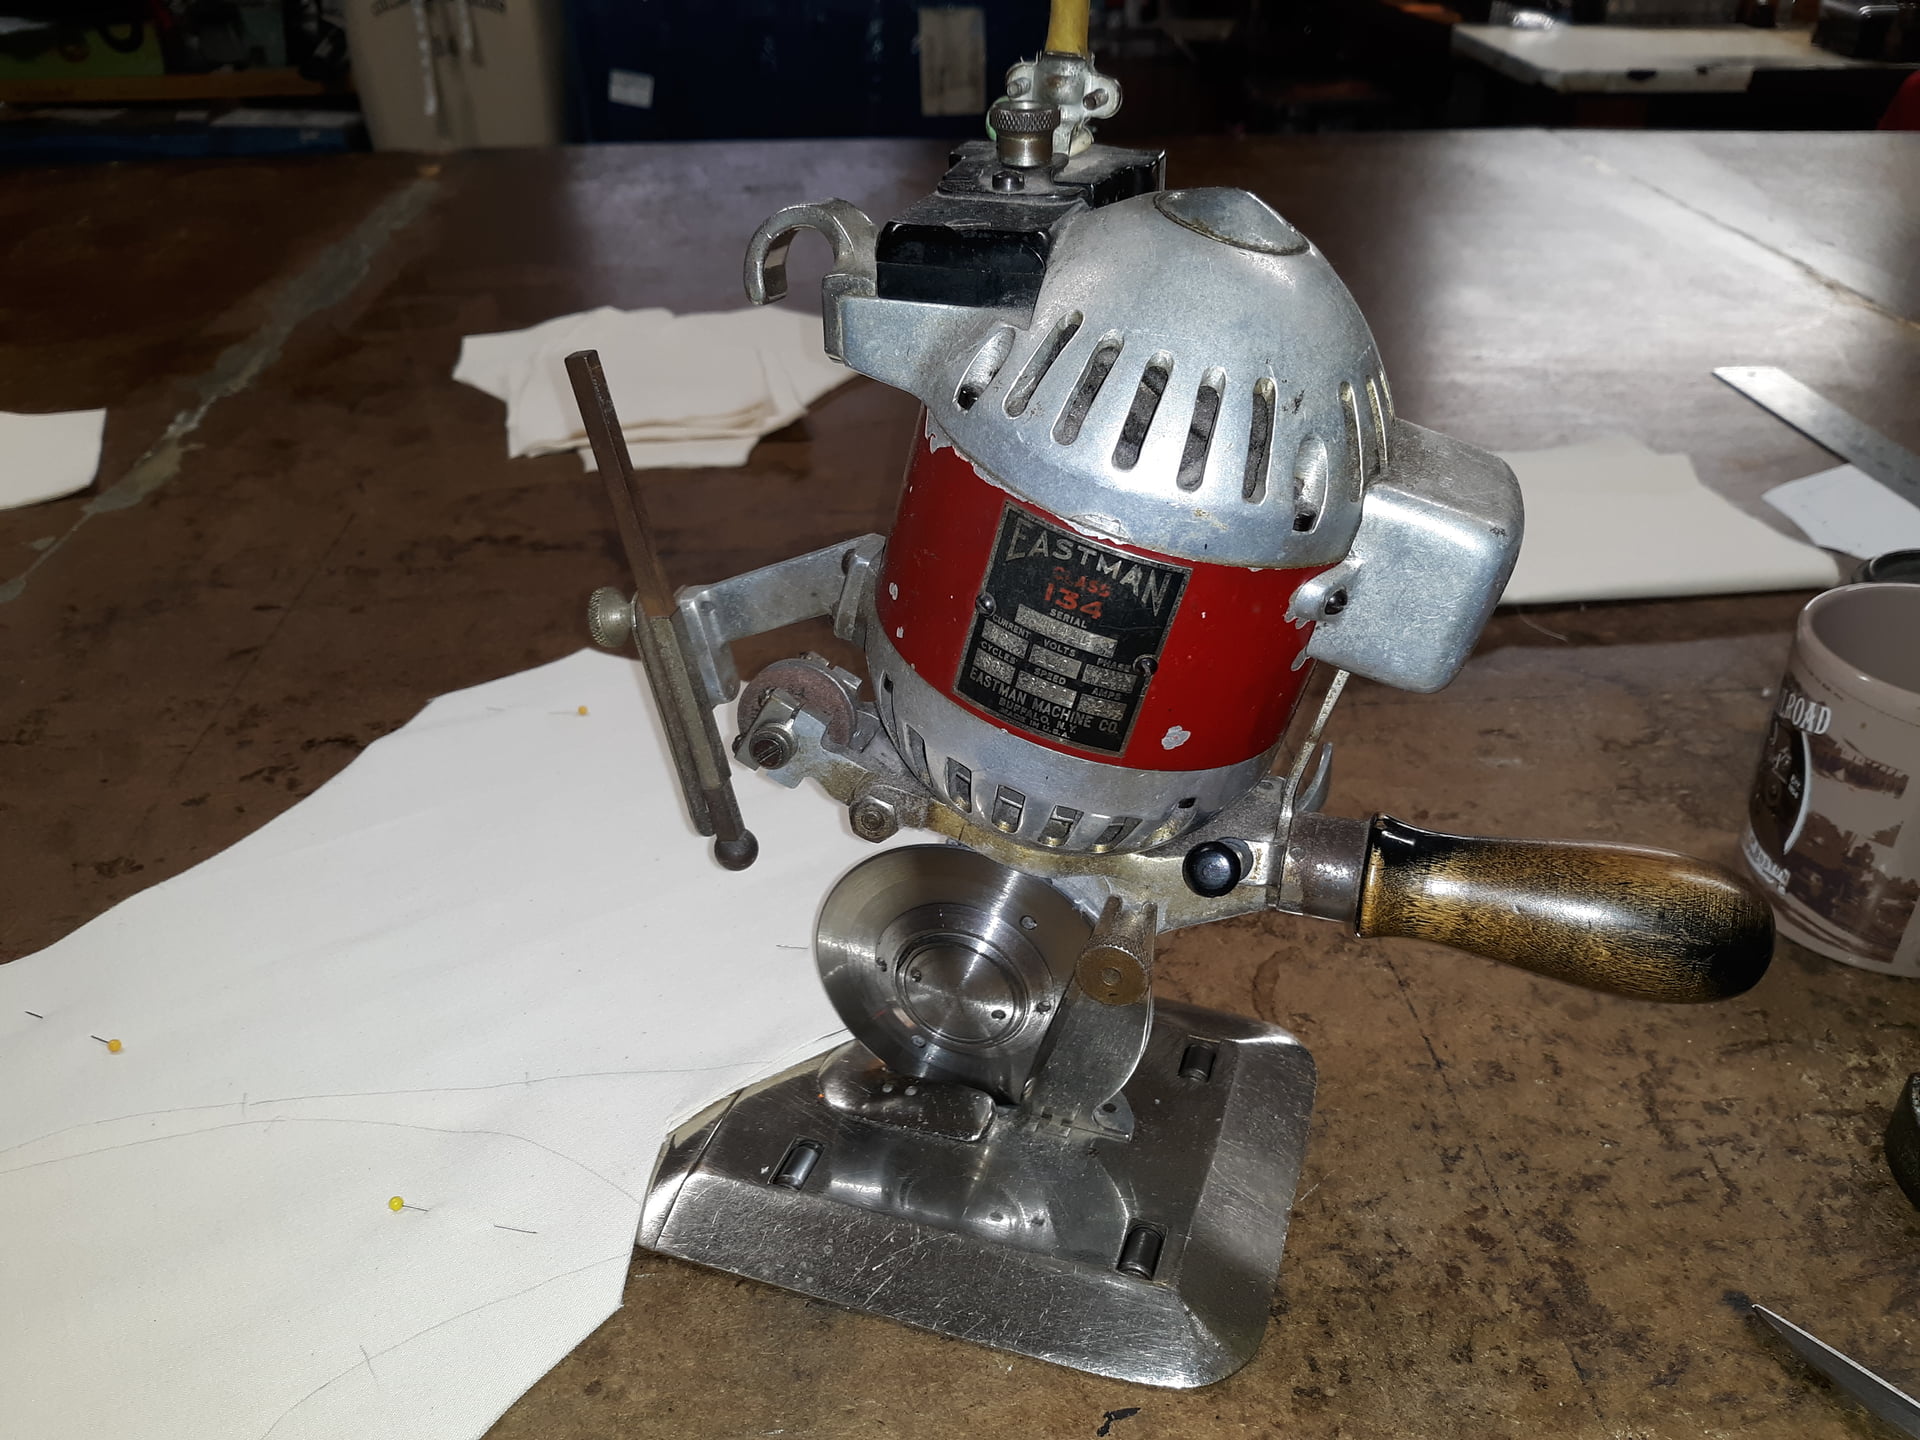
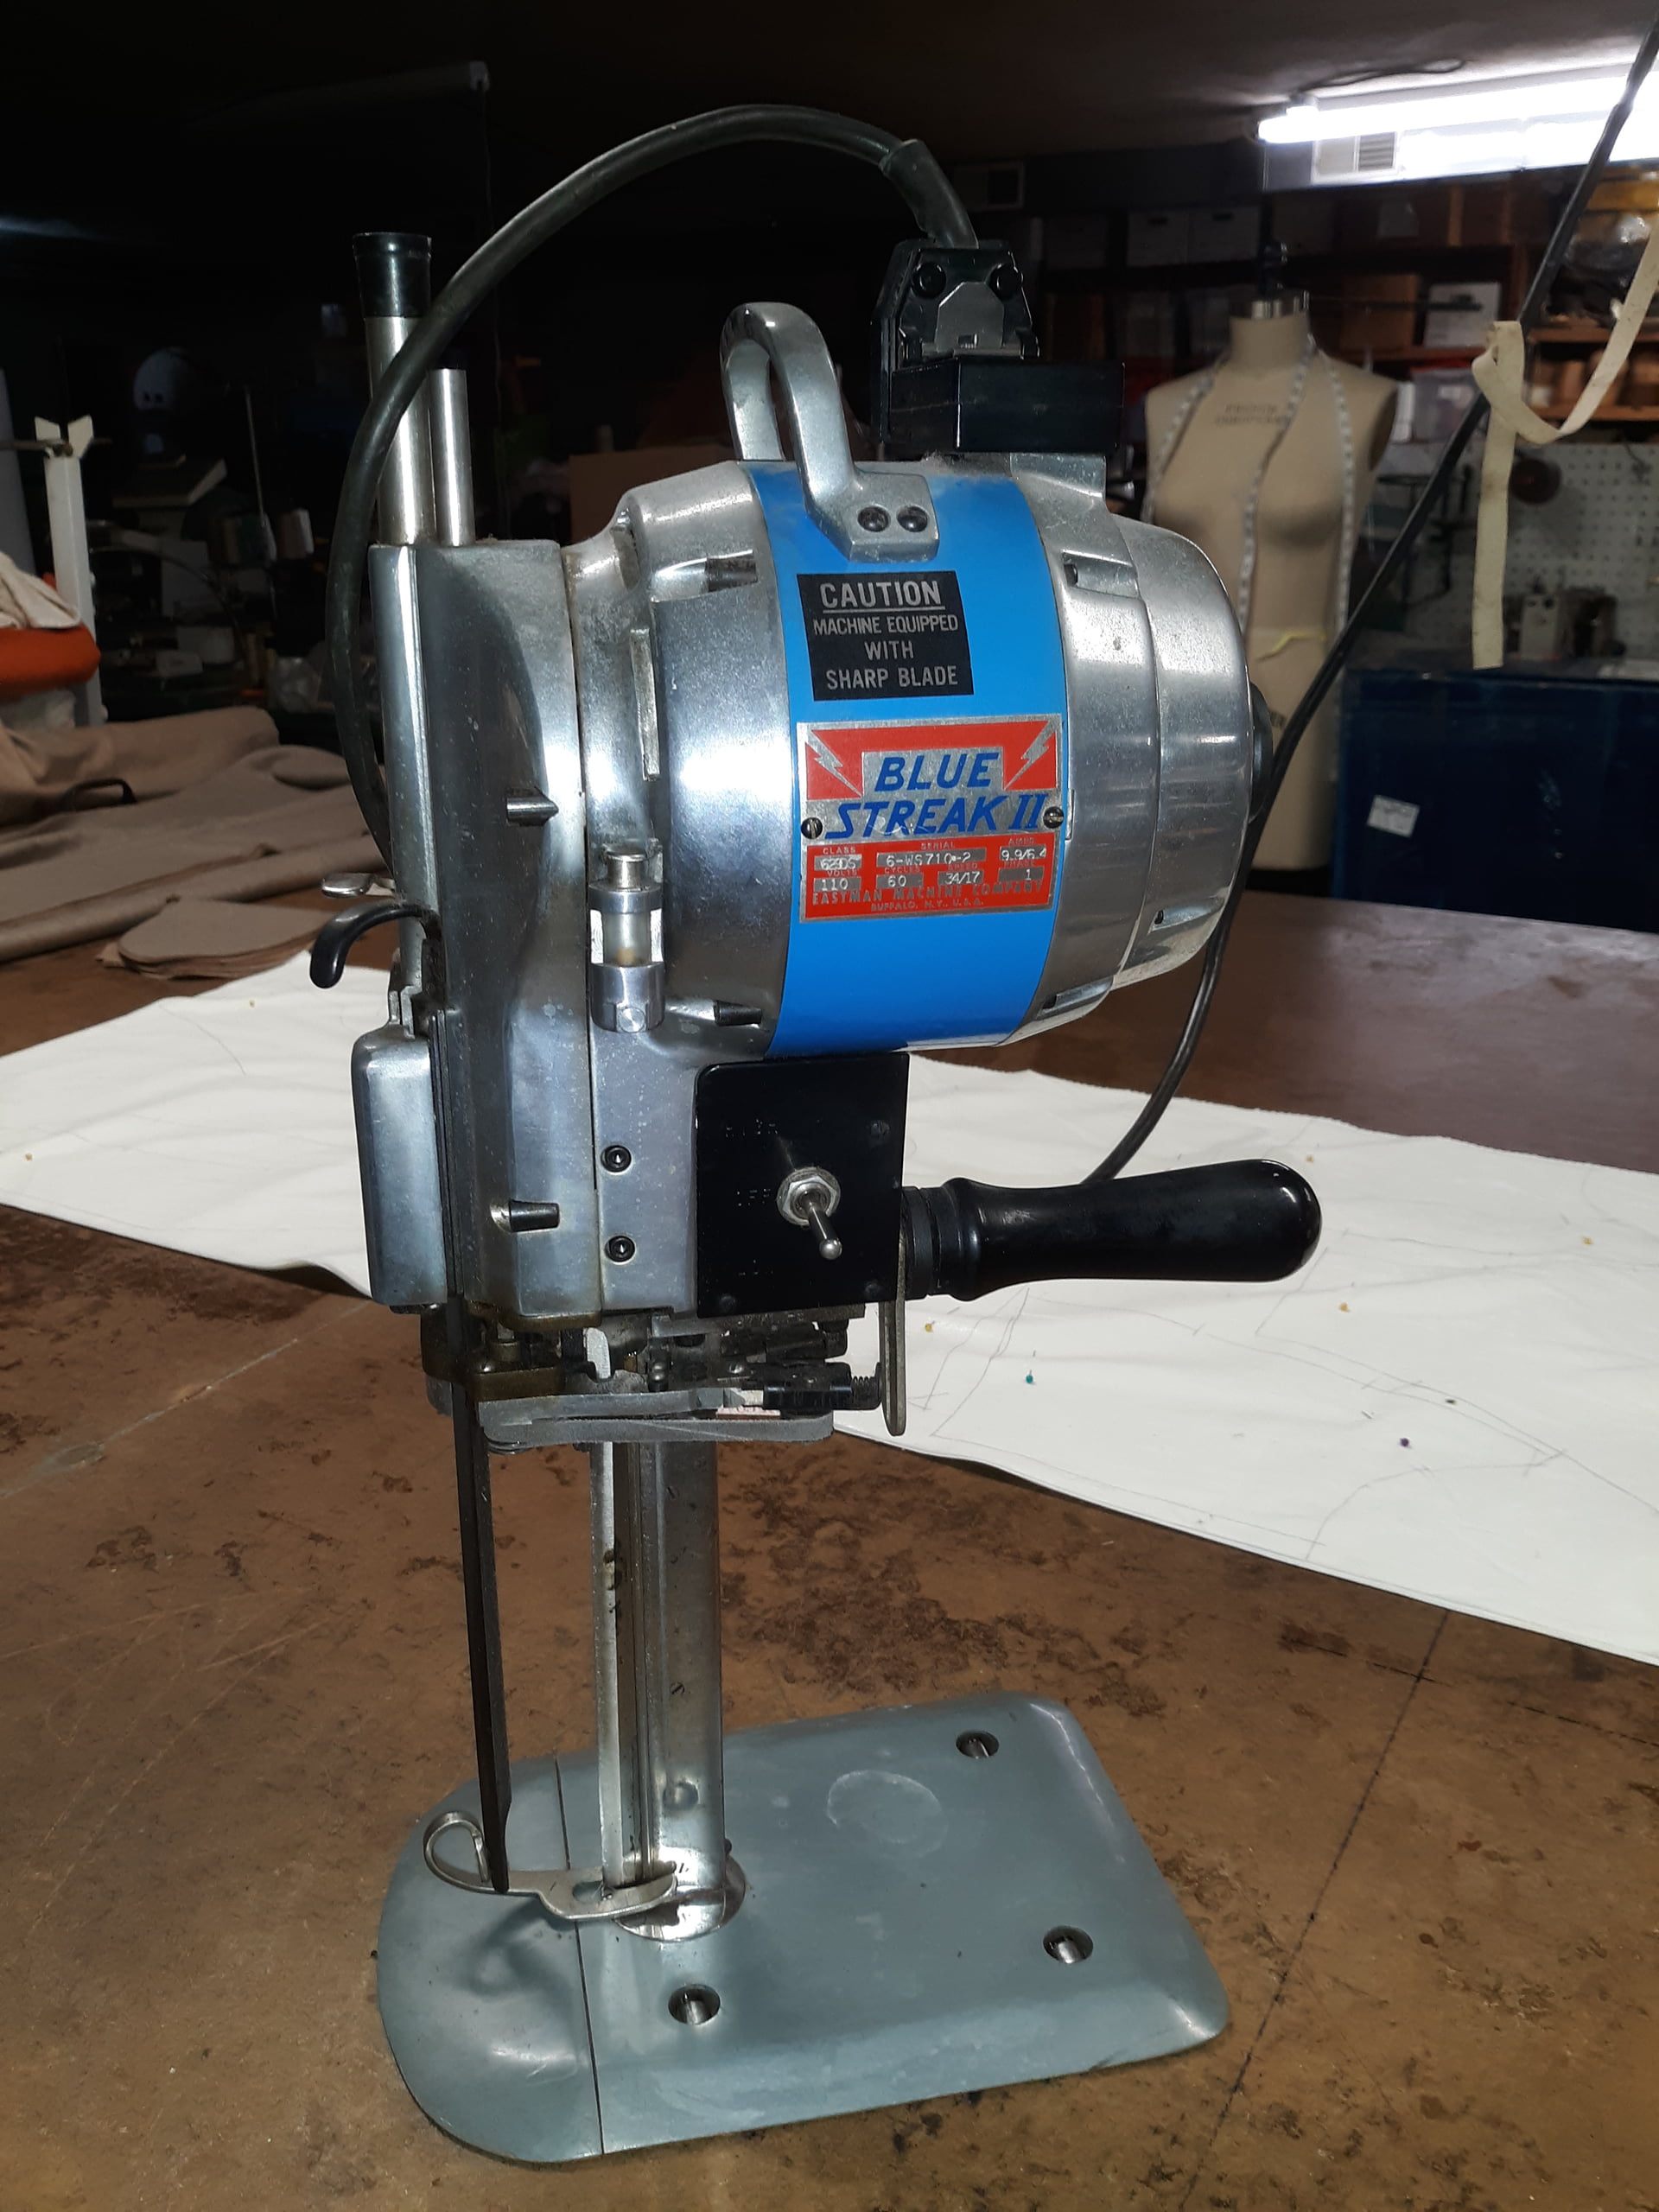
I’m probably not the best one to answer that question, because I mainly cut using Eastman industrial cutters… either a round knife or straight blade, but I used both shears (mainly Fiskars although I had a pair of Ginger) AND Olfa rotary cutters. I would use the rotary cutter mainly for accuracy cuts like pocket flaps, welts, etc. I also used either the rotary cutter or a utility knife to cut paper patterns. Again the rotary is more accurate than scissors / shears. Cutting with a straight edge is better than trying to cut a straight line with scissors / shears. And yes… I had all those various clear plastic “quilters” cutting guides as well as every size of cutting mats.
Well… for 40+ years I mainly used “wax” tailors chalk and tailors pencils - usually yellow and white. I really only used orange tailors “chalk” when I needed the visibility. I prefered wax chalk as it doesn’t just brush off or disappear from vibration from the Eastman cutters. For the most part I would layout the pattern pieces, and use weights (I aquired some weights from an old knitting machine) to hold the pieces down, and I’d mark around them, as well as any notches or location dots.
When it came to commercial “tissue” patterns (which I HATE!) … in the last several years I just started using wax transfer paper and a tracing wheel to mark the pattern. There’s differnet ways to do it, but I would usually pin the tissue pieces to the fabric, and cut around, then lay that on top of the wax paper wax side up, and then pounce through the pattern - marking the bottom side. unpin the tissue, flip over - maybe putting a few pins in and cut. The pinning usually depended on type of fabric… if it’s going to slip around like taffeta, I’d pin… if it’s a wool I would bother - other than if I wanted to picky about matching stripes & plaids.
BTW… the wax paper is great for marking seam lines or darts lines - where the sewer(s) know where to stich. Or for marking pocket placements, etc. When marking darts I’d usually sandwich the fabric between 2 pieces of wax paper and mark both left & right at the same time.
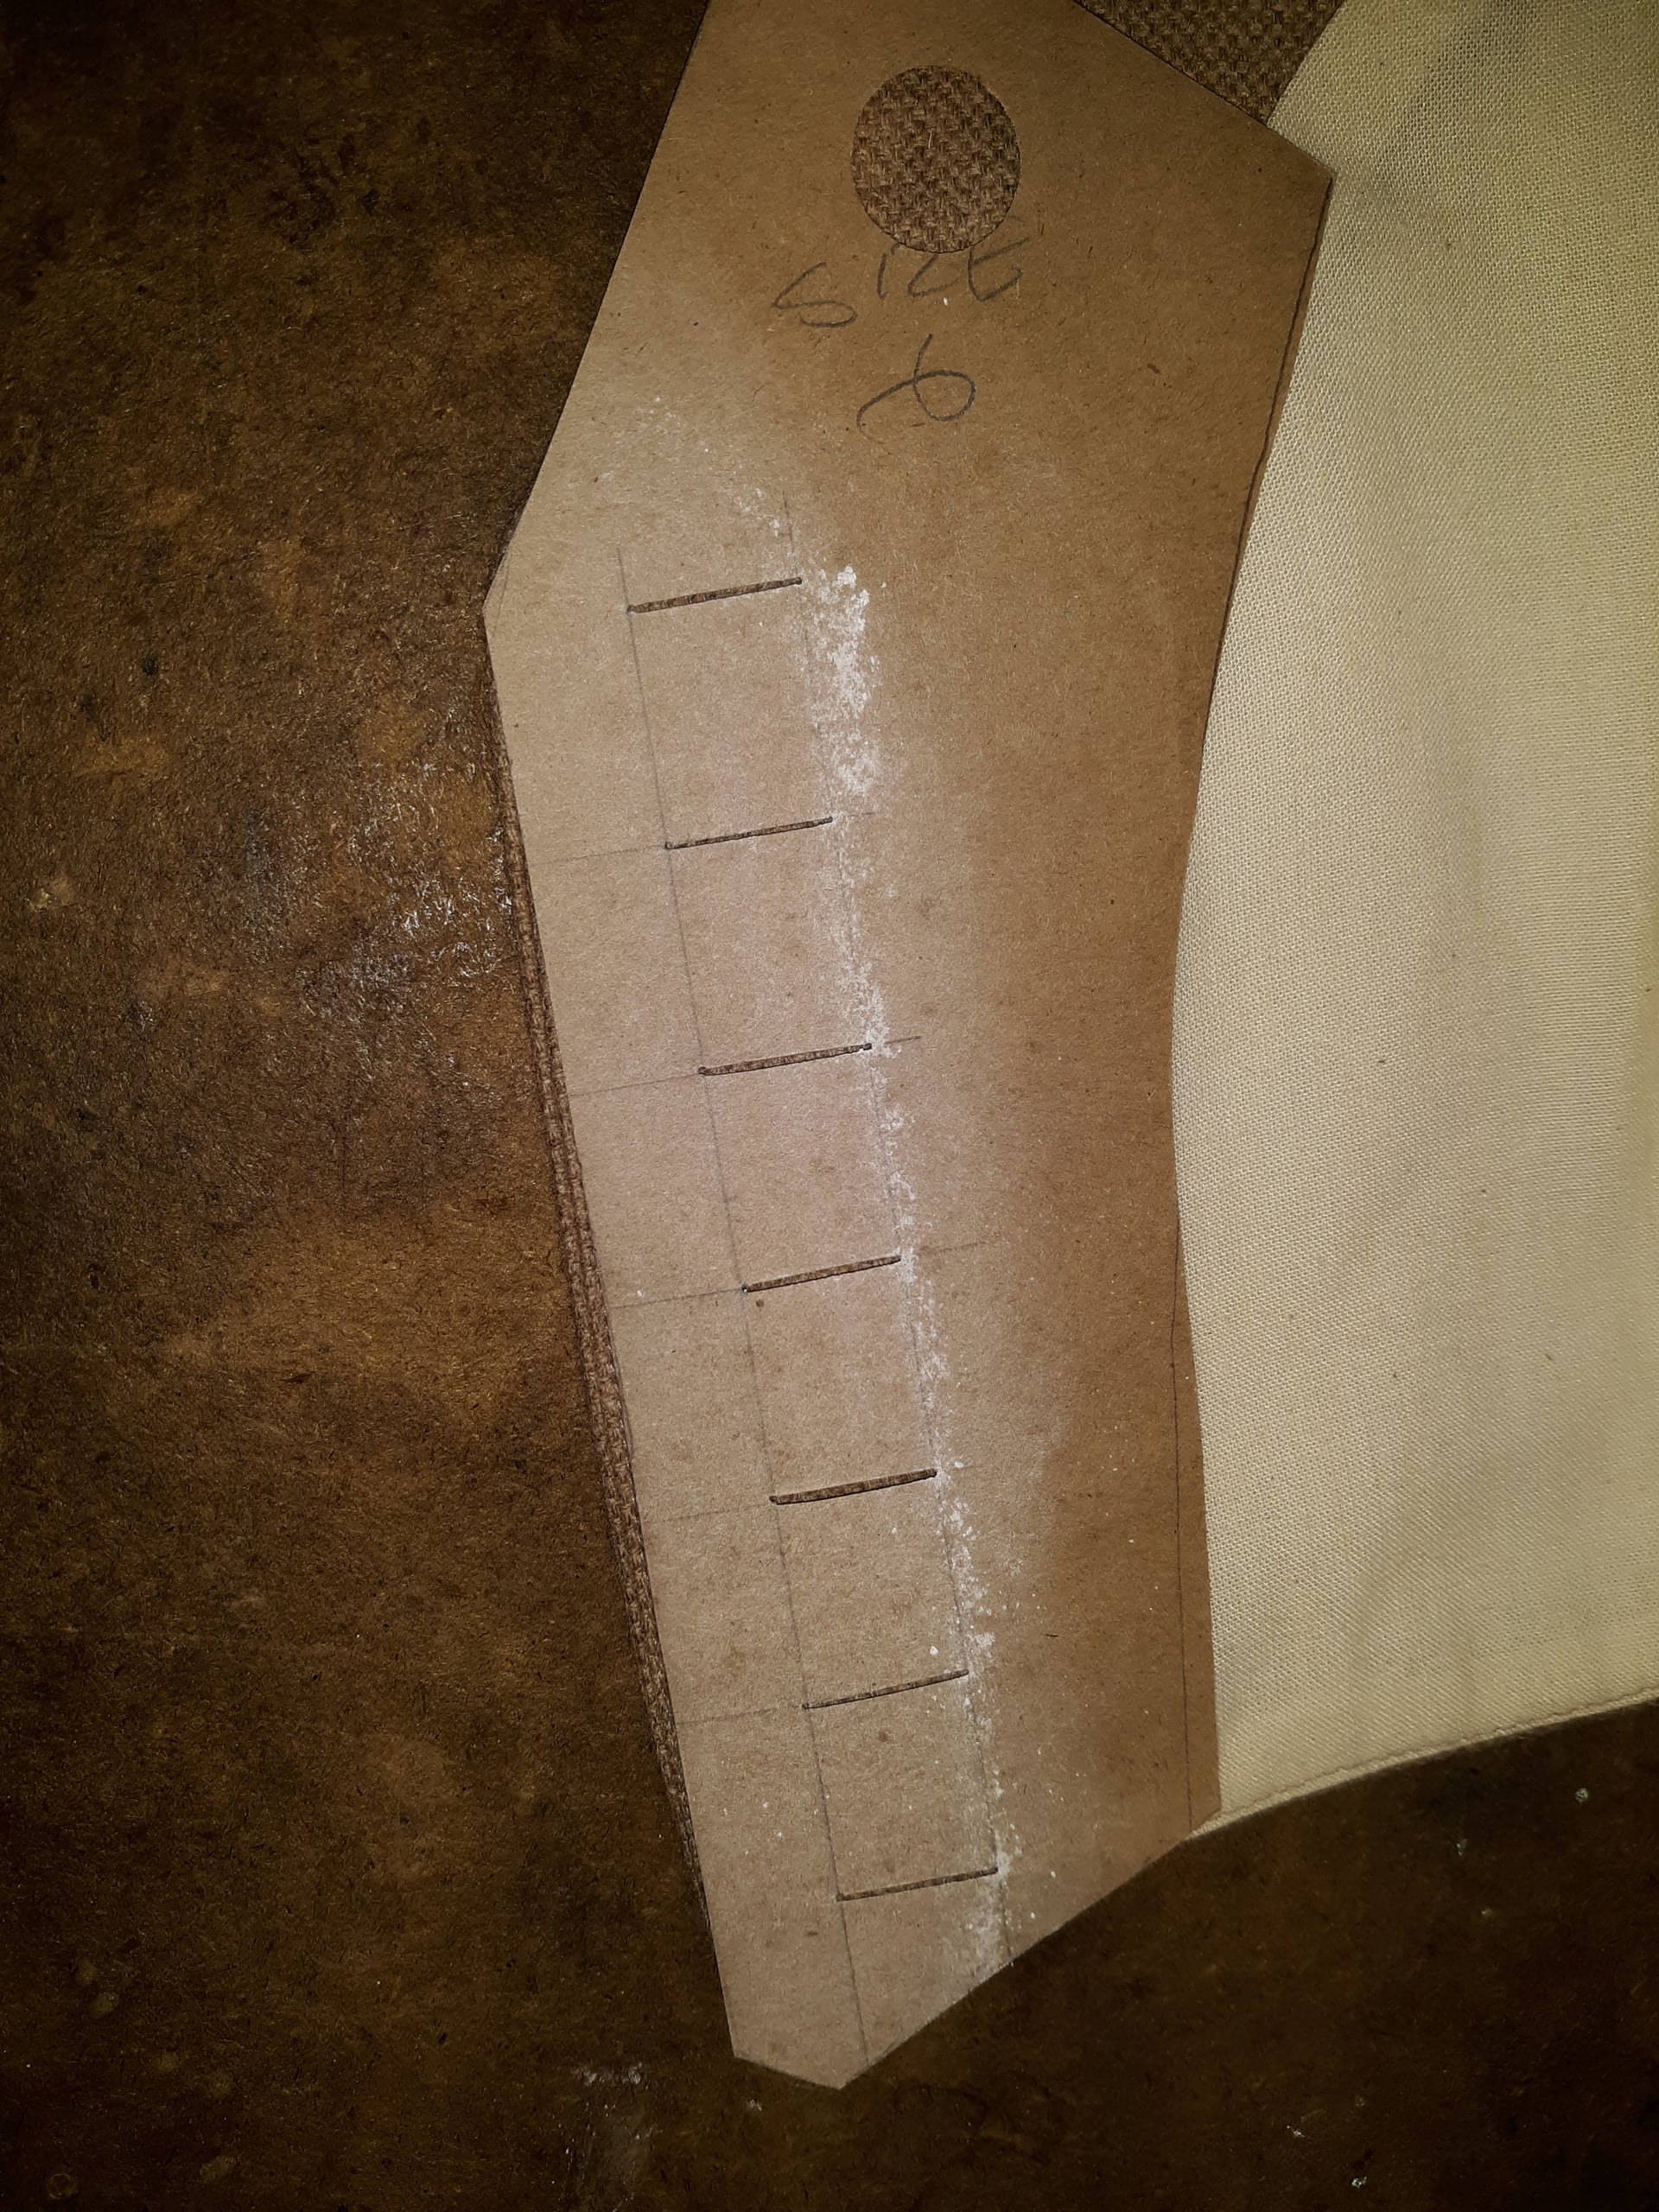
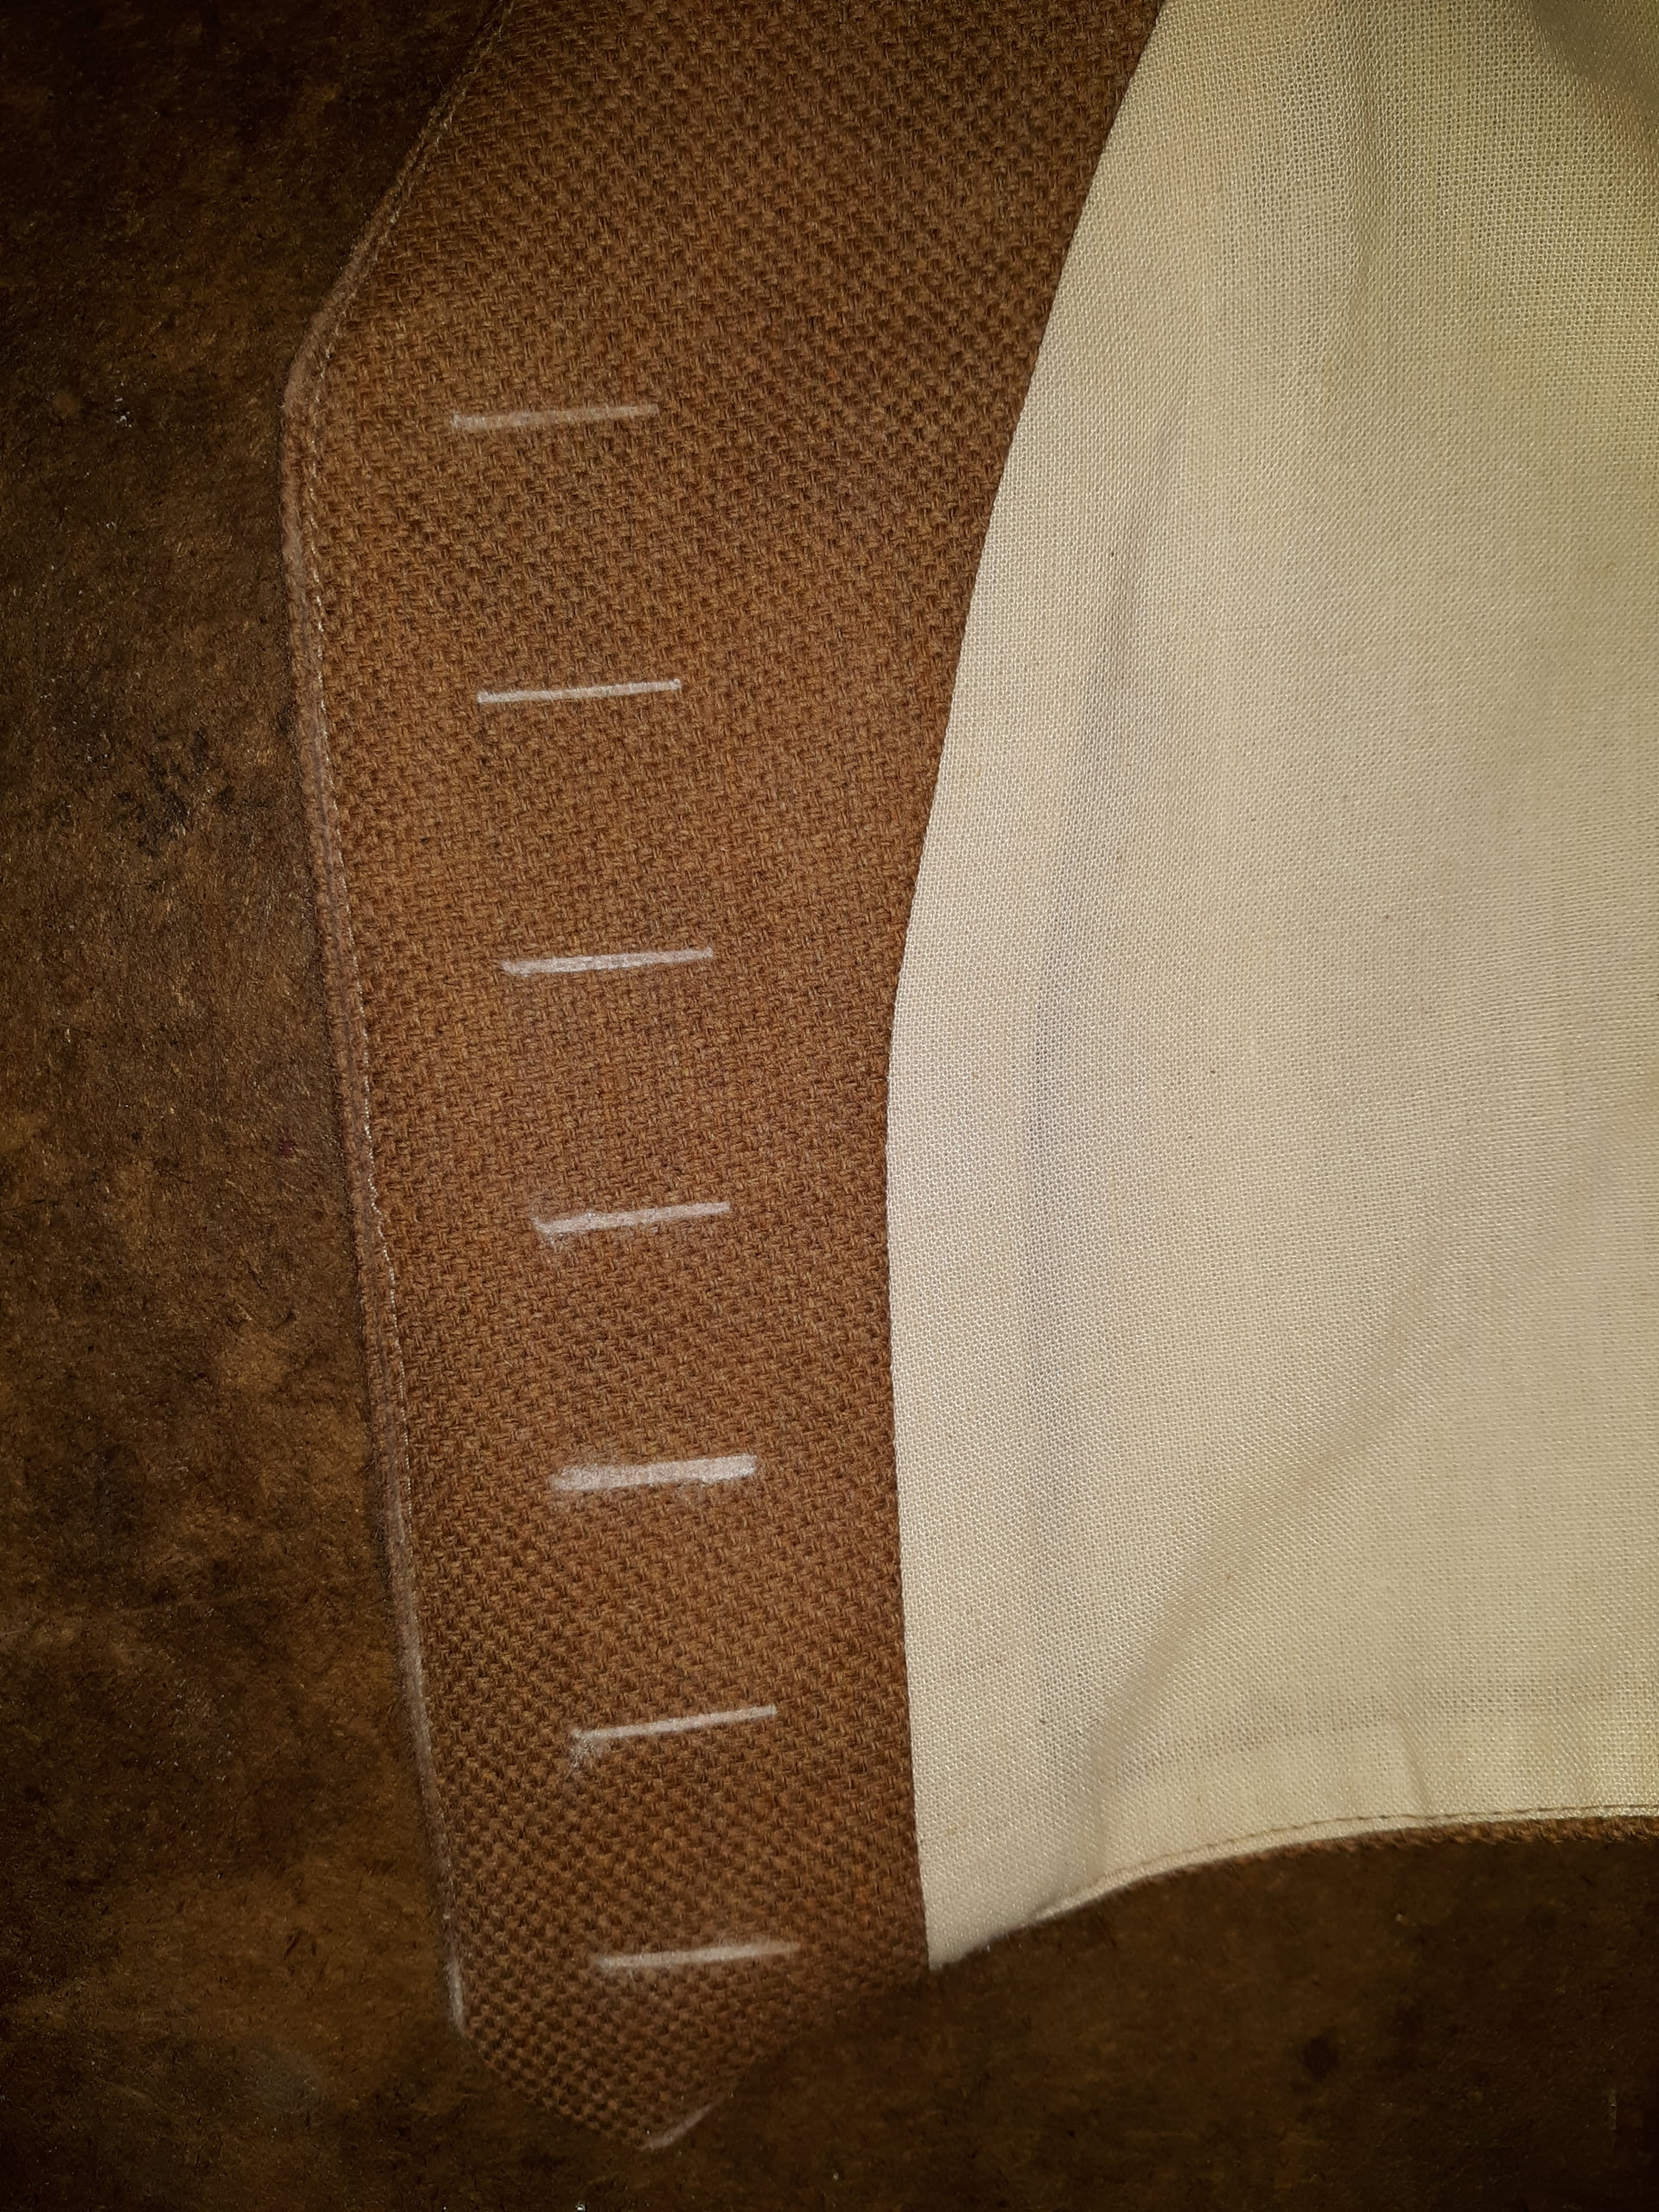
And just to throw it out there, because I would do a lot of marking on pattern pieces using a pounce pattern and pouncing powder (either blue or white UV glow). For ex: When we did the costumes for Cabrini, to mark all the button hole placement on the jackets I used a pounce pattern. Pouncing buttonholes is 1) Quicker than marking each buttonhole. 2) Doesn’t mess up the buttonhole thread with wax as with the powder just disappears. 3) Quicker than tracing with wax paper.
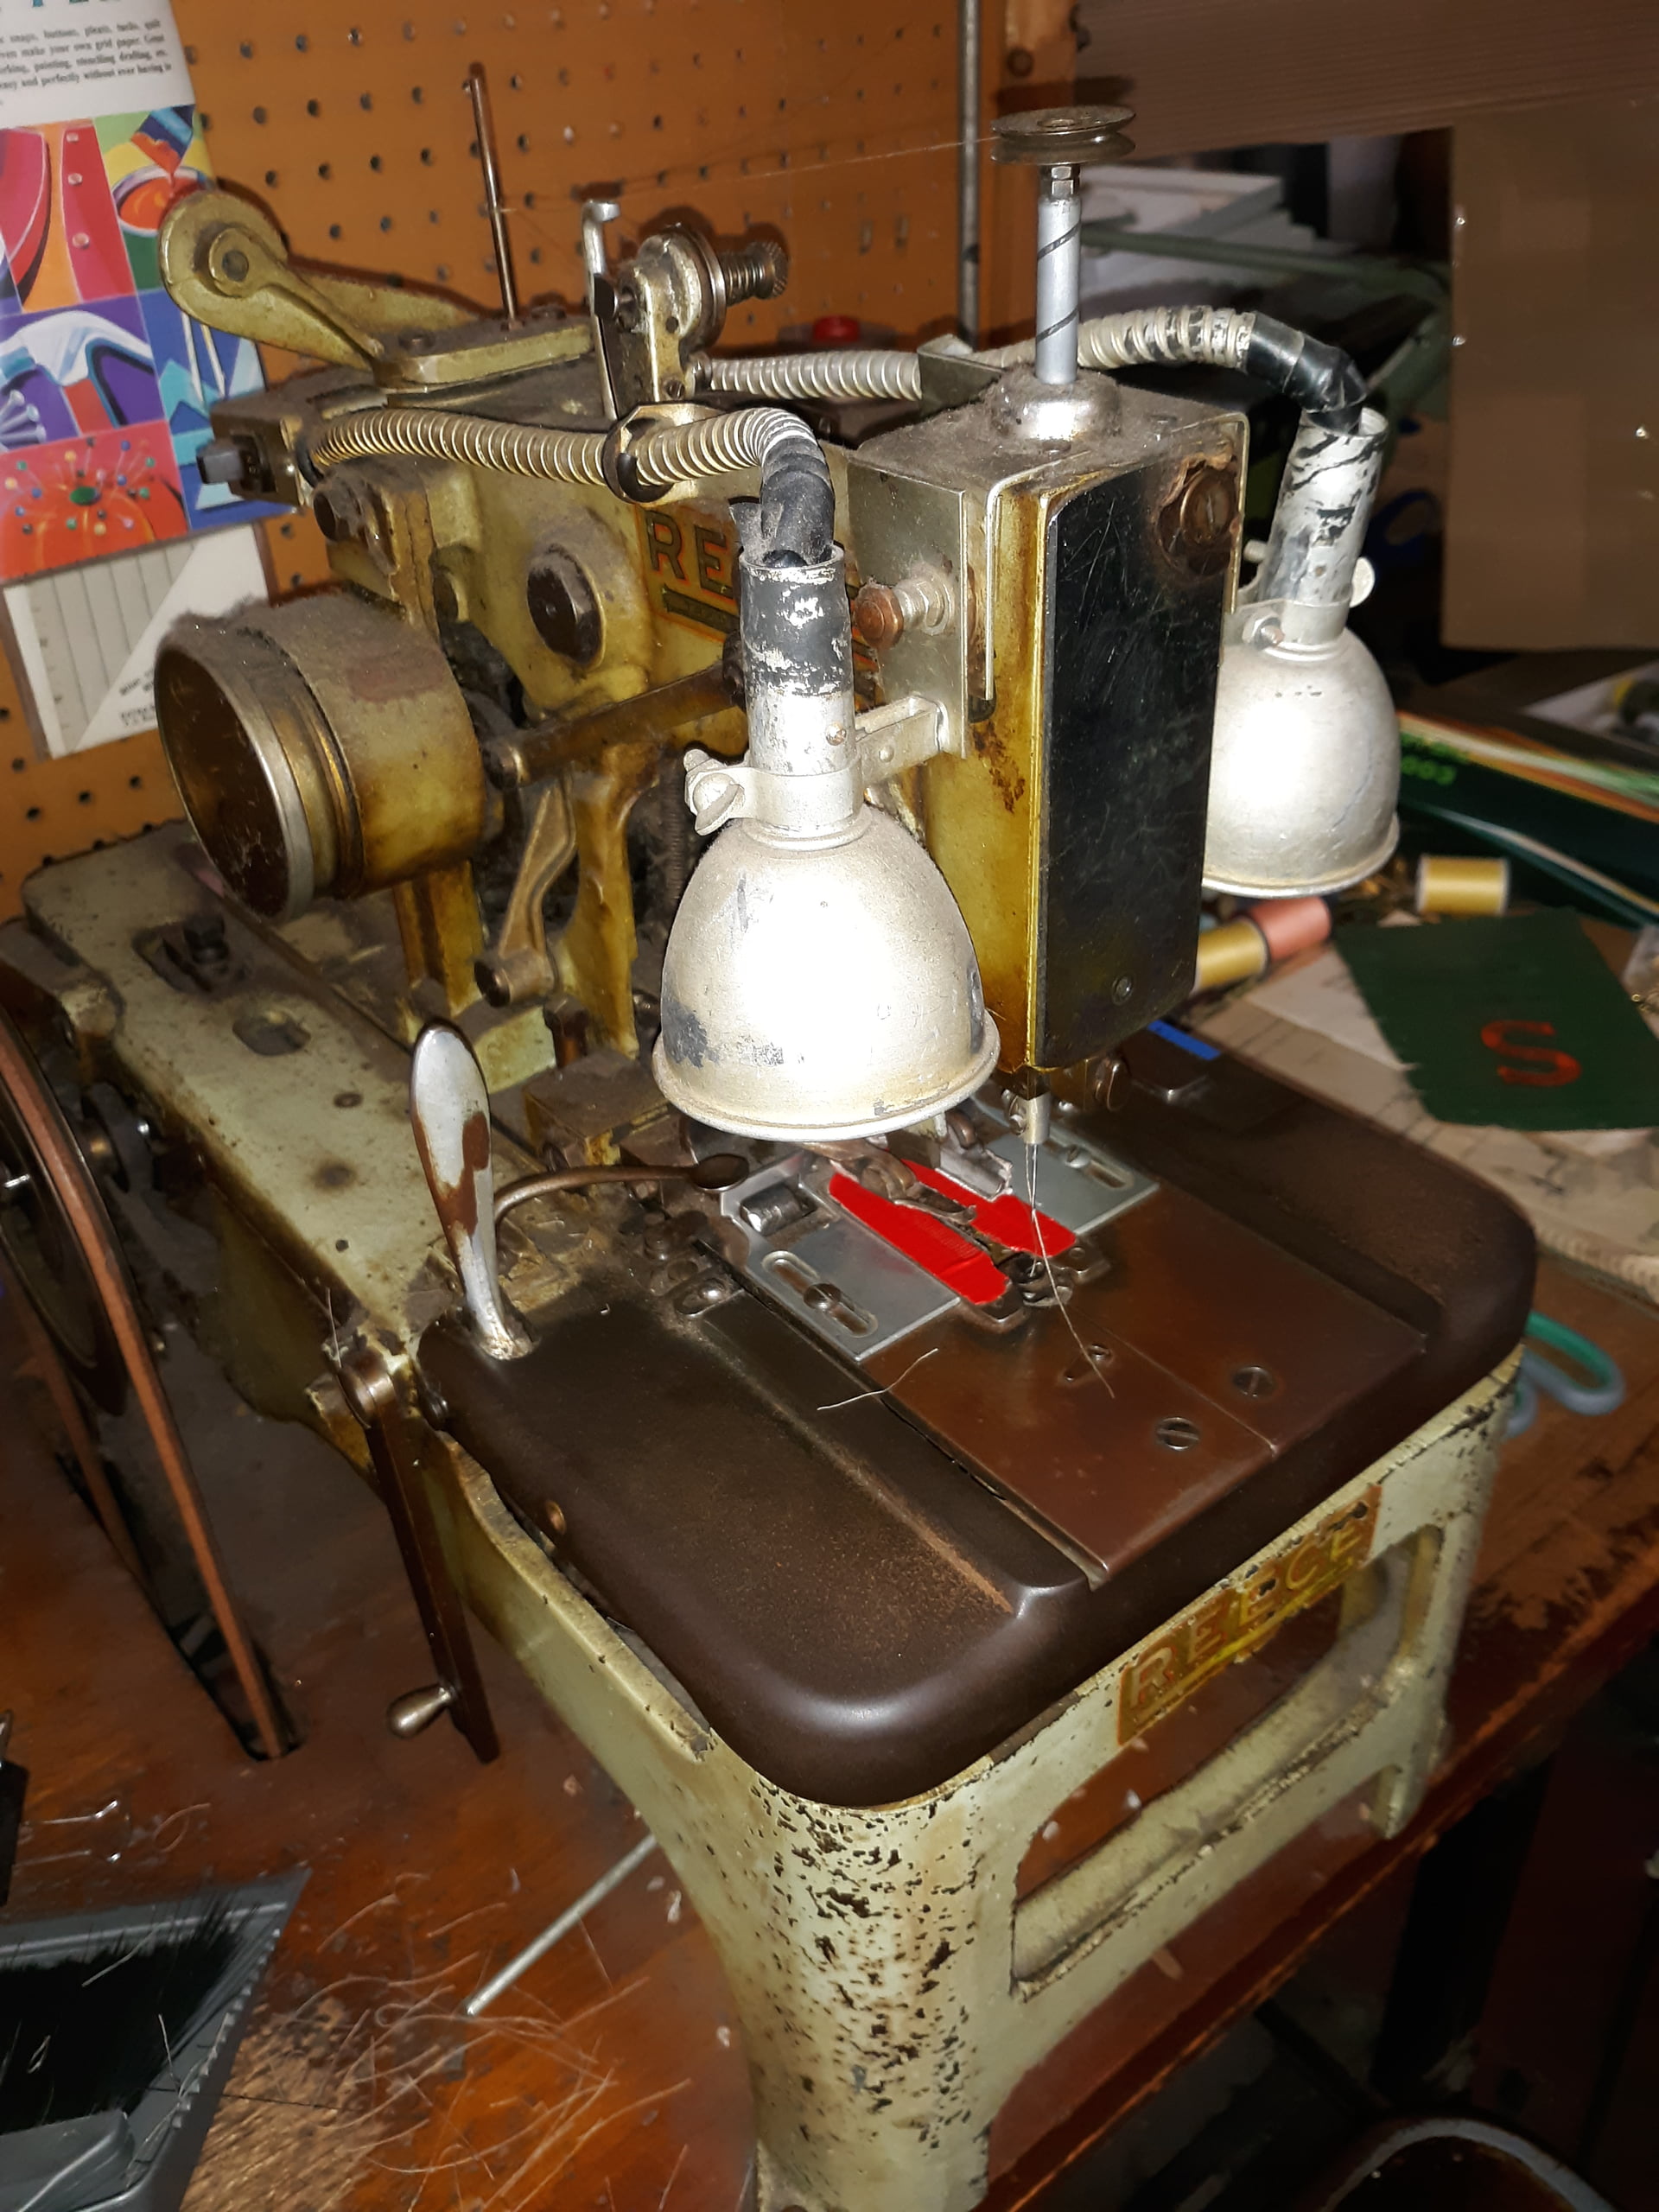
Our old Resse buttonhole machine: They were originally only available to lease, that why they had a counter on the side, and Reece would charge by how many buttonholes were made.
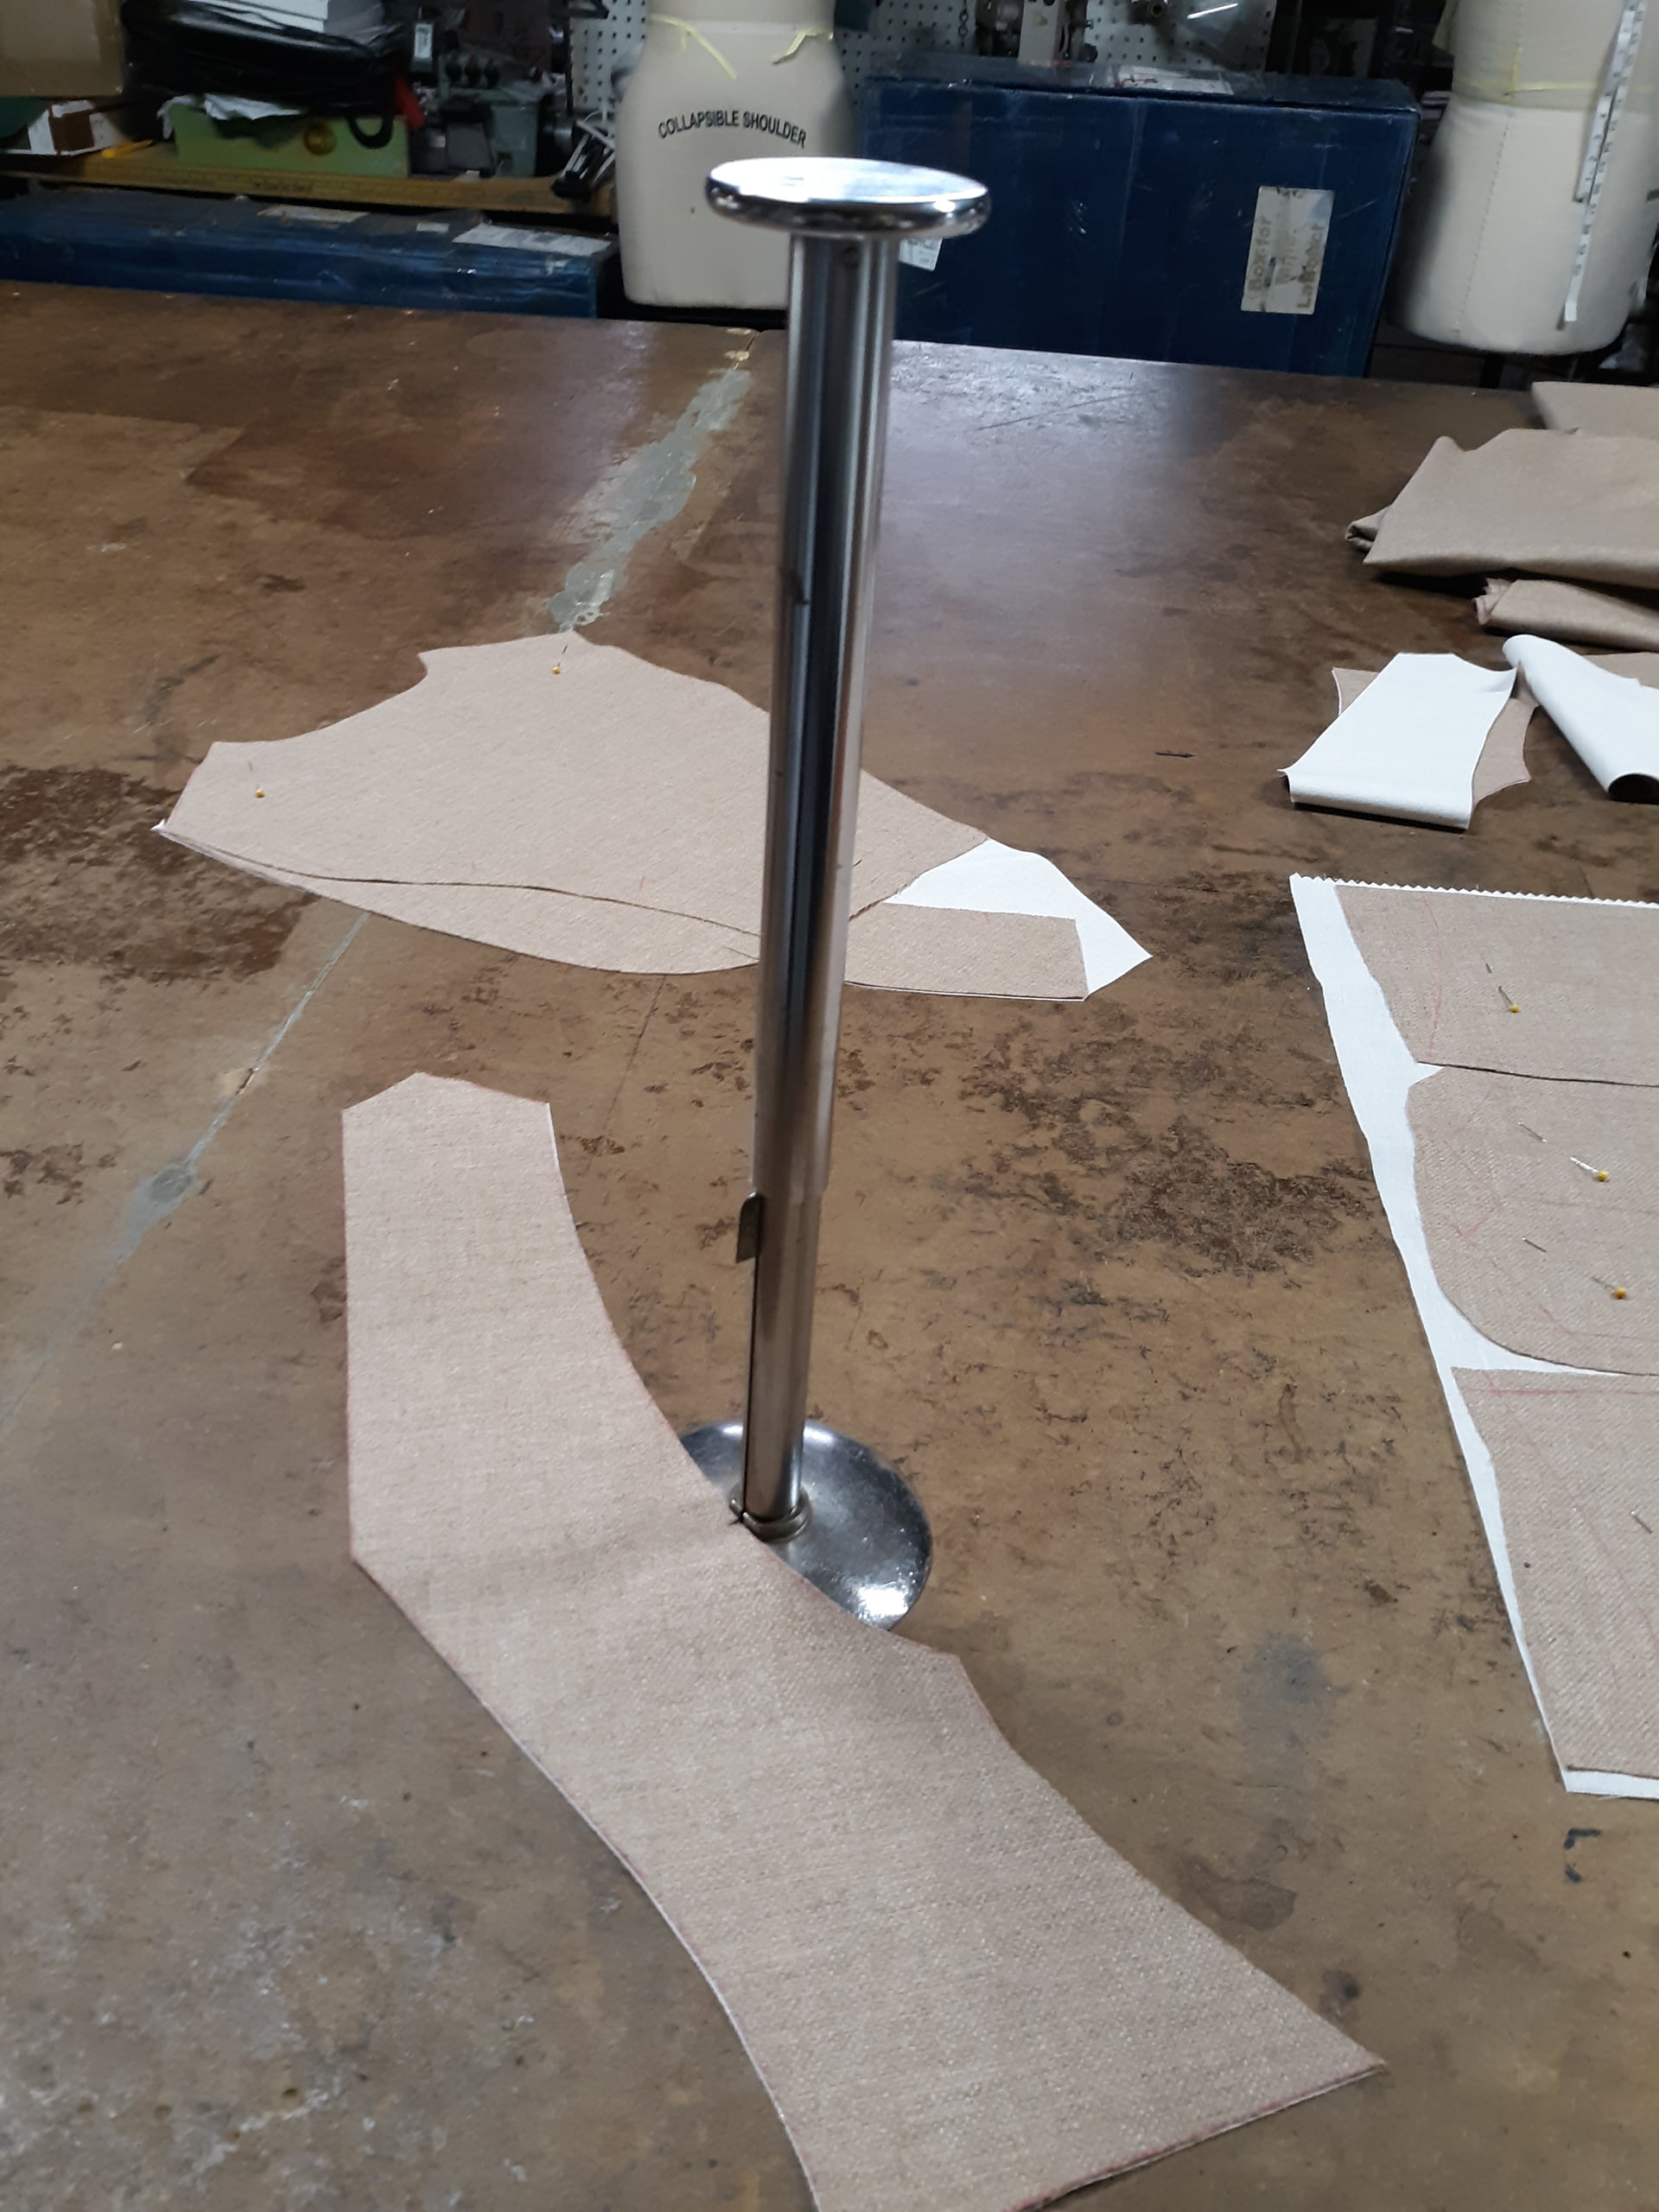
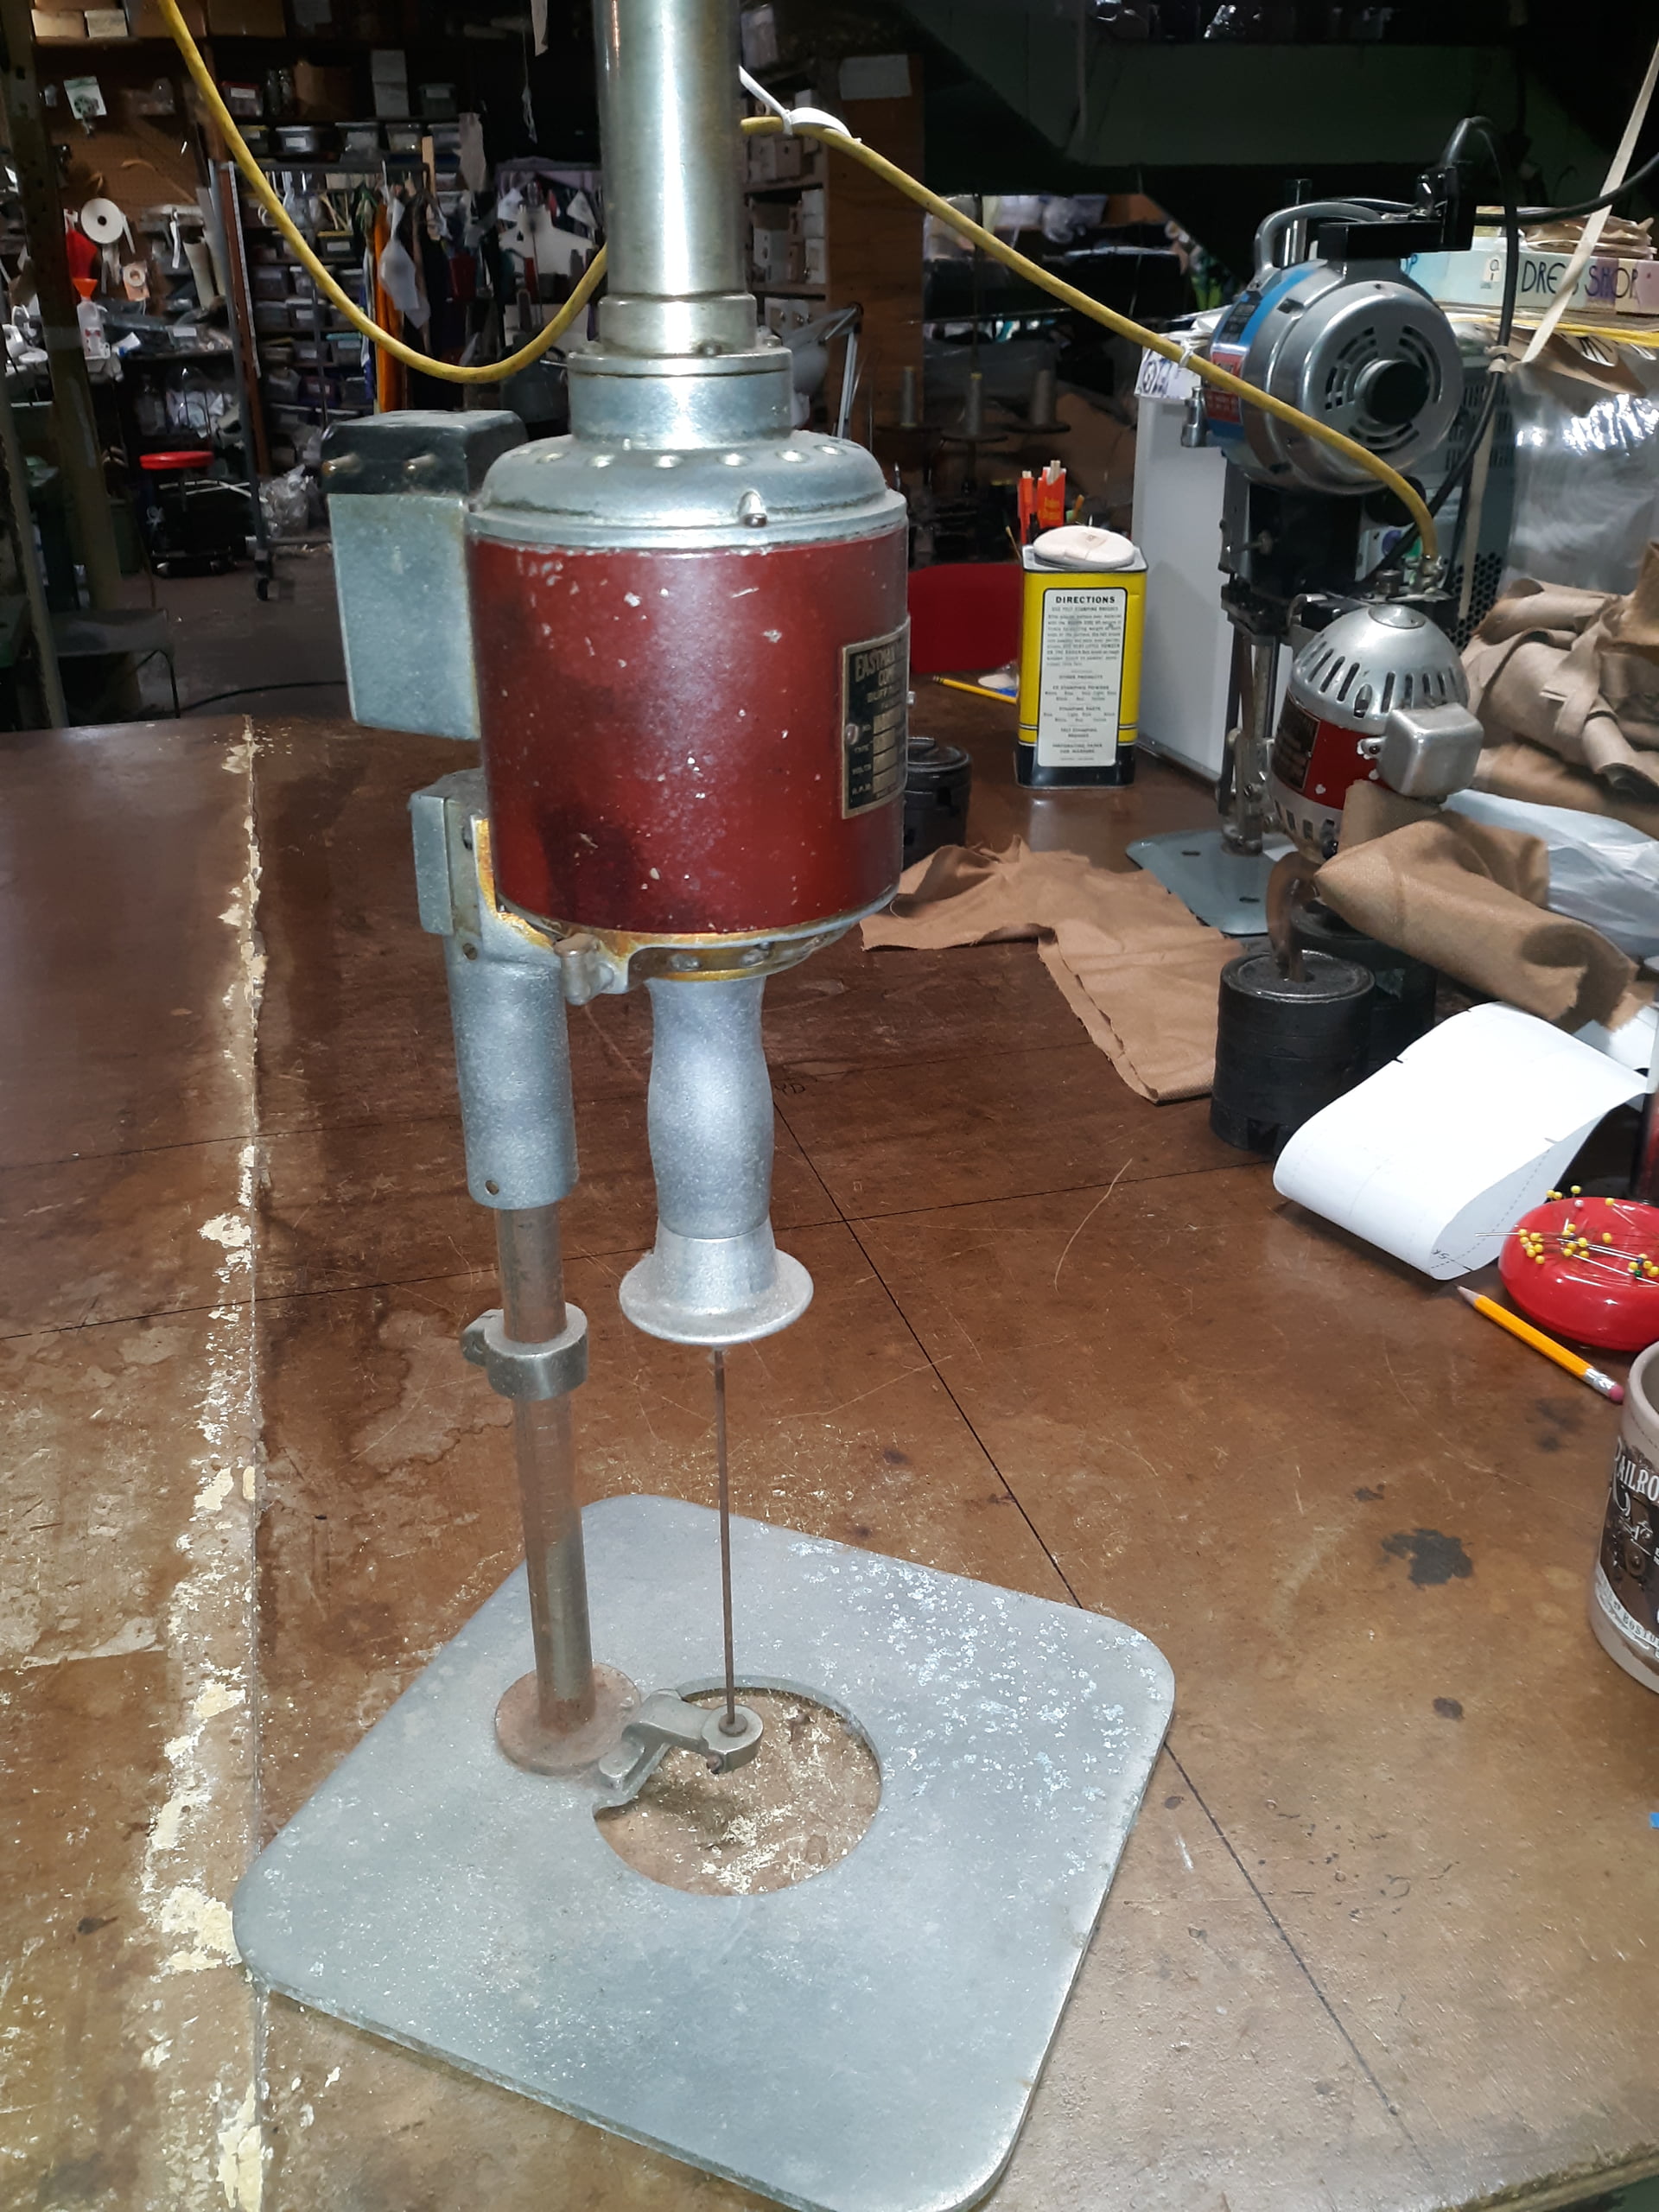
A fabric drill… if you have a spread of say 50 layers… how do mark things like pocket location? You’re not going to mark each piece seperately… that what a drill is used for. BTW… this is what drill point in an AAMA file refers to.
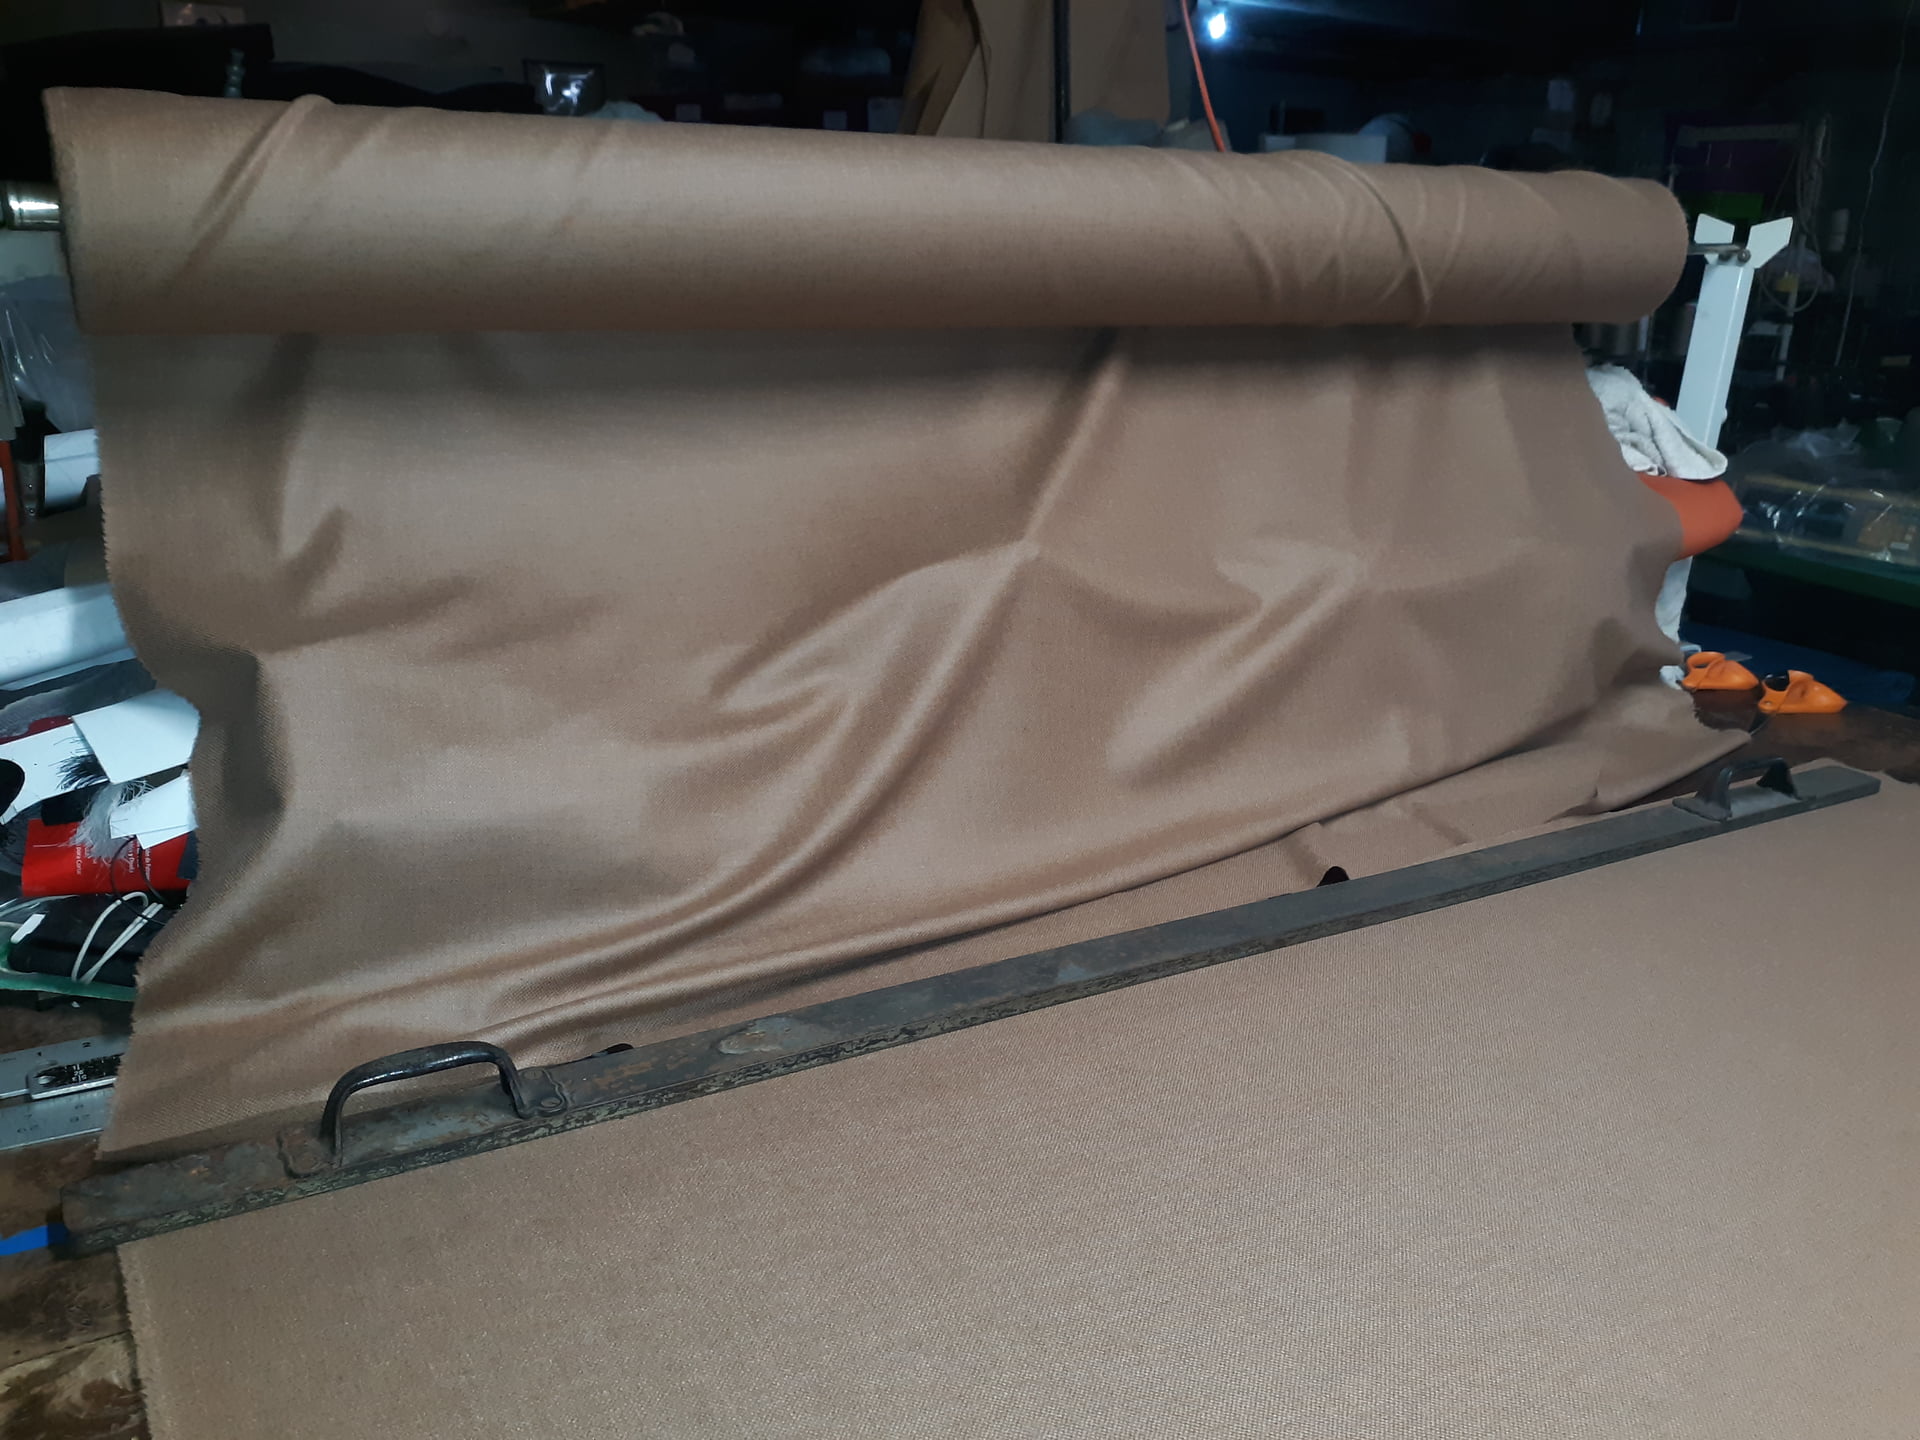
Yes, I had a 40 foot by 72" wide cutting table. Simple but effective… we had heavy chunks of steel with handles to hold the fabric at each end when spreading out mutiple layers. Also you may notice theres a pair of orange Fiskars with the black tape on the handle… those were mine. If the scissors / shears had black tape on the handle it meant Do Not Use - find another pair.
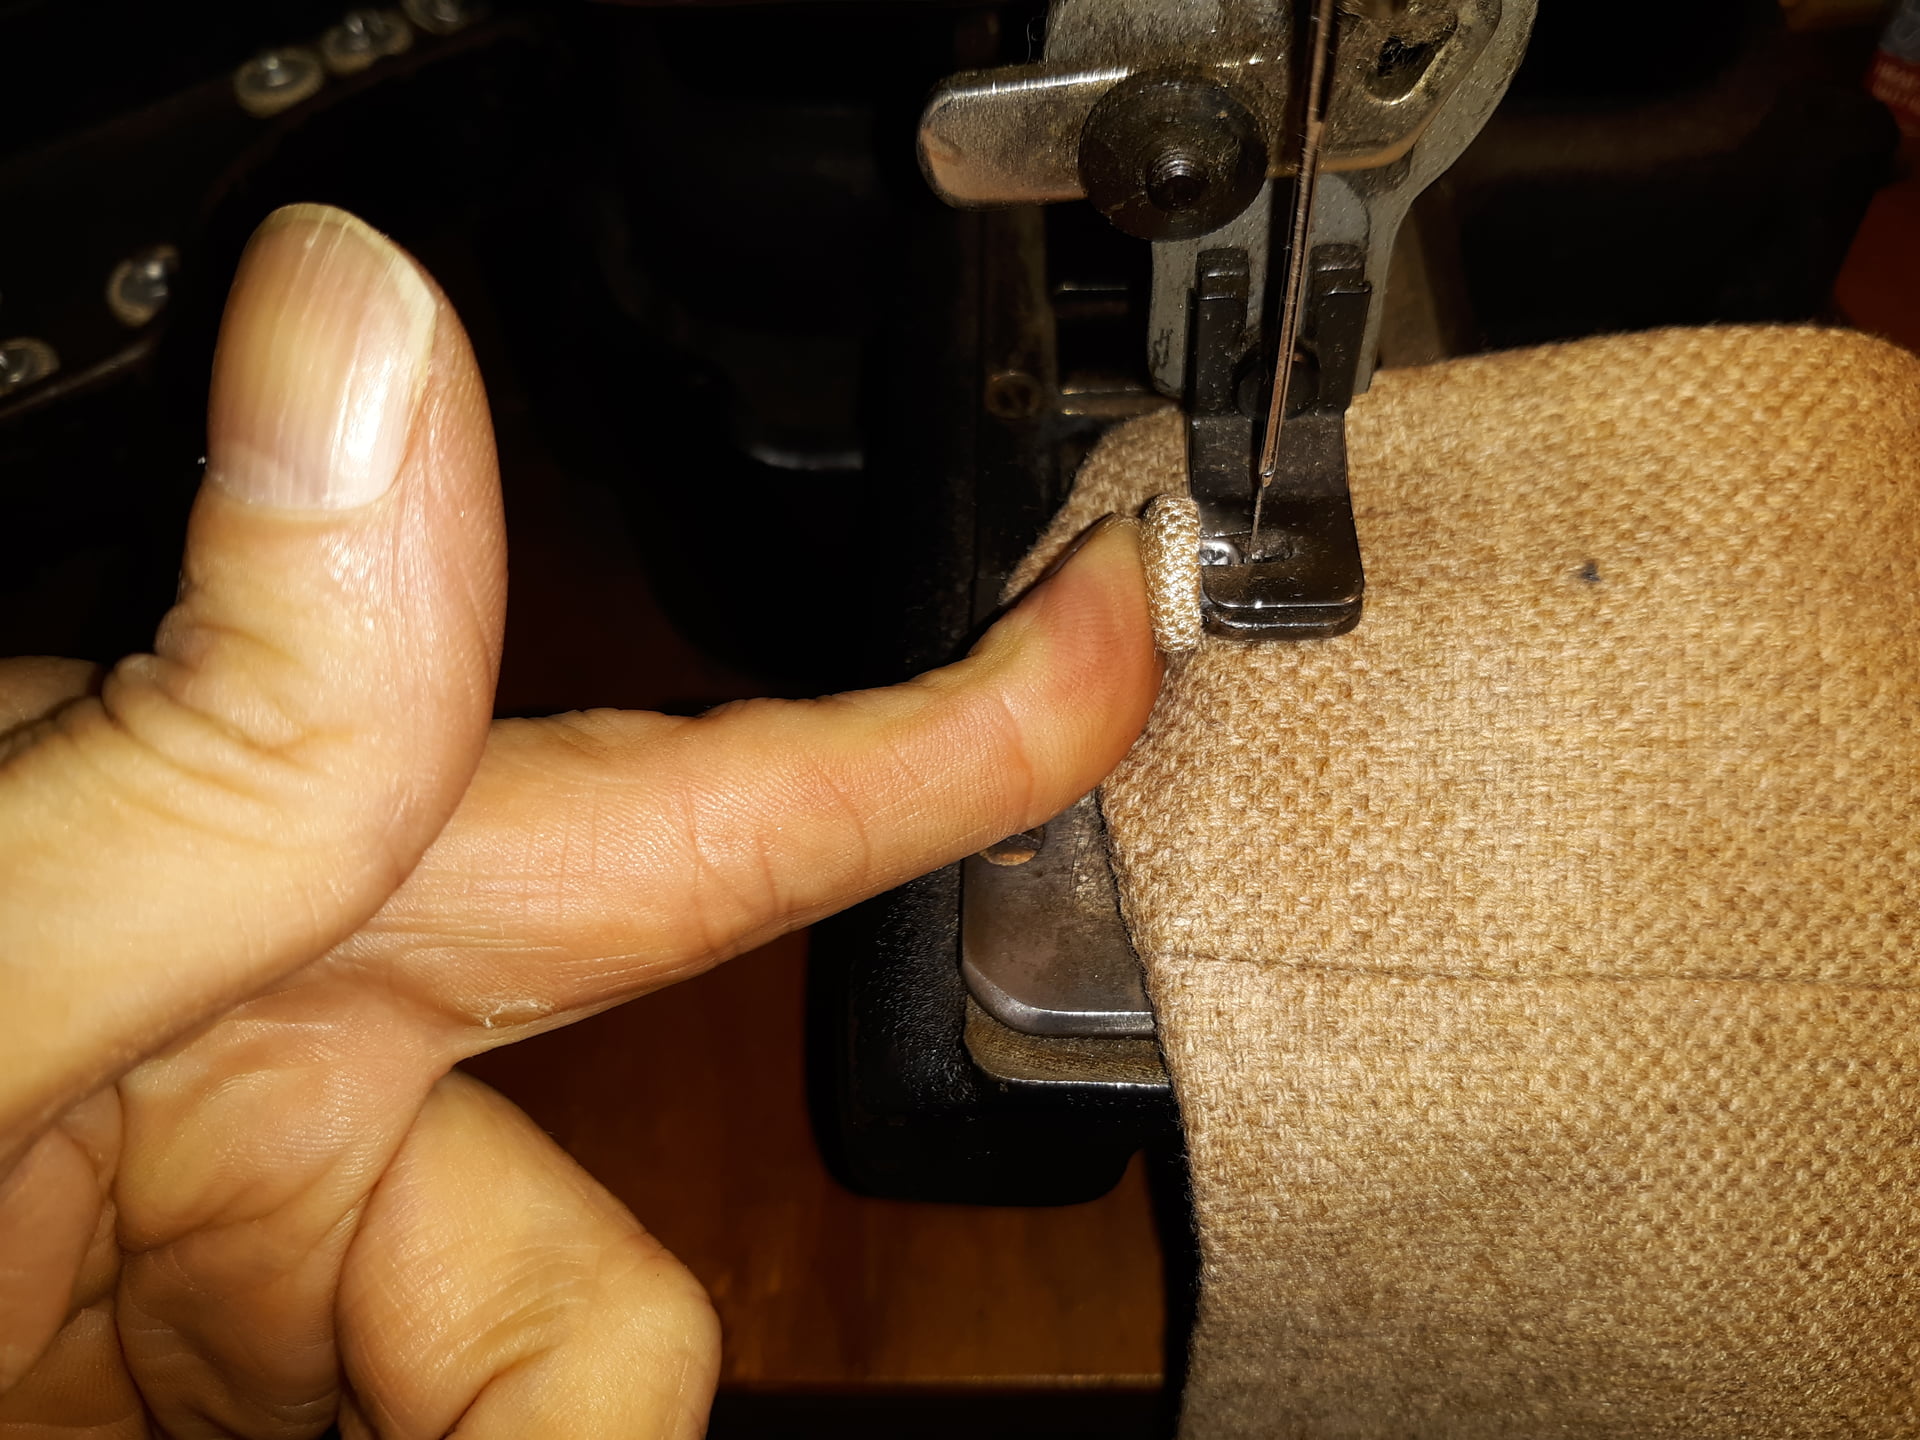
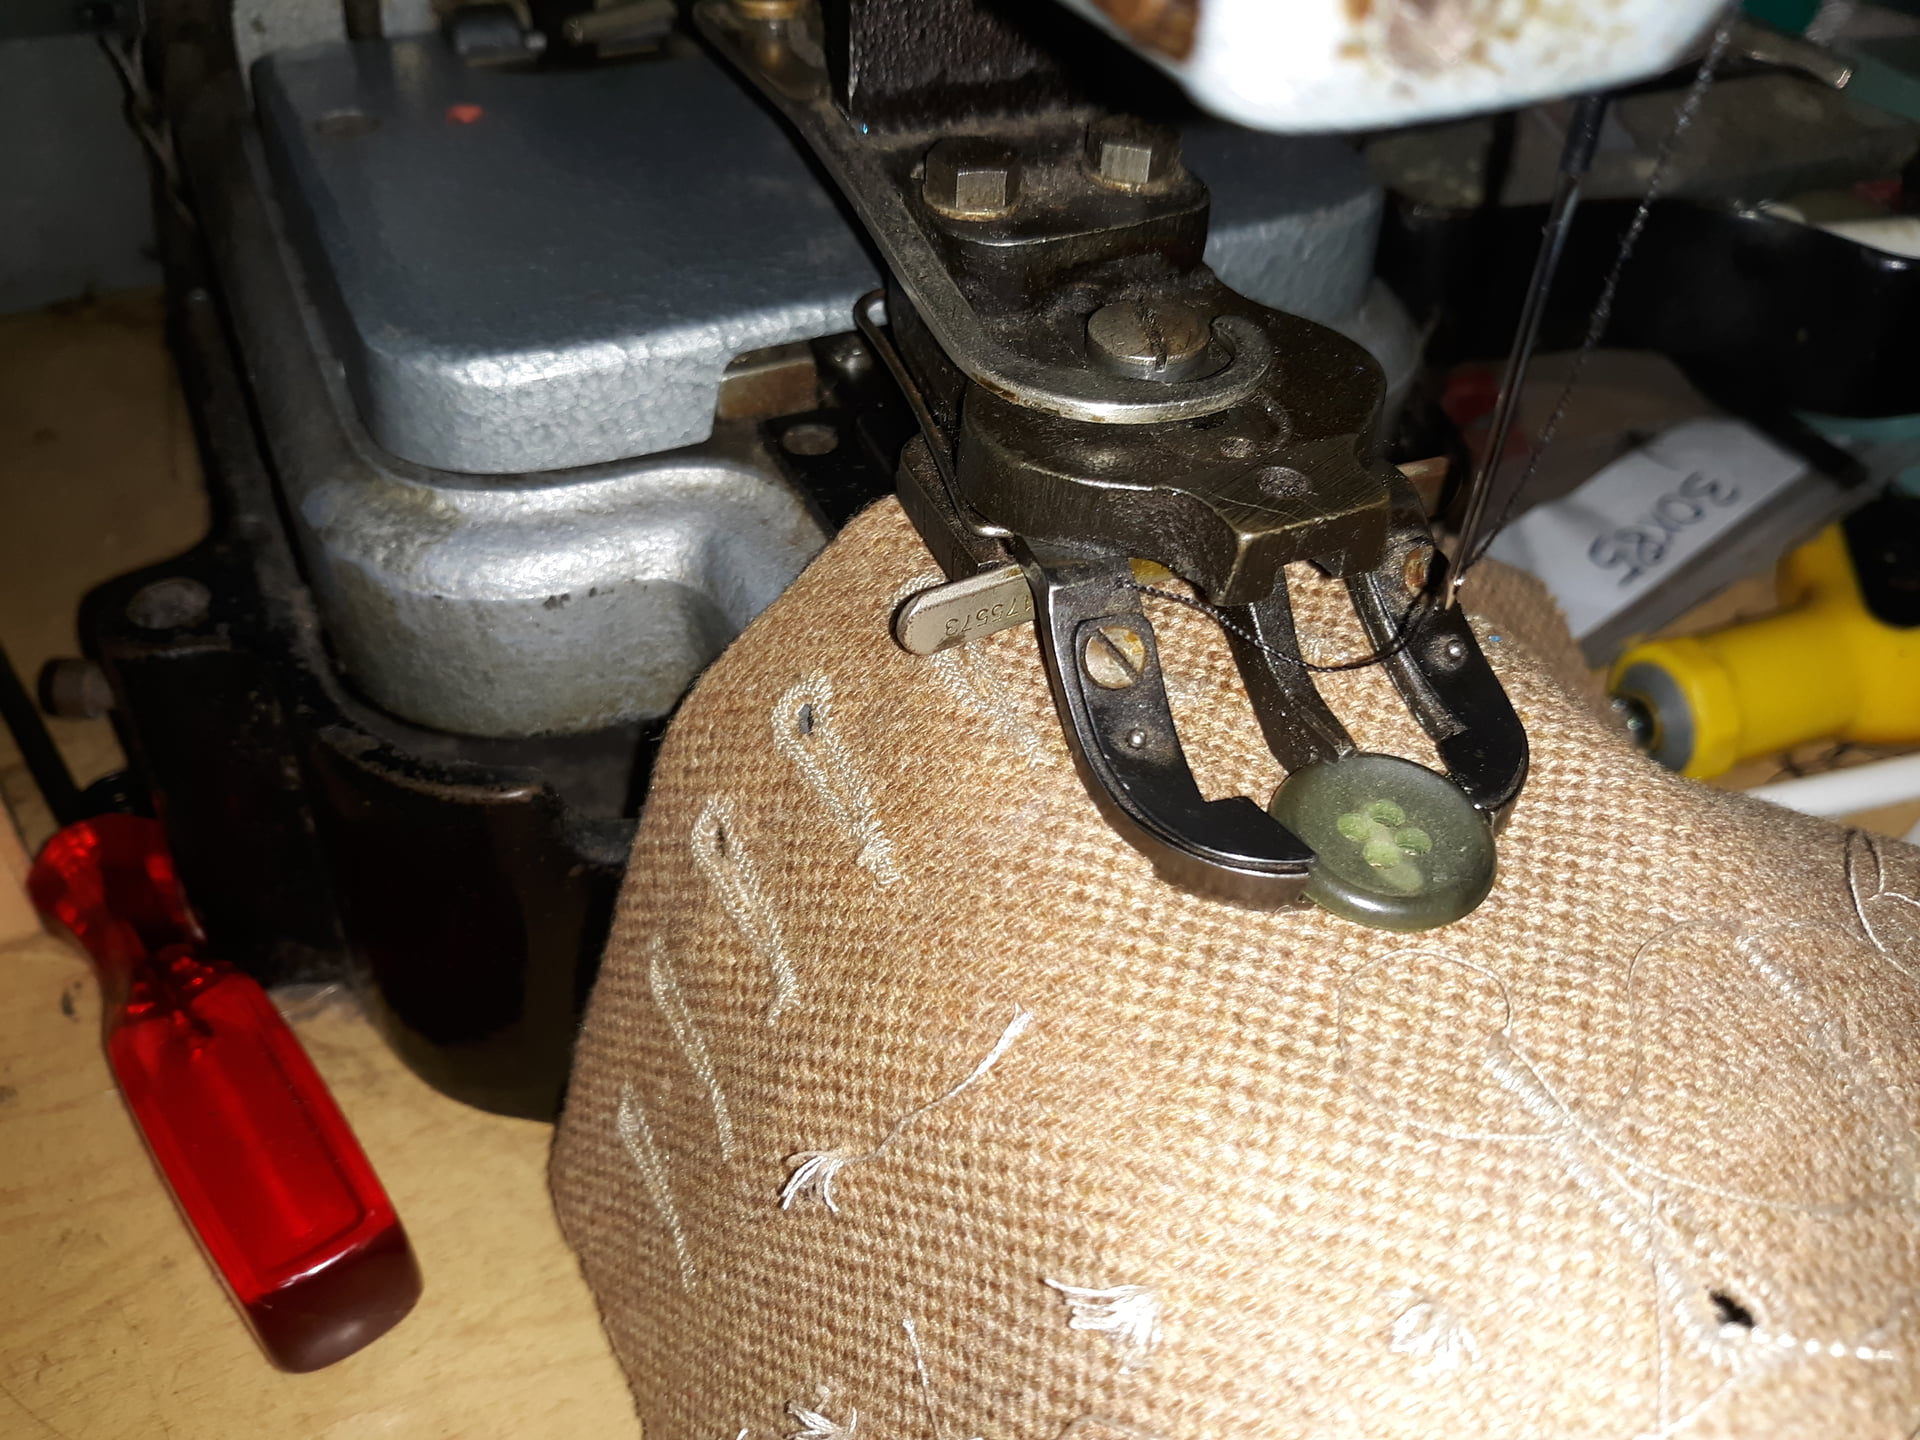
Same Singer machine - albeit a newer “blue paint era” model set up to stitch 4 hole buttons. This type of machine had 2 cams. one that makes the machine go side to side, the other to make it go front and back. When stictching shanks you would disable the front to back… or more specifically set the front to back travel distance to 0. This pick is with the plastic guard out of the way, as it was common to break buttons or worse the needle if the button wasn’t aligned correctly OR if you were doing 2 hole buttons and forget to disable f to b.
Did you happen to catch the number on the buttonhole machine counter? Almost 370 million buttonholes! Not all were made by us… my partner found the machine used at some place that went out of business.
Thank you very much everyone for all those precious insights!
Thank you @Douglas for the pictures, you made me discover the “semi - industrial” side of sewing that I didn’t know at all, some of these tools are really not kidding
By reading all of this I think I’ll stop pinning and cutting with shears and I’ll try to weight the pattern on the fabric, trace it with tailor’s pencils, then cut it with rotary cutter.
Even if tracing the pattern is an extra step, I think it could be worth it since there’s no need to pin the pattern to the fabric… And I don’t want to cut the pattern with the rotary cutter by cutting directly against the pattern.
What dissuaded me from tracing the pattern on the fabric was that I haven’t found a proper tracing tool that does not require a tremendous strength to be visible, that can be washed off easily, and that is more precise than classic tailor’s chalk. Maybe I should try some quality chalk tailor’s pencils…
LOL, yes, I did. I don’t think modern-day equipment can quite measure up to that sort of use, but I may be wrong
Don’t laugh… My favourite chalk is boiler-makers chalk. Very cheap at the hardware store & when your hubby is a boiler-maker… there’s always bits & pieces laying around.
I’d be lying if I said I never made the mistake of marking something where the marking didn’t come out. A lot depends on the fabric, and it depends on whether you use actual chalk, wax or a regular graphite pencil. I had the benefit of a dry cleaning spotting gun where I could just remove any marking be it chalk, wax or pencil. Anything white is always a problem. Anything with a satin finish can be tricky to remove stary markings as even the spotting fluid / gun can dull the finish.
That’s what I would do… when I needed accuracy I would use a pencil, otherwise I’d just use the tailor’s chalk. Although the fabric may determine which to use, as the pencils don’t draw very well on rougher or stretchy fabrics.
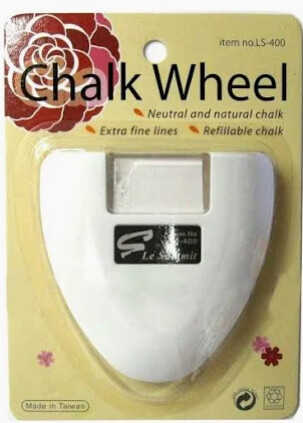
Years ago I tried one of those chalk marking wheels… they have a slot at the bottom, and there’s a toothed wheel that spins as you draw depositing the chalk that you fill the resevoir with. They make a dotted line. You would think it’s a good idea, but they nevered worked well for me. My recomendation is just try different things and see what works for you, but be prepared to adjust depending ont he fabric.
No you’re not wrong. Many older machines were just built better. There were no plastic parts. And there’s no comparison between industrial machines and consumer “home” machines.