Hello,
I am trying to extract the pattern pieces for a quarter circle skirt, and for some reason it does not work, and I have no idea why not. Here is a screen shot, but will also add the file, so that someone smarter can look at the formulas and see if I did something wrong.
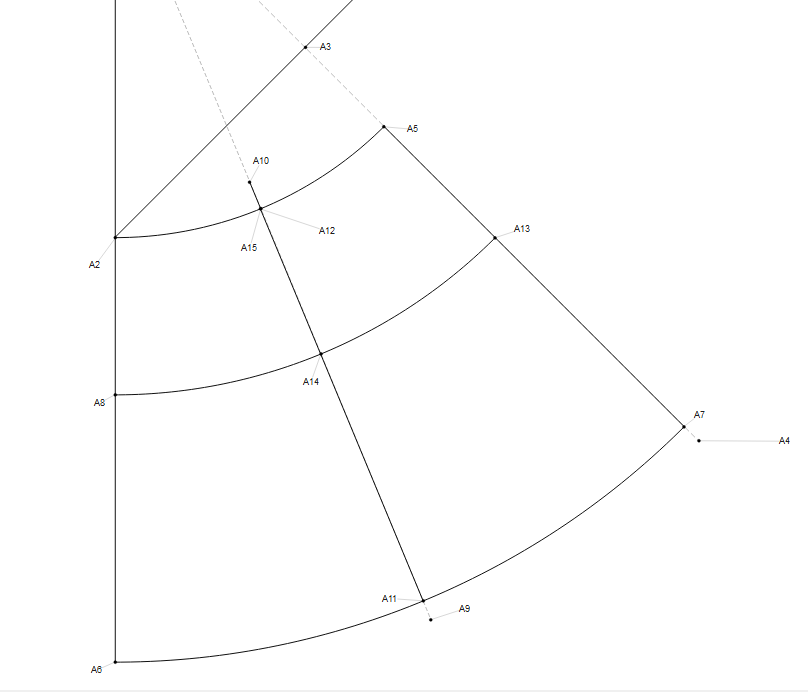
My first piece would be A2, half of the radius, A15, A14, A11, half of the radius, A6 and A8. This would be half of front skirt.
Hi Ioana… I tired to take a look at the file, but I need the measurment file to open the file.
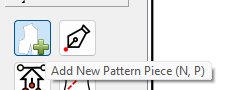
Assuming you’ve clicked the Add piece toolbutton:
You would select Point A2, then the curve, point A15, then point A14, A11, then the curve, then A6, and A8, and finally Enter. Only thing is I’m not sure of their name or which direction the curves are going. so they may need to be reversed if they don’t automatically reverse when selected.
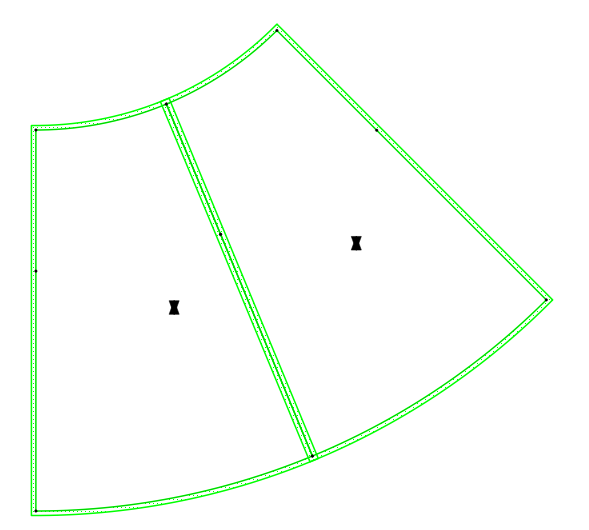
Gotcha. Since you used arcs, which always go in a counter clockwise direction… when you select the top arc, there’s no problem as it’s going clockwise as far as the piece selection. The bottom arc on the other hand is now going counter clockwise as far the piece selection. So… you have to hold the shift key while selecting the arc. The arcs need to be manually reversed with the Shift key as they won’t autoreverse like curves will.
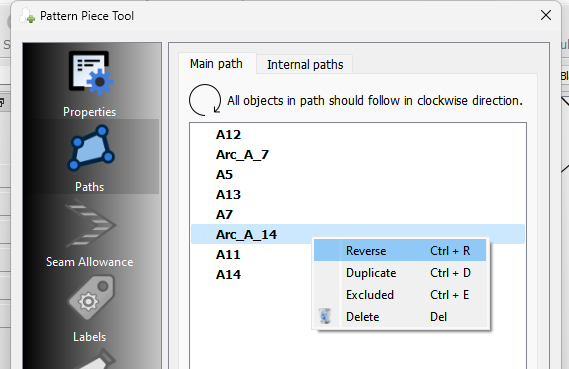
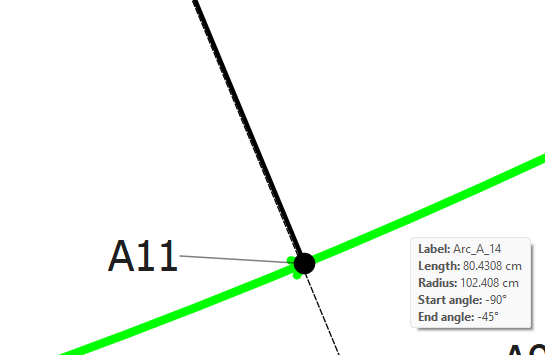
You can also reverse a curve or arc after the fact by using the context menu in the Main path list. I selected the nodes for the other half of the skirt… as you can see I did not hold shift, so Arc_A_14 is not reversed, and it needs to be. Without reversing the arc it just produces a straight line. I just reversed the arc node and clicked OK.
We should probably make a note to maybe fix the visualization of arcs to show the direction arrows better… currently it only puts one arrow at the mid point - which in your case is right on the other (seam?) line, under a point, so it’s hard to see.
You can’t change the visualization… it’s part of the code that each tool has, so It’s some that I or someone else would need to change in the app. The simplest thing to do would be to just make the arrows a bit bigger. Since it’s the same routine that draws the arrows it would also affect all the other curve types as well. Even knowing the arrow was there somewhere I had to zoom in to find it. LOL
Oh, what to say on this side…as I read over and over again in other posts about reversing the direction of the arc or the curve, but it still did not ring a bell on my brain when I had to do it… I am grateful that you guys are here to help always the newbies like me.