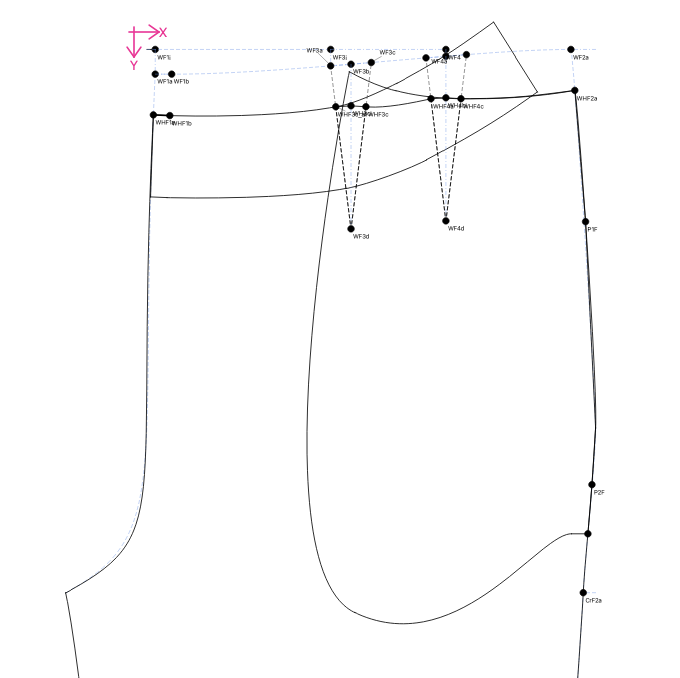
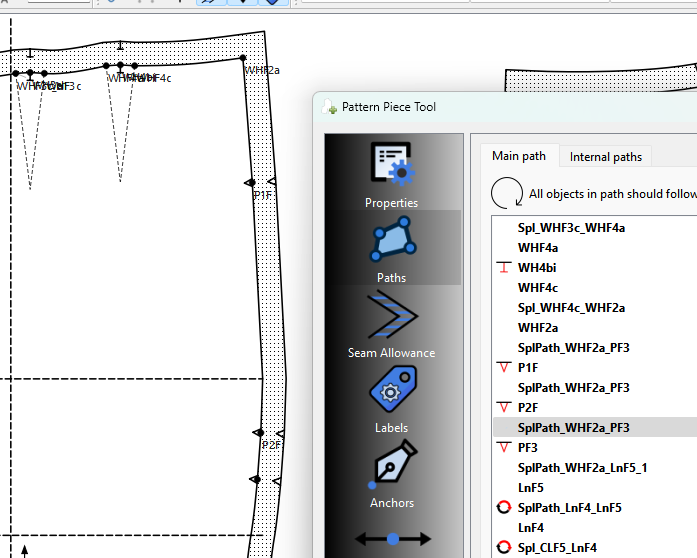
I have a main spline that connects the waist to the pant base starting at WF2a and ending at LnF5 (the base of the pant). I’m using this as a backbone.
I have a variable that drops the waistline from the true waist by a custom amount, say 2cm. This is WHFa- constructed as a point on SplPath_WF2a_LnF5 (not an actual control point, just a point on).
I have a pocket. Its length runs from WHF2a to PF3- a point also constructed as a point on SplPath_WF2a_LnF5 (name not shown on diagram).
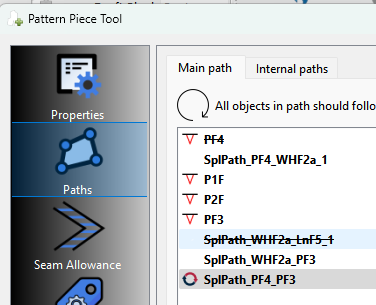
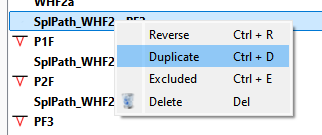
All great until I’m trying to piece. To get a separate piece for each of the pant front and pocket with the notches correct, I need to draw two new splines- one for the pant front with the dropped waist and one for the pocket. But then trying to keep all three in sync and on top of each other seems to be impossible and very fiddly.
I feel like this must be a common problem as it’s quite normal to want to reuse curves by cutting them up. Do you have any tips or suggestions for managing this?
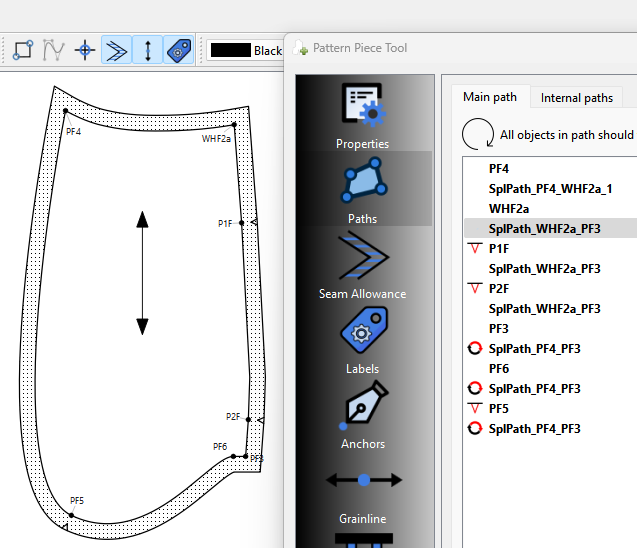
Just reuse them. You can make as any many pattern pieces from the points and curves in a draft block as you want. There is no need to draw curves over one another.
Ok.. one issue I’m finding is… when you create a new piece and you want to include notch points on a curve you have to click the curve, the notch point, and the curve again. The app knows how to break the curve / spline into segments based on any points on curve you’ve included. For example:
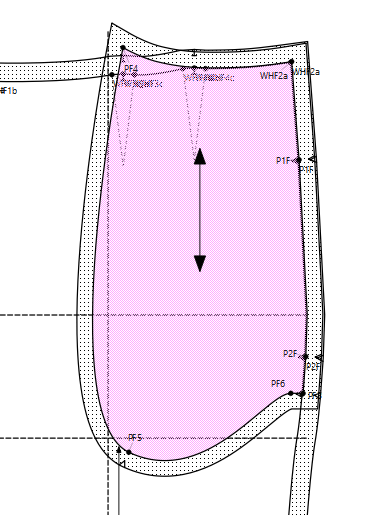
And if you look at the front piece… the main path is also no good… you’re just drawing straight lines from WHF2a, to PF1, to PF2 to PF3… there’s no curve in between.
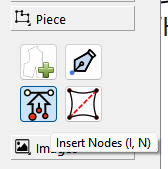
You can insert nodes to an existing pattern piece usimg rhe Insert node tool:
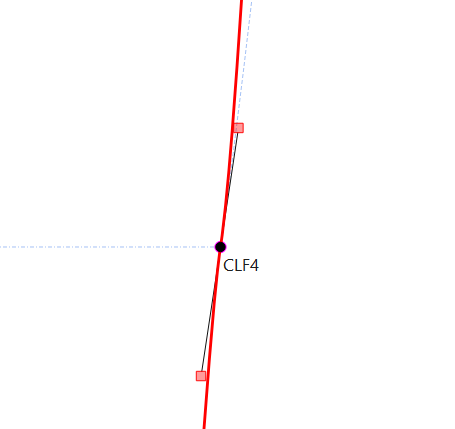
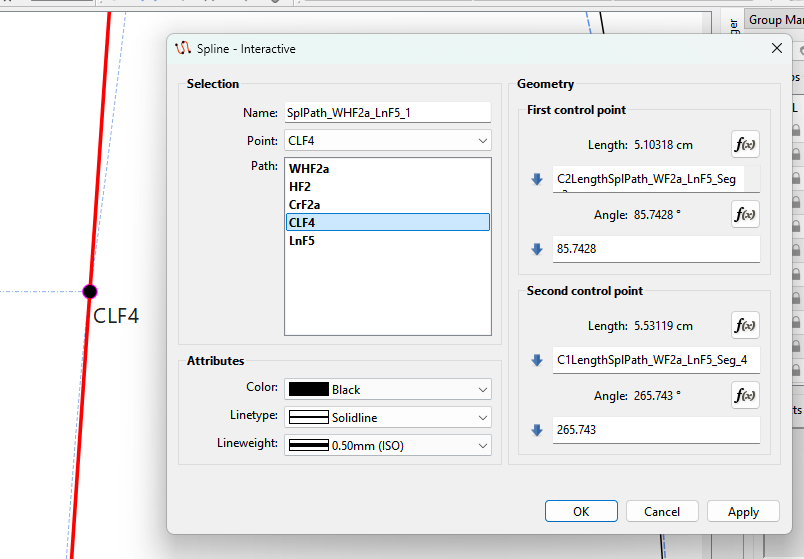
I removed the formula at CLF4 as it puts a kink in the seam. Again there’s no need for the other spline. Note: With splines… the control points at nodes are fixed at 180 degs apart. If you add a formula to one of the control points you’ve fixed the other point.. thus the kink above.