Reposted, & updated from: SeamlyMe multisize measurements. The need for this tutorial was brought up in that thread, & I couldn’t find a tutorial easily, so hopefully this will be easier to find next time it comes up!
To setup Individual measurements follow these steps:
-
Open SeamlyMe, (if you already have Seamy2D open, you can easily do this by navigating to the Measurements menu, or using the key-combo ctrl/cmd-M)
-
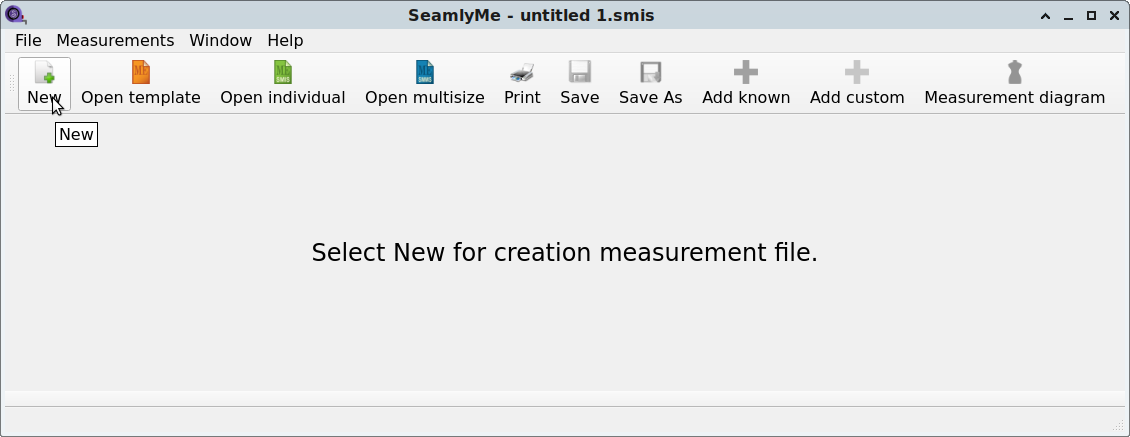
Create a New measurement file. File–>New, ctrl/cmd-N, or the icon pictured here:
-
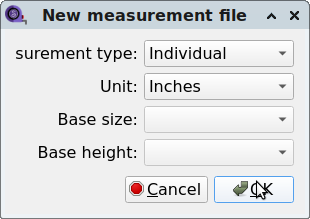
Choose what type of measurement file to make. I will be choosing a file for an individual’s measurements, because that’s what I do. Measurement units can be Inches, cm, or mm.
-
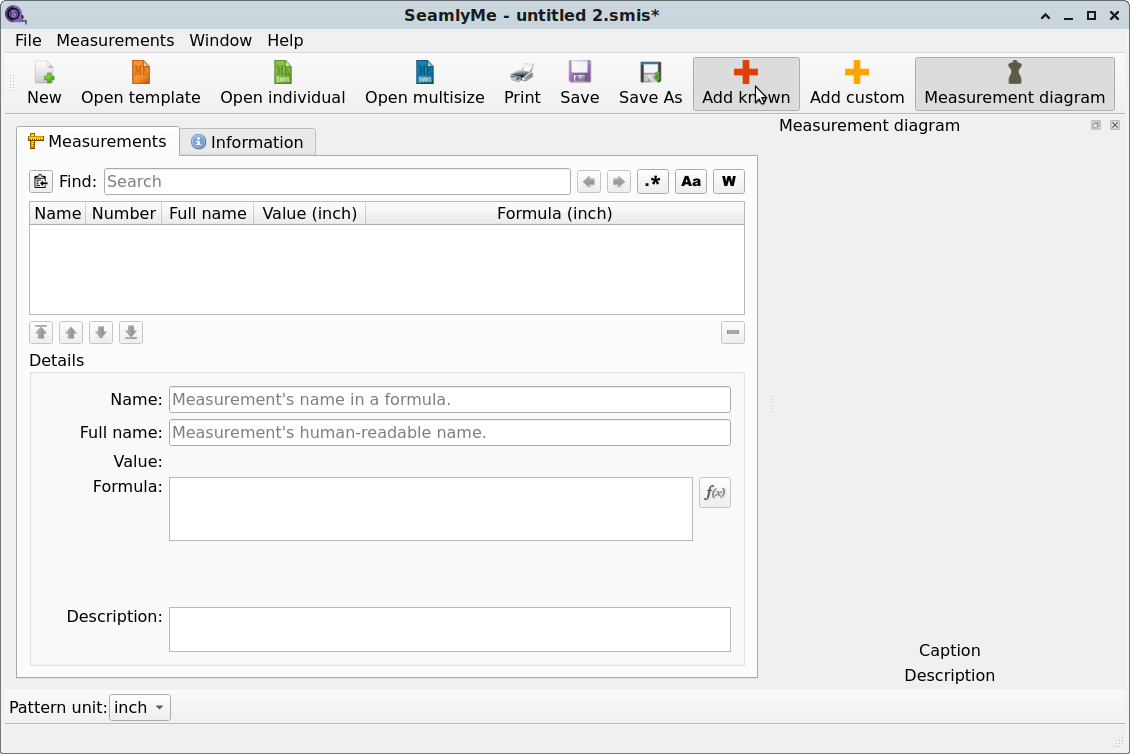
Add known measurements. (or for Custom, skip to step 8.) You will find the option ether under the Measurements menu, or the icon as pictured:
-
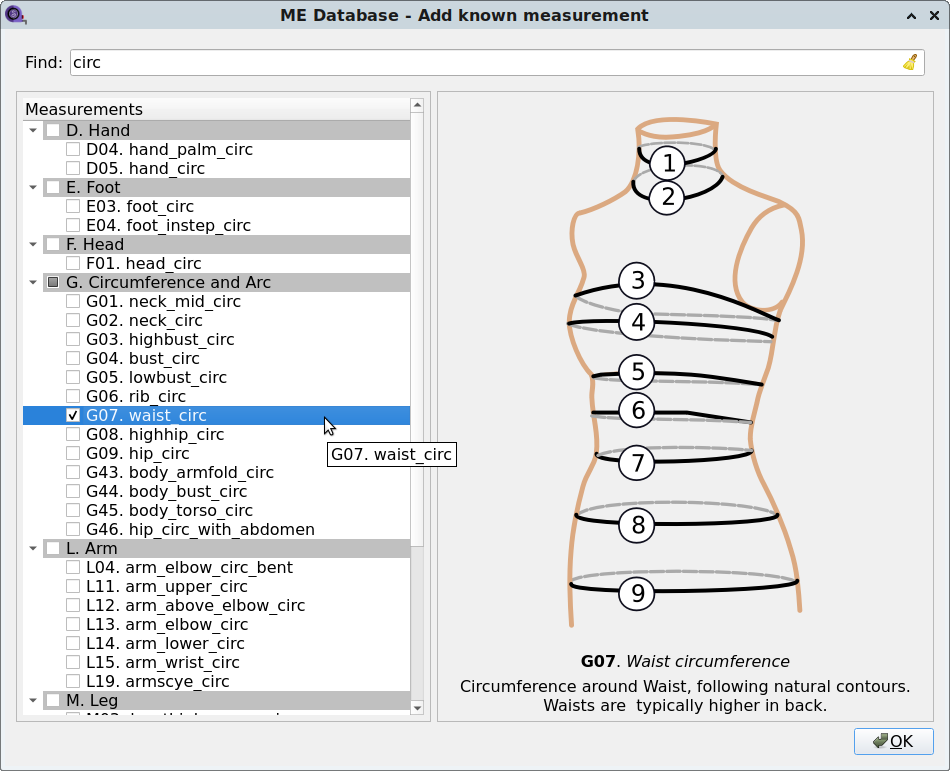
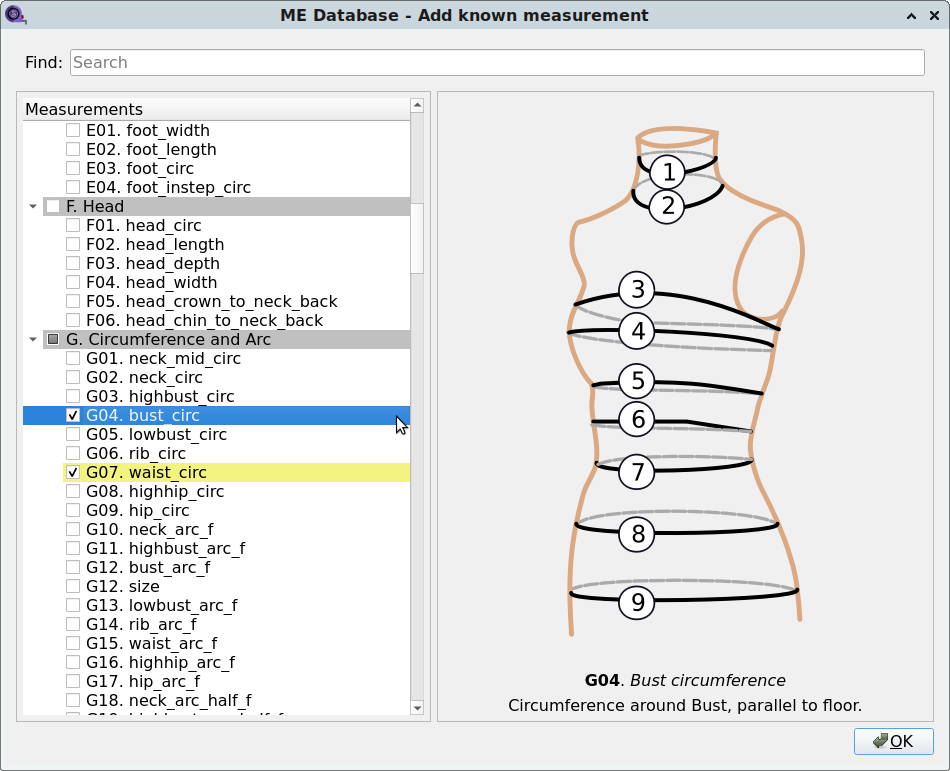
In the known measurements dialog you can use the search bar at the top of the known measurements list to constrain it to measurements containing a certain string of characters. Click the checkboxes for the measurements you want. Click OK when done.
-
Don’t forget to Save your progress! Oh wait! I forgot that I need a chest measurement!
-
This time I just scrolled down to measurement, because I’m familiar enough with this one that I didn’t think to use the constraint. Just add any additional measurements same as before. The measurements that were previously selected will be highlighted with yellow, as you will see in the picture:
-
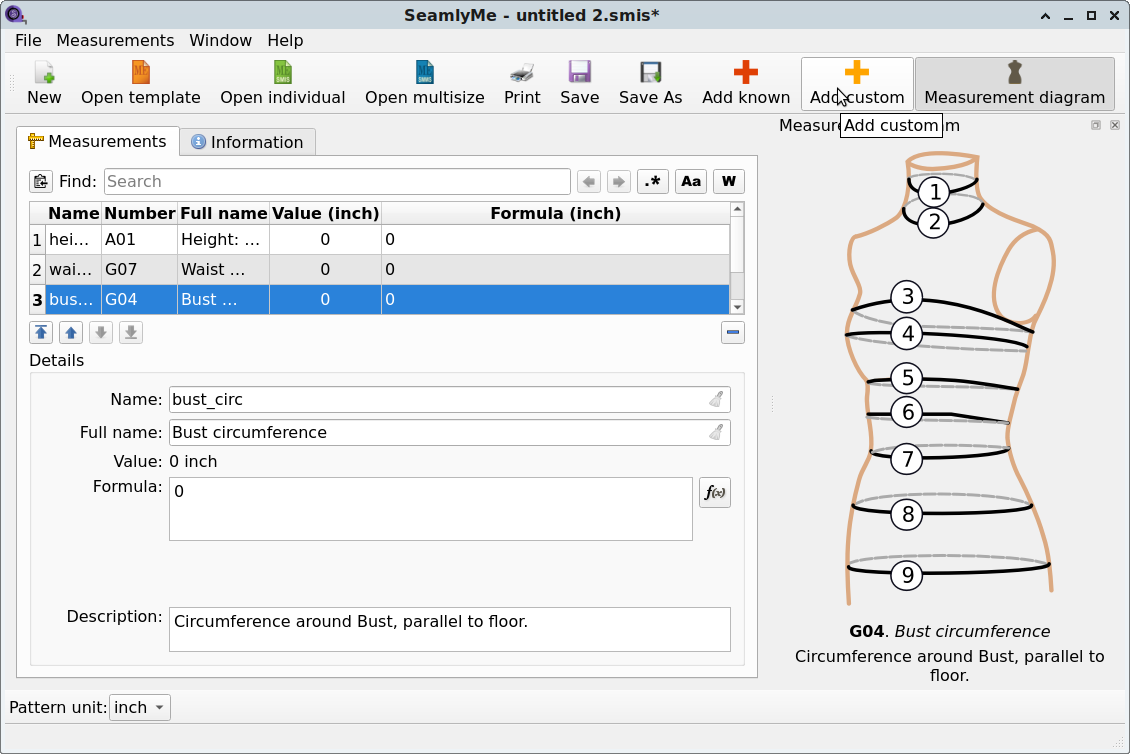
To Add custom measurements, measurements which are not part of the “known” list, or you prefer to call differently, such as if following the Muller drafting system, you can find it in the Measurements menu, or click the icon as pictured:.
-
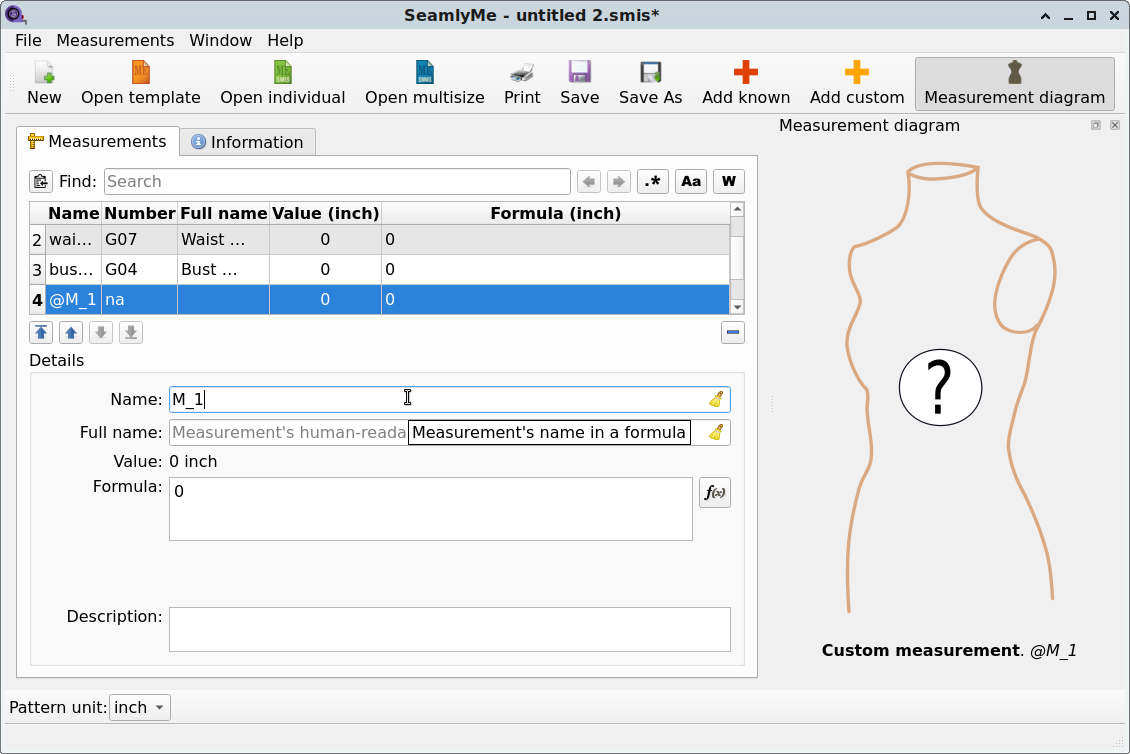
The name defaults to M_1(2, 3, &c.) but you can name it whatever you want as long as it doesn’t include mathematical or C programming calls. I suggest something fairly basic. When using it in a formula, you will call it with an
@e.g.@M_1if you use the default name.

Happy drafting!


