I’m working on this new pattern and I was wondering how to move certain objects. I’d like to create a yoke at the shoulder so as to include part of the front shoulder on my back shoulder.
I know there’s a tool that allows you to move objects, but I don’t think I’m using it correctly.
I’m not sure I’m the one to answer this question, but if you would post a picture or the Seamly2d/Me files it will make it easier for someone to give a pertinent answer.
You normally want to do this when you’re making a shirt with a back yoke.
What I do is I place points on the front shoulder area which I’d like to move over to the back & then I use the Move & Rotate tool to move it to the back shoulder.
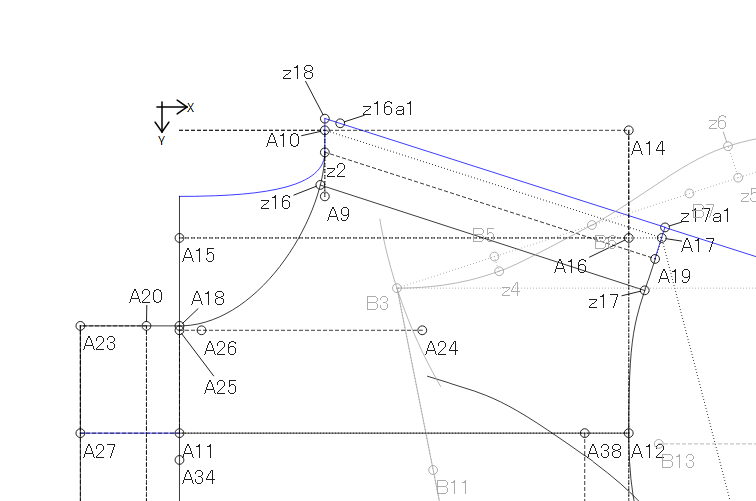
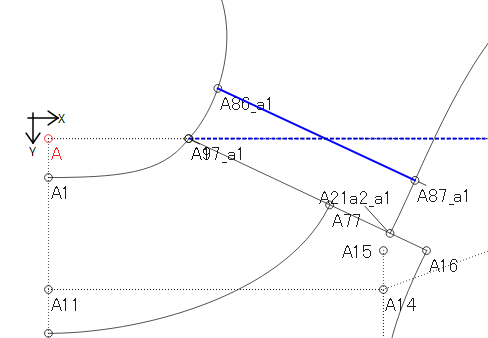
Bleh! I can’t find a pattern that I can show you right now, perhaps this one will give you an idea:
Thank you @Grace for your answer. Unfortunately, I can’t seem to figure out how to use that tool properly. I just extended my back shoulder 3 cm and shortened the front shoulder as well. I’m gonna make the muslin either today or tomorrow. If it works, fine! Otherwise I’ll continue working on it until it works!
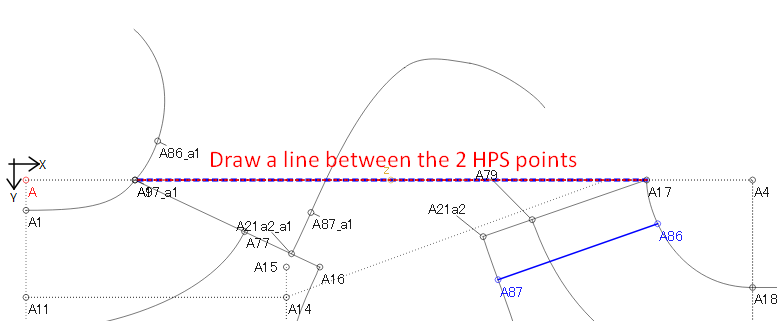
First I marked the section that I want to move over to the back shoulder.
Then draw a line between the 2 HPS points to get the distance and the angle of the move between the 2 points.
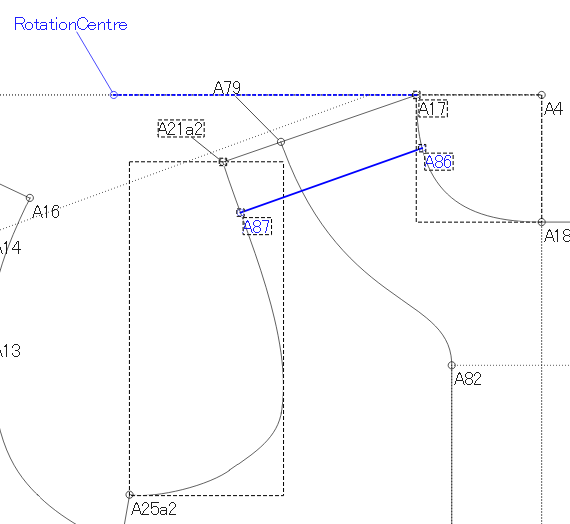
Next, pick up the Move/Rotate tool and select the curves and the 4 points to be moved while holding the Ctrl/Cmd key and hit Enter:
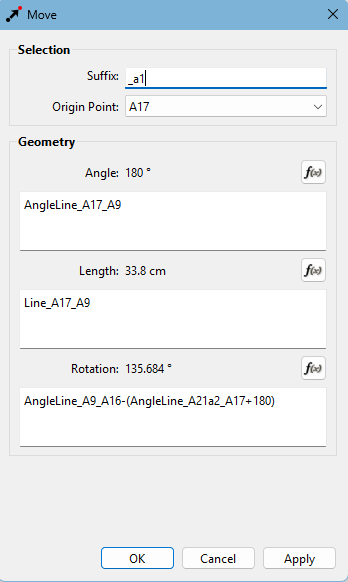
In the rotation box, enter the formula of the back shoulder line - the front shoulder line to get the angle that the front shoulder line needs to be rotated to fit onto the back shoulder line.
Hit OK & you’re done.
Draw in the new back shoulder line on the moved/rotated piece.
Ok, so my shoulder lines don’t match in length but this is a very old pattern that needed a few gathers at the back shoulder instead of a shoulder dart.