I’ve started on the Panties tutorial. I actually want a pair of trunks to wear under my ballroom dance practice skirts. (Guess what the subsequent patter will be? Yes. A practice skirt.)
I’m going to ask every bone headed question there is!
I went to SeamScape™ BodyDbl got a bunch of measurements in. It guestimated others. The wist, hip and waist to side hip it collected. However, its “crotch length” is from the center of the front waist to the center of the back waist. This is clearly not the crotch length on the panties tutorial which seems to be roughly half that?
The tutorial doesn’t say how to measure this crotch length front. How do I measure that? Or should I just add a formula and make “Crotch length front” half the full crotch length?
(Oddly, I am toying with the idea of making a video for everything on the Mac showing what I did when I’m done. But I can’t promise it. But right now, I’m definitely tooooo slow! I’m taking notes where I had questions and resolved them myself too.)
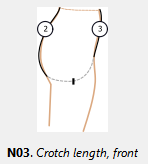
Looks like they didn’t add all the Seamly measurments. I suggest to look at the Known measurements in SeamlyMe. There are diagrams that show each measurement. What you want is the crotch_length_f: Normally the front is going to be less than 1/2 the full crotch length, but not always.
No. The bodydouble didn’t add 2 or 3 from that image. I’m sure there are others they miss. It’s still a nice tool to get a good start. Some things– including 3 and 2 are hard to measure on your own!
What I ended up doing is googling and finding a non-software discussion of what seems to be the same panty. Then I did math based on the known gusset length and other features of the draft! Normally, for perfect fits you’d want to do it the other way around– find the perfect gusset length based on body measurements. But the panties tutorial is (mercifully) simplified for a beginner. And, after all, these are panties.
Just keep in mind that the order of measurements is important if a formla for a measurement uses other measurements. Included measurments have to appear above the measurement they are included in. That’s why sorting is disabled in the measurements table.
Thanks! That makes sense. The seamscape body double has zero calculations. Other than mine, there are no calculations. I assume the order matters in “variables” too?
My main goal with the panties draft is to learn all these things and find out other things I need to know.
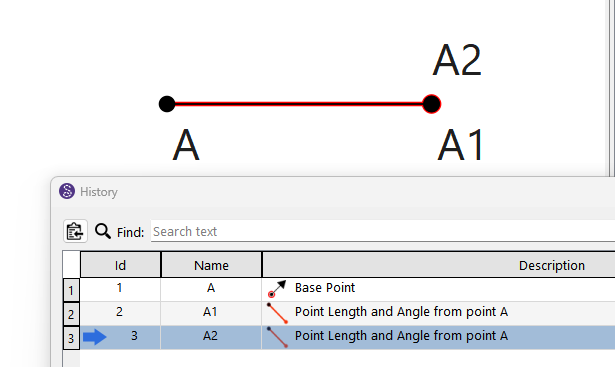
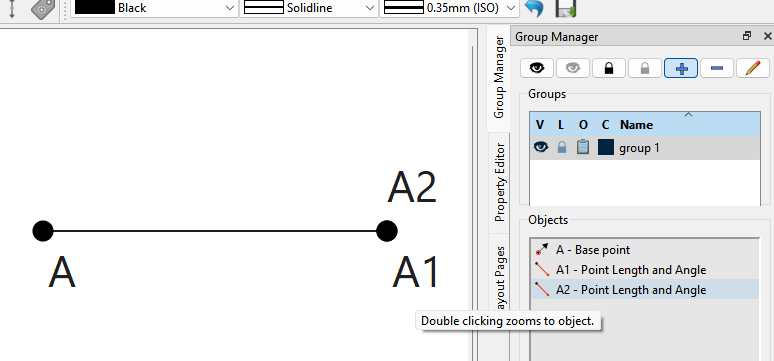
I had made a mistake in my draft and needed to fix. I think it was point A16. The mistake caused two points to be superimposed and I didn’t find it until later. I think A16 was directly “under” A22. (It doesn’t really matter which they were. The point is, it’s difficult to click the point “under”. So I could click A22 but not A16. So making mistakes motivates this question:
Is there a way to step through all the points and double check the entries ? Or to load the properties for a point I’m not managing to be able to click? I was able to focus zoom in on the location of A16. But that didn’t bring up the properties. (And I tried several things.) I also still couldn’t click on A16 because A22 was literally on top of it– not close– on top.
I ended up intentionally screwing up the entry A22. This moved it away from on top of A16. Then I fixed the A16. Then I fixed the properties A22. This is do-able, but strikes me as inefficient.
Is there a feature like “find properties of point A16”? Or “step through all the points”?
Yes. Actually order matters with the application in general. The xml pattern file is parsed in a linear fashion so what ever ite it is measurement, variable, tool, draft block… it can only access data from what ever was defined before it.
You don’t have to specifically click the point… you can click the point name as well. Grab the top point name and move it if neccessary, you can now click the point name below it. I often just click the point name as it’s usually a bigger target for the mouse to hit.
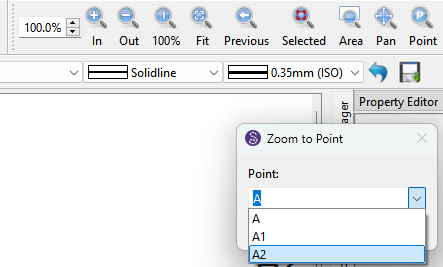
There are several ways you can find a point… but they don’t select the point.
Open the History, and click on the point name… it will highlight the tool.
I”m trying to figure out why.
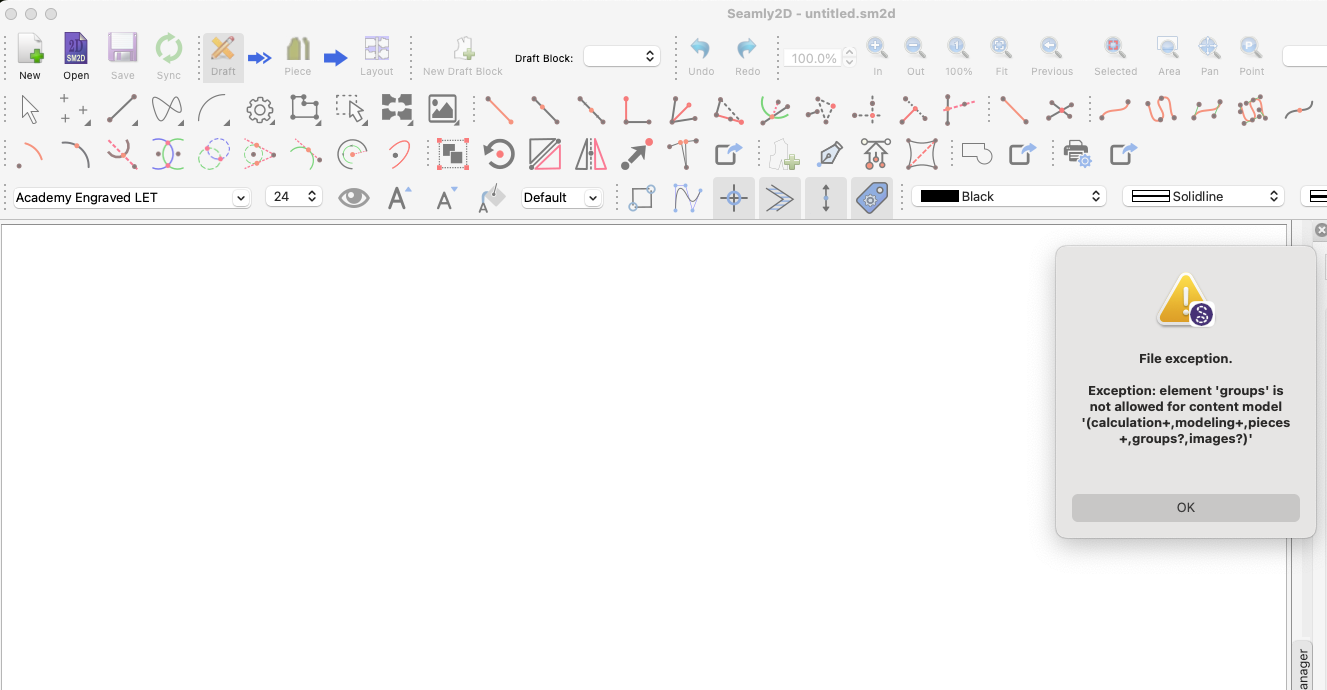
I made sure I could hide and reveal the group. I’m heading back to my earlier question. Maybe I’m still missing things from GitHub?
Basically, everything I entered is unavailable to me.
I knew it would be a learning curve though.
I’m also going to see if I replicate the problem with a simpler shorter fake pattern!
Please send me your pattern and you measurements files so that I can fix that error.
This is because it’s placing the groups after the images in the pattern file, so the 2 sections just need to be switched.
If you go to Help > About Seamly > then click on the Check for Updates button in the bottom left corner, the latest release of Seamly will be downloaded. Then you need to close the program once you get the notification that the download is complete, double-click on the .exe file and install the latest version of Seamly so that this doesn’t happen again.
You have an older release of the app that has a bug with writing the Images and Groups in the wrong order. Like @Grace said update the app, and upload your pattern and we can fix it.