Hello, i try a new tile really specific: “le premier motif qu’on puisse assembler à l’infini sans faire apparaitre un motif d’ensemble qui se répète” and the print don’t use the up left part of the paper ! The try is in the file. Is there a little mistake ? More a tag with increment for each piece if quantity is more than 1 of the same piece but each drawn on the paper. It can be use for a patchwork. y use linux ubuntu + sealmy2D build 83cf6224020f Thank a lot Tortue.val (44.8 KB)
2 Likes
I assume you’re exporting from Piece mode, not printing from Layout mode? If this is the case, then yes, the (virtual) paper only shows the content to the lower right of the “Axis Origin”. If you export as DXF or SVG & open the file in a vector drawing program you will see that all the information is still there. Or you could select all the pieces, & move them into the lower right corner.
I hope that answers your question!
ETA: It didn’t. That problem had been fixed, but I forgot & failed to double check my work.
![]()
1 Like
No it doesn’t. When you export from Piece mode it exports the whole qGraphicsScene with each Piece as a seperate block.
I exported the pattern as an SVG in Piece mode. I will note that currently the export engine does not include any brush fills in the pieces. Haven’t got there yet.
1 Like
Wen printing the result is different in mode landscape and portrait. There is one tile witch is not present. (in A4 => 8 or 9) Thanks
1 Like
Not sure what you’re trying to do?
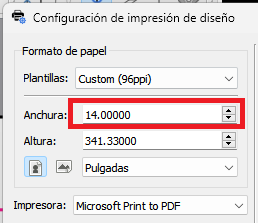
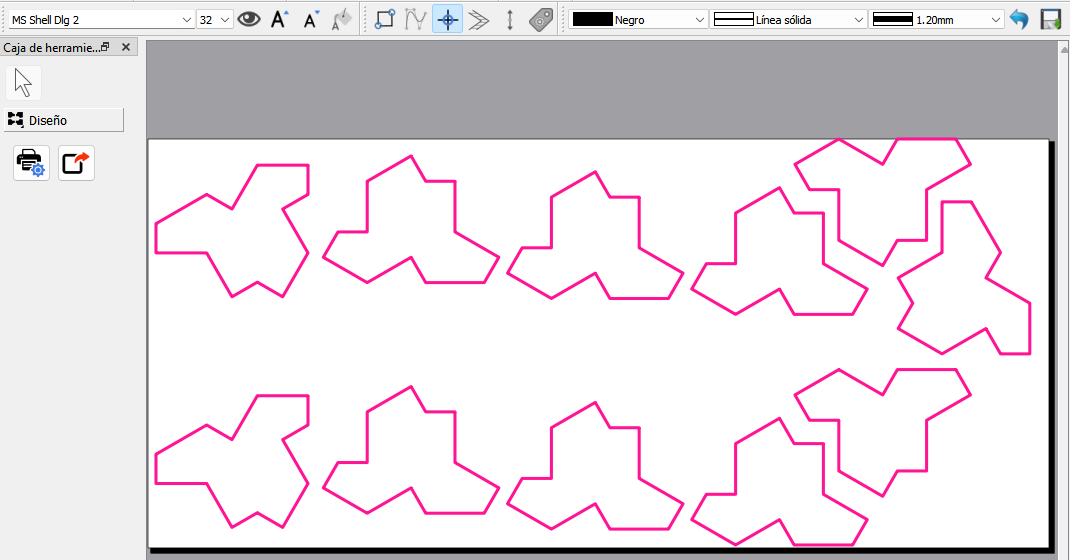
I made a layout using a custom 14inch wide roll… the length is irrelevant as long as it’s long enough to fit all the pieces. The empty length will be cropped.
which gave me this:
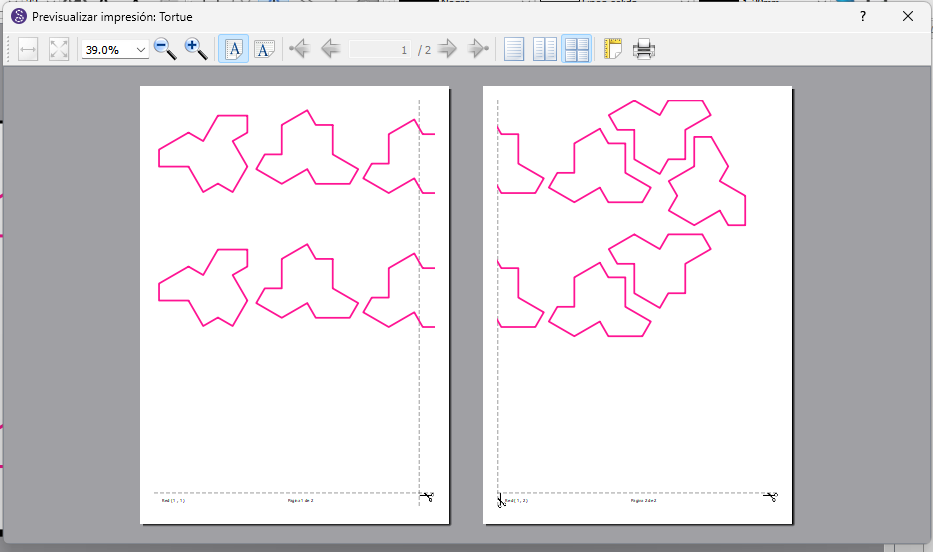
If I print as Tiled PDF I get this preview… 2 pages of A4:
If I export as A4 - Tiled PDF I get this:
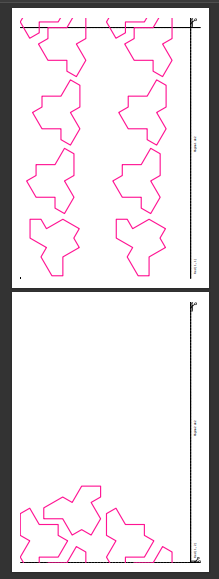
Or this depending orientation selected.
2 Likes
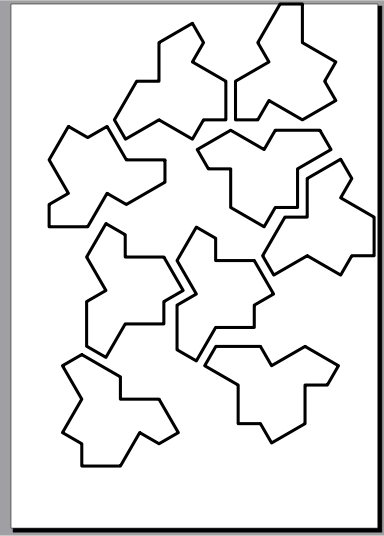
My A4 layout, with 1cm margins, is previewing fine:
All eleven tiles are fitting on the single sheet. If the problem is that not all of the tiles are fitting on your A4 in Layout mode, try changing the layout parameters, particularly the “rotation.” I have no idea what it’s supposed to be doing, but it is the parameter I have found to be most likely to make everything jiggle down in a somewhat sane manner. Of course, the wider your margins, the less area you have to lay out your pieces as well.
![]()
1 Like
Y put the copy of the command then the résult
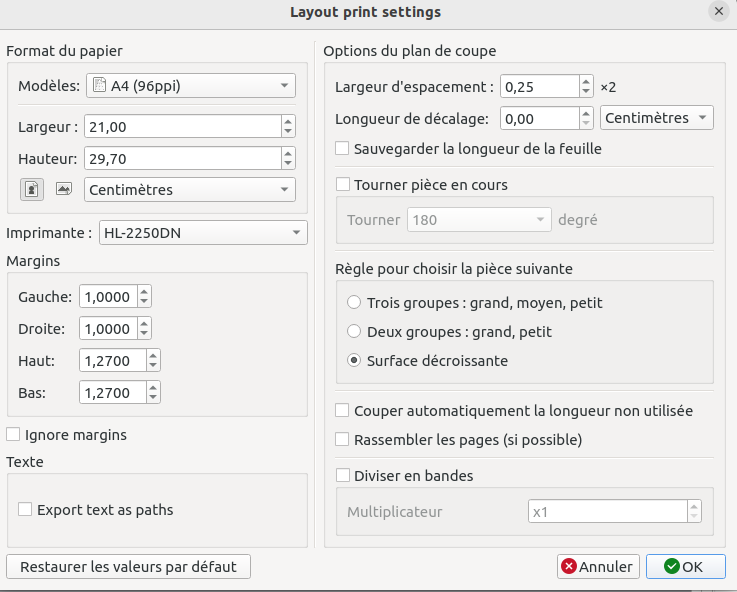
one part for portait
the over part landsacpe
allway in A4 with tthe rotation enable for each picture.
nb y use the word tile meaning part of a roof or a floor but
it also understand by you as a part of the printing … !
Sorry !
2 Likes
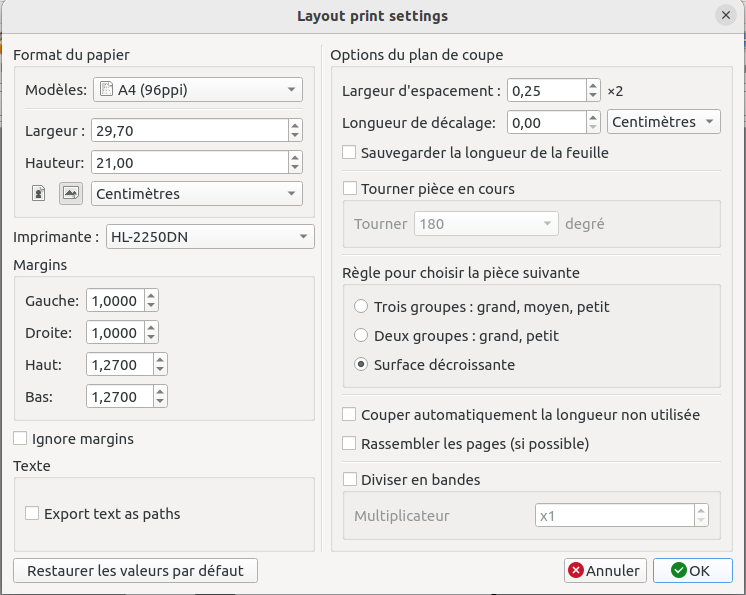
In the Margins section of the Layout print settings dialog, change the “Haute:” & “Bas:” margins to 1,0000. Or you could try reducing the “Options du plan de coupe” “Largeur d’espacement:” to the minimal possible amount, but that will make the tiles crowd together. Either method ought to work to make all the tiles fit on one sheet of A4. Or, if you know that all the tiles in the Piece mode are fitting in an A4 area, just export from there. It seems to automatically grant margins of about 1cm.
Best wishes!
![]()
1 Like
Again I’d have to ask, what are you trying to do?
What I’m seeing can be very easily accomplished in an app like Inkscape by duplicating 1 tile and manually fitting them on a single A4 page.
On the other hand if you need to add seam allowance, grainlines, notches, labels, etc… then Seamly2D makes sense.
2 Likes
I try to do what Douglas said (manually) but automatically. to have a view of the result and testing then activate the seam for the picture of the cut with optimization of the use of the fabric.
But the soft produce unexpected different picture with the same area (without margin to simplify) in landscape and portrait.
I put a colour different for each peace but i don’t see them.
a add the file with more tile … Tortue.val (81.8 KB) Thanks
1 Like
“à la main mais automatiquement” —this is nonsense.
It doesn’t matter how precisely you have the pieces laid out in Piece mode, Layout mode will play 52-card pick-up with it. Eventually Seamly will have a proper Marker mode/companion, but until then there are perfectly good FOSS options to do that sort of thing, such as Inkscape, so basic usability issues get priority.
From Piece mode, click the tool to export, & export as an SVG or DXF. Open the file with Inkscape, & manually —by hand— arrange & color the tiles how you like.
Peu importe la précision avec laquelle vous disposez les pièces dans le mode Pièce, le mode Disposition jouera à la pioche avec 52 cartes. Un jour, Seamly aura un mode Marqueur approprié, mais en attendant, il y a de très bonnes options libres pour faire ce genre de choses, comme Inkscape, donc les problèmes d’utilisation de base ont la priorité.
En mode Pièce, cliquez sur l’outil à exporter, et exportez en tant que SVG ou DXF. Ouvrez le fichier avec Inkscape, et manuellement – à la main – arrangez et colorez les tuiles comme vous le souhaitez.
Traduit avec DeepL Translate: The world's most accurate translator (version gratuite)
![]()
1 Like
That’s because the app doesn’t export the pieces yet with the fill color. I’ve just been busy fixing and working on other features to add the color. I’ll get there eventually. ![]()
2 Likes
We’ve probably discussed this before, but a big issue with Layout mode is it was designed strictly as a print layout, and it doesn’t matter how pieces are arranged. I think many users get confused and think it creating a marker or cut layout. That’s why I think with some tweaks to the Piece mode, we can just dump the Layout mode.
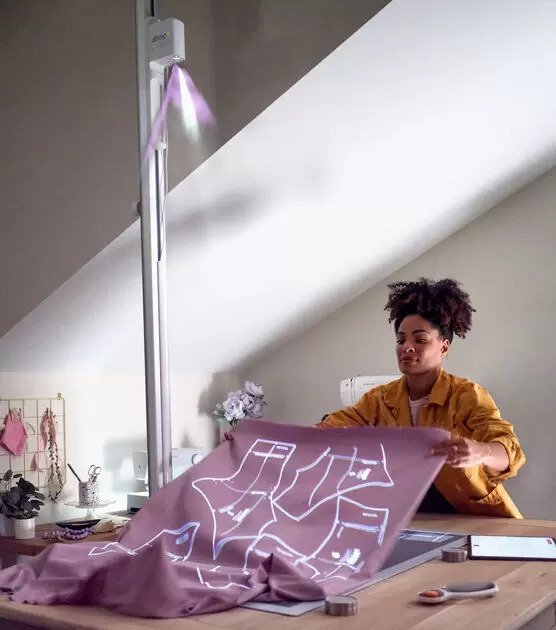
BTW… I just got an email today from JoAnns (the fabric chain stores for those who dont know)… it was for a new Ditto "Projector " that Is available at Joann’s as well as the pattern service that goes along with it. Hmmm. I get that projecting is a thing with home sewers, but after cutting stuff for 42+ years it’s not a real workable workflow commercially. We could have an endless conversation on the pros and cons in another topic.
Update: The Ditto lists for $799 and is $599 at Joann’s (online only).
1 Like
As @Douglas & @Pneumarian has said, at this stage, the colours don’t export to the printed document. That is something that will come later. I’m so sorry.
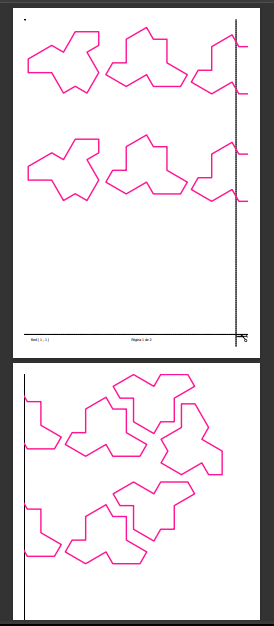
If you don’t want to use other software, the best way to arrange your pattern pieces is to draw the size of the paper/fabric you wish to use - minus the margins. Create the paper/fabric size as a pattern piece. In this case, I created 3 pages.
In Layout mode, place the ‘paper/fabric’ pattern pieces next to each other or below each other, as you wish and then arrange your pattern pieces inside the borders of the ‘paper/fabric’ (in Layout mode), until you are happy with the layout… You can either set these ‘paper/fabric’ pieces to print, or not.
Once you have your pages set up, you can arrange the pieces on the other 2 paper/fabric and export only the one to PDF. Repeat until you have all 3 pages.
Here are the files that I changed/created:
Tortue.val (87.9 KB)
Tortue_pieces 1.pdf (1.6 KB)
Tortue_pieces 2.pdf (1.7 KB)
Tortue_pieces 3.pdf (1.7 KB)
If you would like to join the 3 pages together, I’m afraid you will need to download another free app… PDFSam.
I hope that this helps you a tiny bit to get going with your pattern.
2 Likes
I think you mean Piece Mode.
Of course the current limitation is that we can’t rotate pieces in Piece mode. And without getting to far ahead… what you have outlined here is what we need to do with the Piece mode… is to be able to select a Paper / Fabric format - where the boundries are automatically displayed on the screen,and then you can then drag and arrange the pieces within the boundries. We could keep the automatic layout of pieces, but we would have the added ability to manually arrange pieces. Also as an aside, we need to be able to drag as many copies of a piece on to the “marker” as we want as well as flip pieces… without having to create multiple pieces in draft mode.
3 Likes
LOL, thank you, @Douglas. Sorry, I’ve been burning the midnight oil a bit too much lately.
Yes, everything you’ve said is the end aim, but what I’ve done here is a work-around until such time that we’ve managed to do it all. My aim here is to give @doc something that he can use right now to get his pattern made and usable. ![]()
2 Likes
Hello Grace, Douglas, Pneumarian
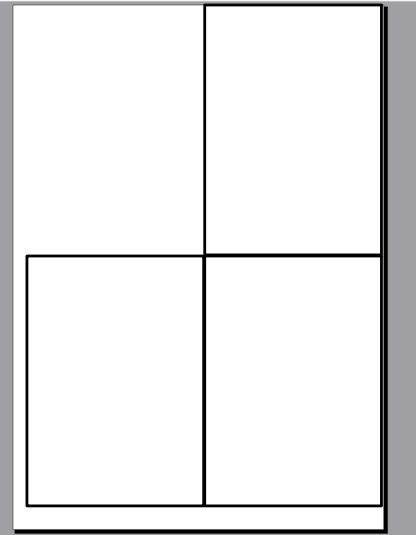
A do an other try to explicit my observation. A draft with 4 peaces (20cm x 28,29 divided by 4) to by cut in a A4 paper. But , without seams, without margin, with rotation any enable the result don’t contain all the 4 peaces … Do you see it like me ? Thanks
PNX_4_TEST.val (11.1 KB)
1 Like
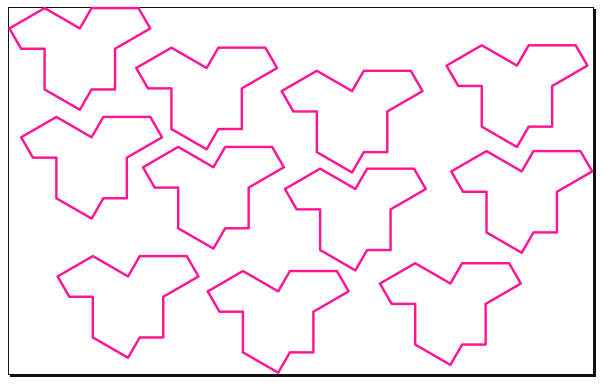
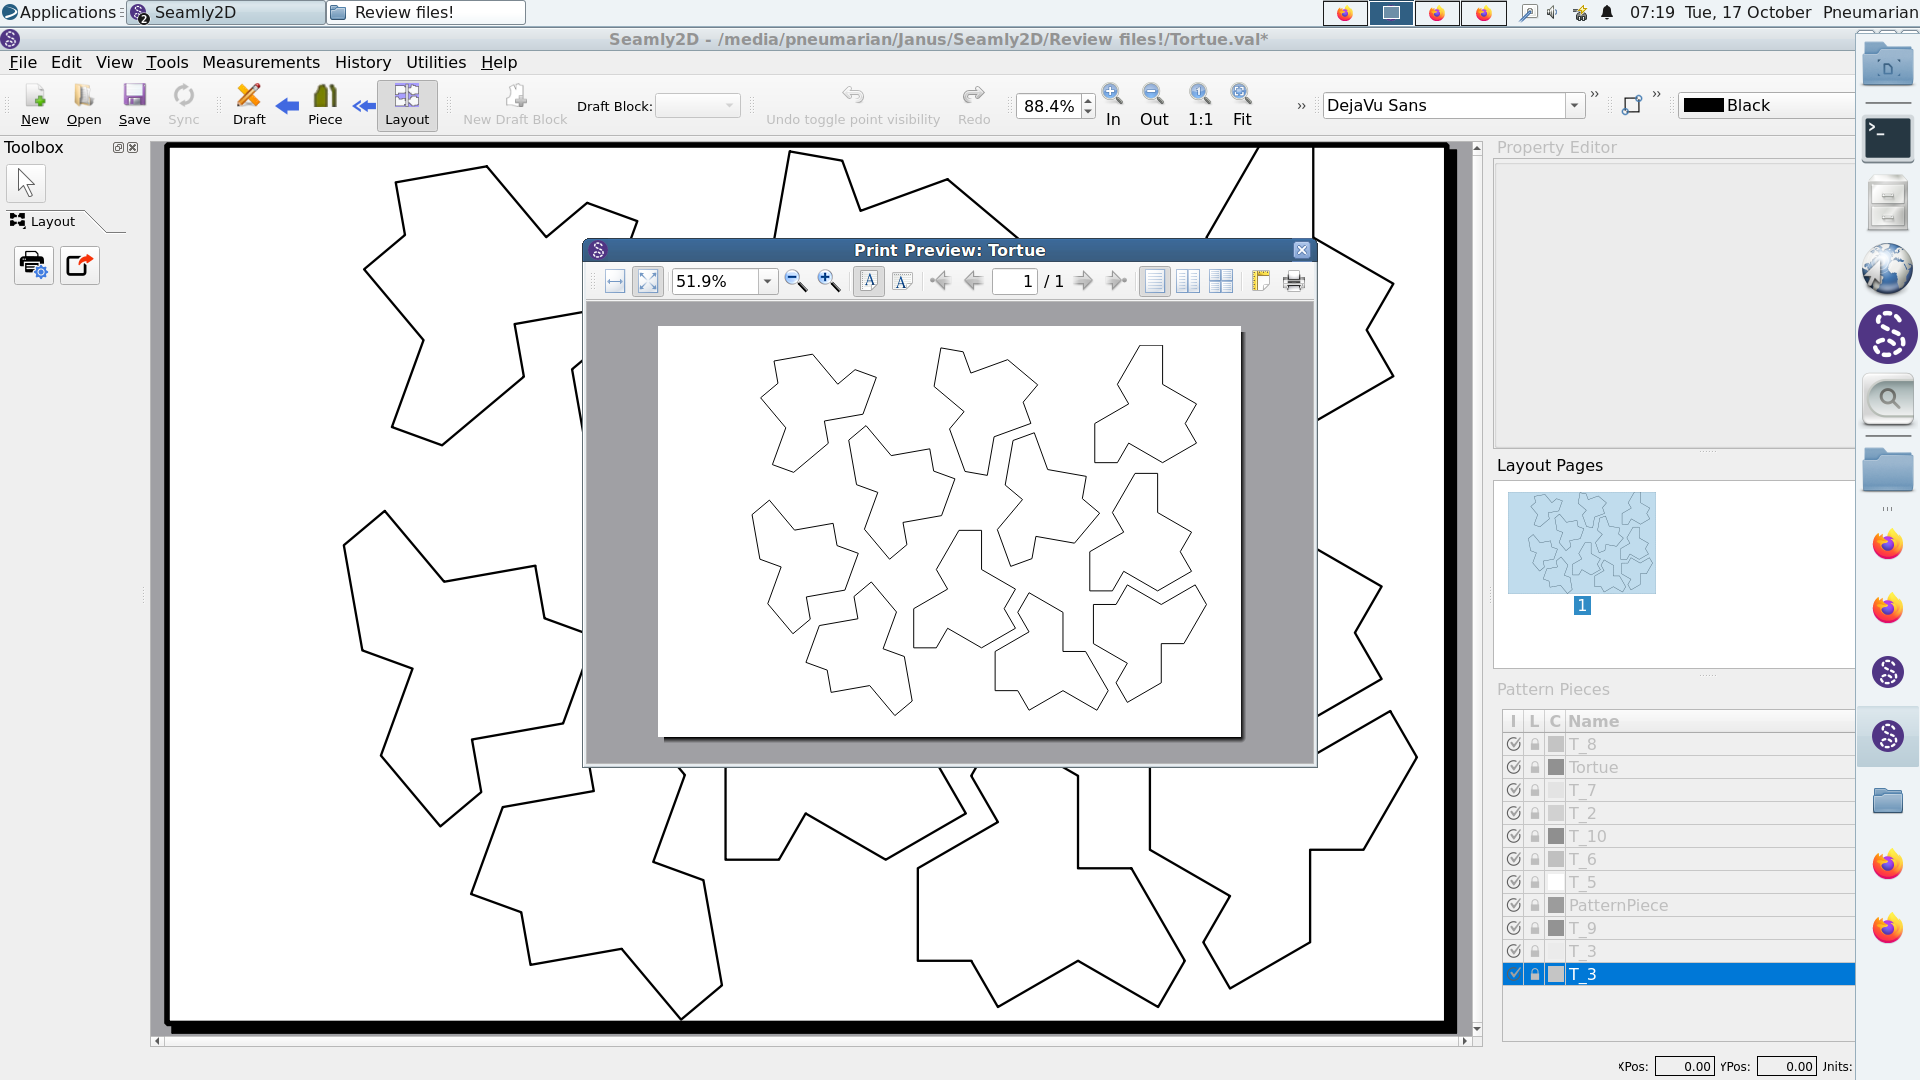
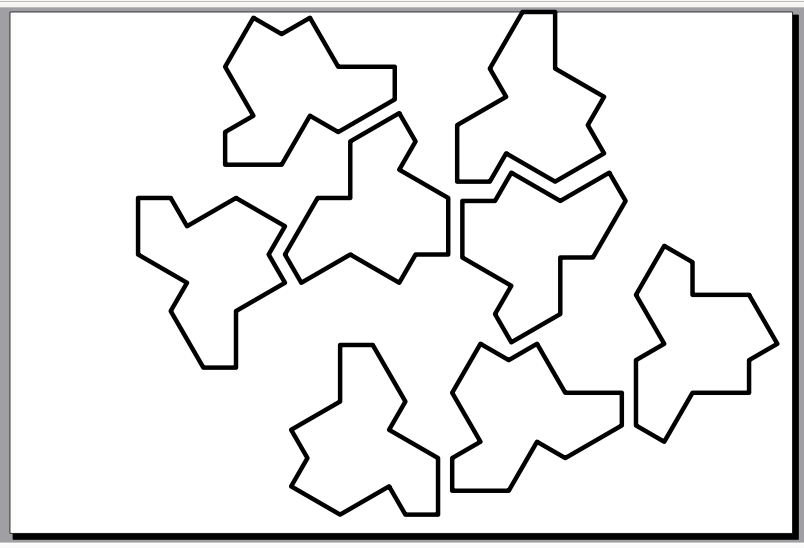
As we’ve said, the Layout mode does not provide an optimal layout for anything, just an okay one depending on your needs. If you need an optimal layout before an improved Piece mode – which is already somewhere down the pipeline – is developed, you must use a separate software, such as Inkscape, to perform your optimal layout. Furthermore, in this example if you had just exported from the Piece mode without mucking it up, you already had your perfect layout:
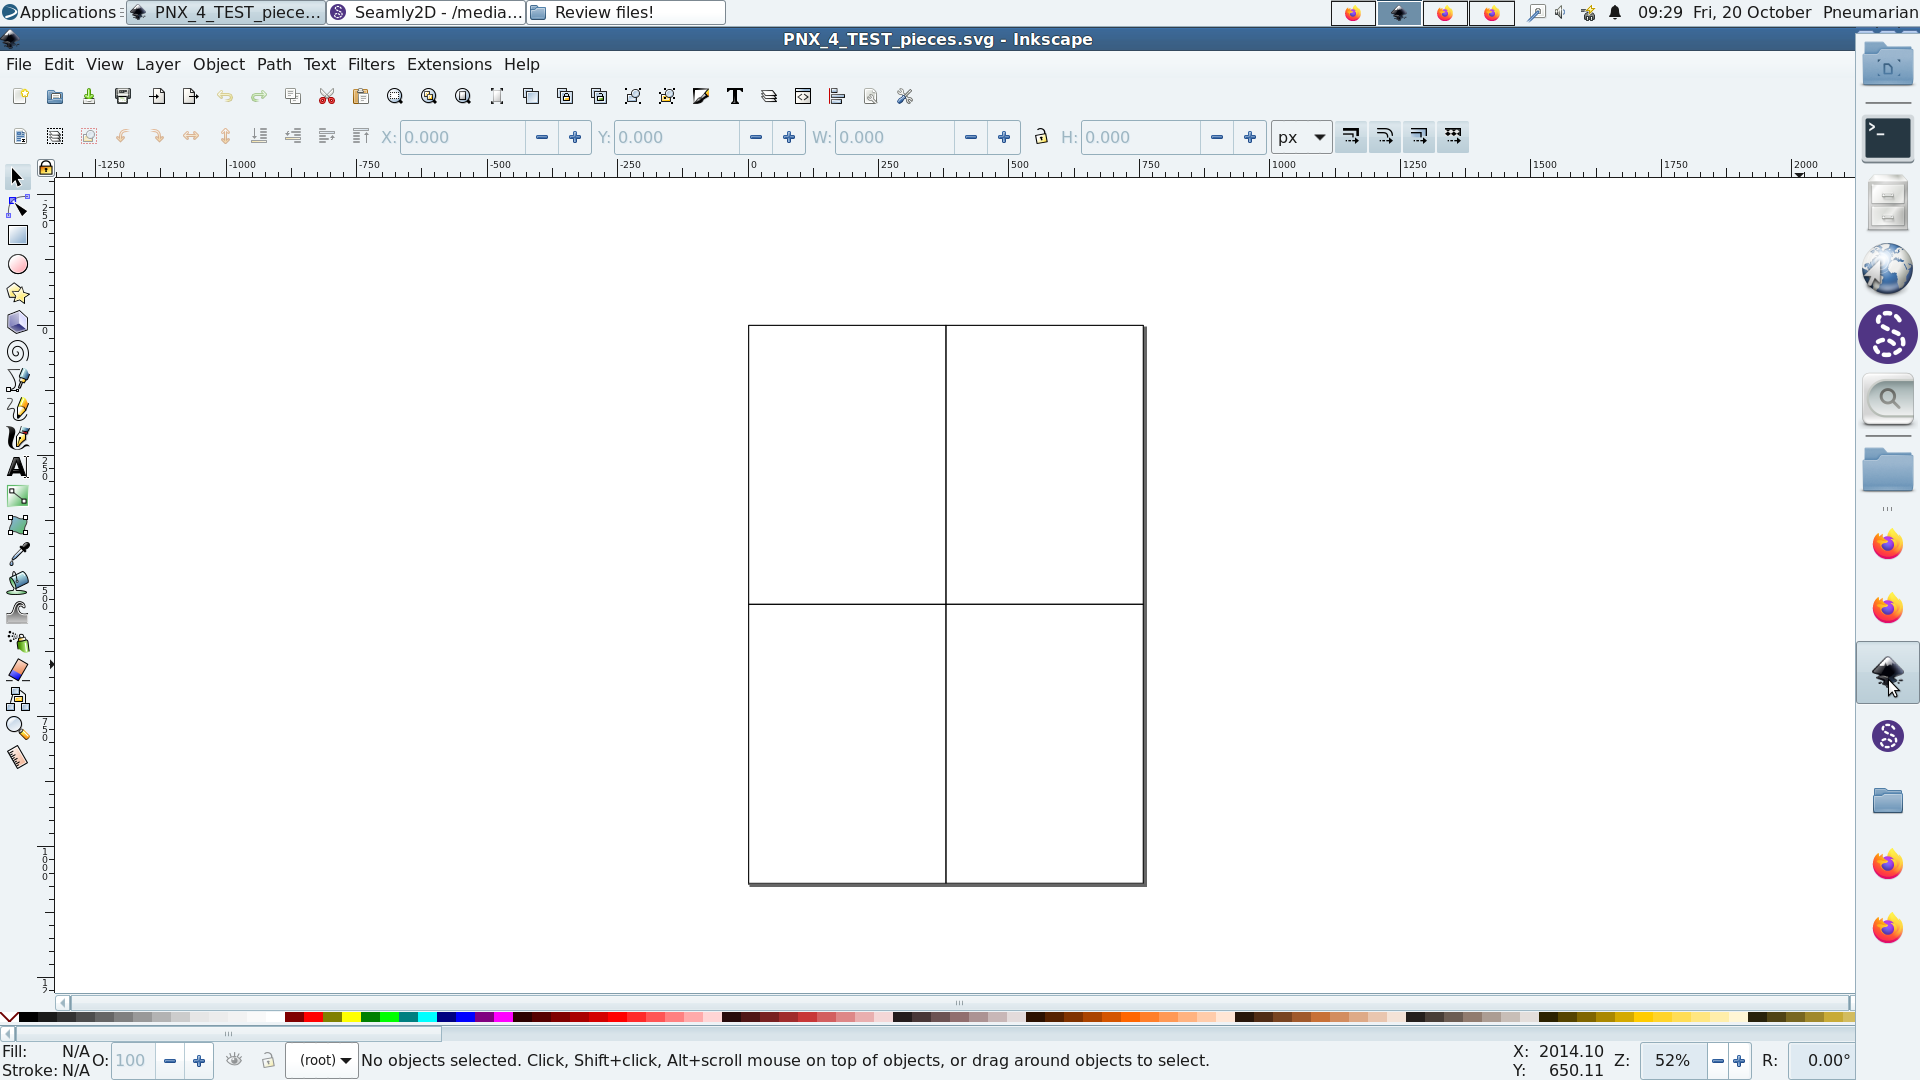
@doc Comme nous l’avons déjà dit, le mode de mise en page ne fournit pas une mise en page optimale pour quoi que ce soit, juste une mise en page correcte en fonction de vos besoins. Si vous avez besoin d’une mise en page optimale avant qu’un mode Pièce amélioré – qui est déjà quelque part dans le pipeline – ne soit développé, vous devez utiliser un logiciel séparé, comme Inkscape, pour effectuer votre mise en page optimale. De plus, dans cet exemple, si vous aviez simplement exporté depuis le mode Pièce sans l’abîmer, vous aviez déjà une mise en page parfaite :
Traduit avec DeepL Translate: The world's most accurate translator (version gratuite)
![]()
2 Likes
Understood ! Thanks a lot
2 Likes