Wow! That is really nice. Well done!
Is the Origin not the point where you started selecting the objects for the pattern piece?
Wow! That is really nice. Well done!
Is the Origin not the point where you started selecting the objects for the pattern piece?
Understood. I was spoiled as I had a 6 foot by 40 foot industrial cutting table, and various large size cutting mats at my costume shop. I emphasize “had” as the entire shop was lost in a fire 2 years ago.
Hmmm. I assume you’re using a dashed type line? What we could do is create a custom linetype just for cutting a perforated plot. So intead of one of the dashed lines, we define a custom loooong dash as a QPen style. So instead of this:
- - - - - - - - - -
We could try something like:
----------- ----------- ----------- ----------- -----------
Where it would be enough to hold the paper together, but easier to tear apart. It should also cut faster and be less wear on the machine.
I did a little investigation. Vevor vinyl cutters support G-code… which means you could write the pattern out in G-code (Inkscpape extension?) where the code has the instructions to do the pen plotting part, a pause command, then the cutting part instructions. So you just send the G-code fle to the cutter first using the pen… it plots, it stops, you change to the knife, then manually restart the machine, it then cuts. No need to change or reset the origin. As long as the cutter tracks true it should line up ok.
BTW… if the tracking is an issue I would suggest to break the pattern up into smaller groups of pieces so there’s less chance for error with shorter sections of paper having to go back to the beginning to then do the cutting.
This is so sad! My apologies!
The origin problem is solved: The plotter memorizes the origin, but it is shifted if I delete the outer line for plotting the inner things with a pen. If everything including the outer line is plotted, then the origin from Inkscape is the same and the plotter cuts exactly the outer line.
I am struggling getting a decent HPGL output with that dashed line, working with Gemini since hours, without a real success.
Is there any program or script, that would convert the very simple SVG with a dashed line into hpgl with penup and pendown commands for the plotter?
If seamly would export a dashed line (which is a good idea!), would it be interpreted by inkcut as dashed line? If we save a simple rectangle with dashed lines in inkscape, it is still a full path in inkcut. Only if you export the lines as own objects it works. But lets the plotter cut a rectangle for every dash of the dashed line. Inkcut also does not seem to be able to import hpgl.
Best would be to have a feature in Inkcut to plot a path as dashed line. But I am not sure if someone will take that work to improve inkcut ![]()
Hmmmm. Mistakingly I thought the cutter would be recieving a dashed line as a series up pen down, cut, pen up, move, pen down, cut… etc. which seems like it would be really time consuming. and wjy I thought of a pen style with longer dashes. So it seems the default is to just cut the path, regardless of the linetype. So even if we were to make up a custom pen with longer dashes in Seamly. There’s still the same issue.
Well, best would be to be able to plot directly from Seamly, but that’s even less likely for the forseeable future. What seems more likely is to have Seamly export paths broken up into a series of paths seperated by gaps which would become your pen up / pen down points. What I envision is being able to define the length of each (dash) path segment and gap.
Yes that would be definetly great!
To give it a try, I have opened a Github issue / feature request for Inkcut also:
So in principle I am fairly fine with that new plotter, plotting works and I do not have to fiddle around with dried printheads / cardridges anymore, as the simple pen there will live forever and is cheap to replace.
But as these machines cut so well, you get triggered to achieve more and handle things more efficiently.
Next thing to do is to get this cheap hardware accessible over the network, as I work in the attic and the plotter is in the basement, 3 stories for every look…
Does anyone know a nice Raspberry project to get this done?
A friend uses virtualhere, but that is not open source.
Gemini proposed USB/IP, which seems to do the trick and I would try it out, if no one has a better proposal.
The old HP Plotter from 1994 alredy had a 10MBit Ethernet interface ![]()
![]()
No doubt. Of course you will need to replace the pen occasionaly, but it’s not like replacing ink carts or cleaning print heads.
WiFi / Bluetooth has really made me lazy… I just send stuff from my laptop(s) to one of my printers through the WiFi… and the printers are in the same room. ![]()
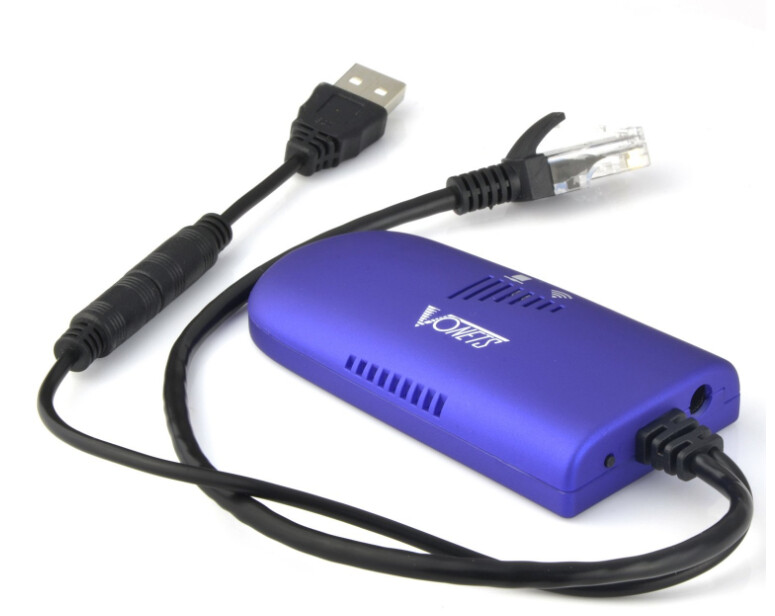
You just need a wireless WiFi USB or Ethernet to USB adaptor. Of course with WiFi mileage will vary depending on the adaptor and signal strength, where if you already have the Ethernet, I’d just go with an Ethernet to USB adaptor… something like:
Okay, as I have an old Raspi 2 nearby, I will try it with USB/IP. Need to install a new Raspbian first, as the old wheezy installation (last Login 2017 ![]() ) runs, but is partly corrupt.
) runs, but is partly corrupt.
Will see if this works out.
If not, such a thing will be ordered.
I have good news today: I persuaded my son to try to implement a perforating cut feature in Inkcut.
He is great at C#, and has only basic knowledge of python. But with the help of Claude, he implemented an Inkcut Filter to add this feature, and it works!
Test System is my Linux MX machine with Inkcut installed in a virtual environment. It works like a charme there. Unfortunately, it crashes on his Windows Machine at the time he activates the filter.
So if anyone is curious and wants to try it out, please let me know. It is only copying one file to the filter directory of Inkcut and replace two other files. No new installation needed.
We made a short test video so you can see how it works:

So if we have some positive feedback that it also works elsewhere, I would like to ask the maintainers to implement it into the official Github. Need to figure out how that works and if there are restrictions if your code is AI generated.
Talking about workflows, it would be great if Seamly would have an Option to separate the outer line (for cutting) from the remainder. So the workflow would be:
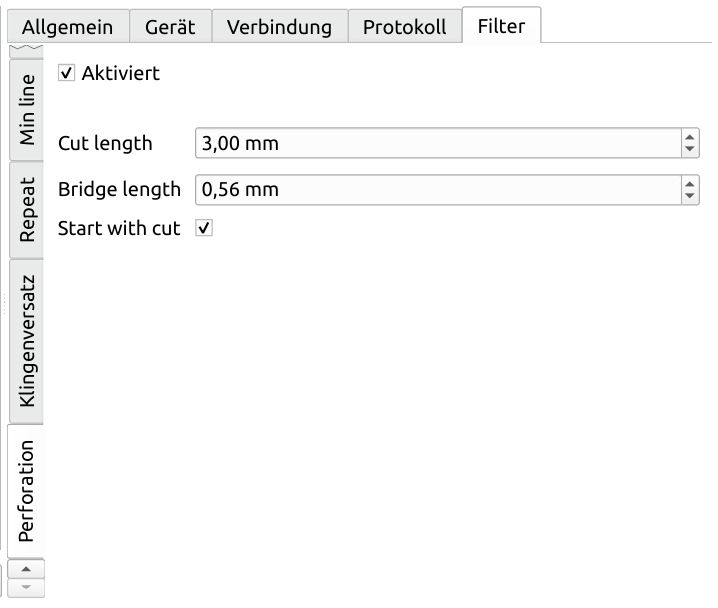
The filter has the option of configuring the cut and the bridge length:
So really great how capable AI is nowadays.
Would love to have your thoughts on this!
If you want to try it out:
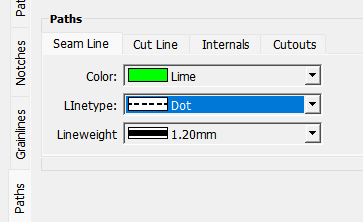
Most plotter software can cut according to the color. Thats’ why I added colors to the pieces / layout so you can decide which parts are cut and which are not based on the color. Obviously you wouldn’t want to be cutting the seam line, grainlines, labels or internals like darts.
Ah okay, didn’t dive into that, but will try it out.
Thanks for pointing out!
Digged a bit into that.
Inkcut does not plot according to colors, but according to layers.
But the different colors can be shifted into different layers in inkscape.
So one more step necessary to arrange the outlines in 2 layers, one layer for all the inner parts including text, one layer for the part to cut, the outline path.
We now have a fork on Github of the Perforating cut feature: Github
I plan to make a short video on the whole workflow from Seamly to Inkscape to Inkcut to explain this.
Need to dig into screencasting first ![]()
Thank you very much and well done, @Buggi
I think many people will appreciate it. ![]()
Thank you Grace!
Here the text version as memorizer:
Done!