Welcome to Seamly! Don’t worry, many of us – certainly me – started in a very similar spot.
(ETA: Grace’s response, below mine, is probably more helpful.)
First, the counterclockwise thing is the first step of the second (third?) stage of drafting, so it doesn’t matter quite yet.
Is it too much to assume that you have already established a measurement file using SeamlyMe? If not, that’s your first step. Go to the Measurements menu & Open SeamlyMe (or you could open it directly from the finder/file explorer if you’re not using the linux AppImage.)
Okay, assuming that you do have a measurement file made-up. With your new pattern glowing with that big shiny A, go to the Measurements menu & Load Individual / Multisize. Use the dialog to navigate to the desired .smis or .smms & Open it.
Now your measurement file is linked to your draft. I recommend saving now.
Your drafting system is probably based on lines, even if only to focus on the points at the intersections of those lines, because we humans have trouble conceptualizing pure points. Computers, however, operate from the opposite direction: everything is made of points, as the mathematicians wish us to believe. Therefore in Seamly2D you must draft by points.
So, the first & preeminent tool is: Point - Length and Angle.
For instance, drafting directions for a skirt might say, “Draw a vertical line. Draw a line crossing is at the top for the waist. Draw a line crossing it at the distance from waist to hip…”
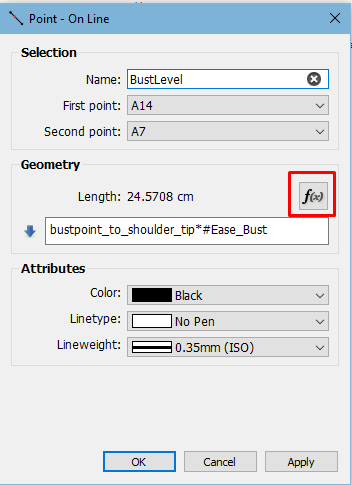
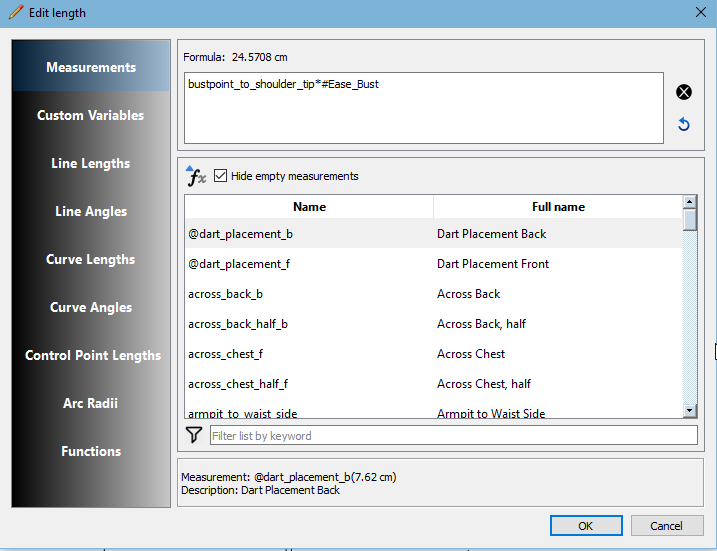
In Seamly you would use Point - Length and Angle to put a point (A1) at 270° & height_waist_side-height_hip from A, & again to put a point (A2) at 0° & waist_circ/4 from A, & again to put a point (A3) at 0° & hip_circ/4 from A1. (your formula are likely to be a little different, because a garment needs ease.)
I hope this helps you get on track!


