You don’t really need to duplicate the other side. You can add the changes, for the front, to the back and just do 2 pattern pieces, one for the back (the original piece) and one for the front using the bits added.
There’s 2 schools of thought… drafting each pattern piece as a block, or drafting multiple pieces on a single block. The advantage of drafting on a single block is you may have access to more tool variables than if drafted in seperate blocks. Due to the timeline nature… Block A can not access variables from Block B, but Block B has access to Block A.
Also depending on the drafting system pieces may be drafted side by side or overlayed. From my experience jacket / bodice fronts & backs are drafted side by side, where 2 part sleeves and pants are often drafted overlayed.
I have nothing to add, but I do want to bring out a point that I believe needs highlighting: experiment. Try multiple methods to see what works, & what suits you. Of course, asking about best practices before you start is an excellent idea, but the answer partly depends on which system you are using.
Drafting all on one block is safest, but it does end up with some mighty big numbers!
Question 1) How to use Tools - Details Tool to add front body pattern as detail?
I don’t know how the details tool is used. Maybe there is another way.
I don’t know If Grace used Details Tool.
Question 2) How to add a different zero point to start to draw a arm pattern on the same pattern block?
No, I only added some things to the existing draft. You only use the Details Tool when you are creating your pattern piece.
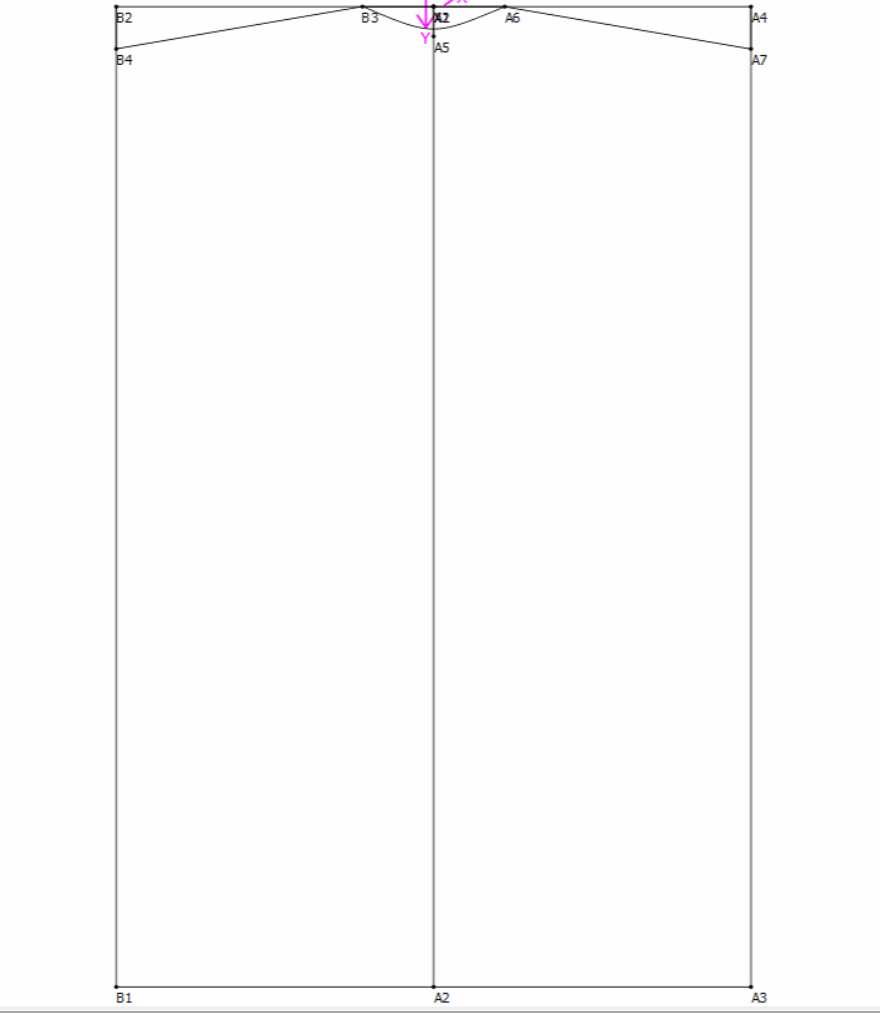
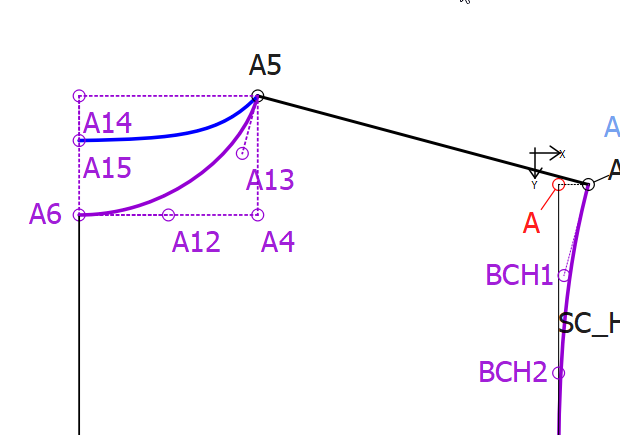
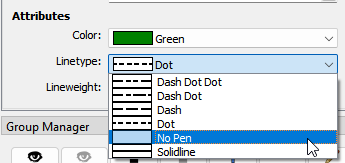
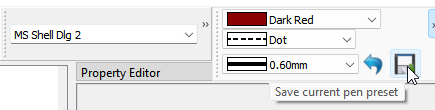
Use the Point - at Line and Angle tool to place a point at the spot where you’d like to start your 2nd draft piece. Change the Label to B or C or whatever. If you don’t want to see the line, then you can set the Linetype to No Pen.
@optimusprime93
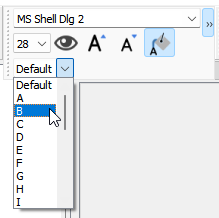
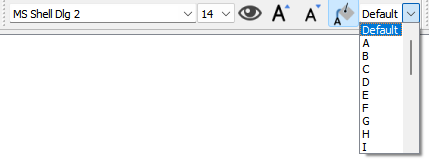
Thanks to @Evans, You can change the basename for new points by selecting A-Z or creating your own in the combobox on the Point name Toolbar:
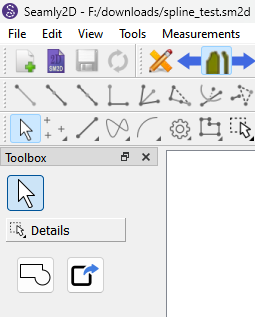
There are Details → tools in the Toolbox… not a Details tool. Once you go to Piece mode the only tools in the Toolbox are Details tools. Currently the only 2 tools are the Union tool, and the Export tool.