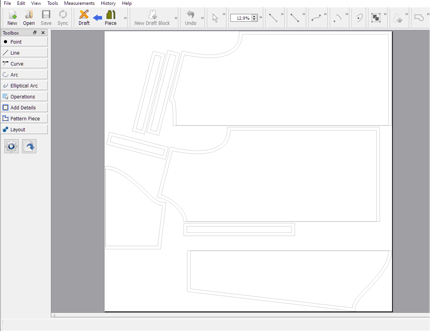
I am at the point of creating a layout and I want to create a tiled pdf and boy this is difficult. I have read through the information available and watched a couple of videos. I have tried different paper sizes to optimize the lay out but it does not seem to be an optimal process. I am trying to print on A4 and no matter what I do, I cannot seem to optimize the use of the paper. Once I get a layout and export to a pdf, I can see in adobe reader that that if my layout could shift the pattern pieces laterally, I could print them out on fewer pieces. But I cannot seem to accomplish this. Is there a way to do this? Is there a work around by saving an an svg file then printing from there? This just seems to be a problematic area. Am I missing something? Is there work being done in this area? optimally, I can imagine in my mind, choosing a page size, or a tiled layout seeing a representation of that overlaid or underlaid in the pattern layout, and then be able to move the pattern pieces into the most optimal positions for printing.
If you print to a tiled PDF there is nothing we can do… at that pount it’s out of the realm of Seamly2D.
That being said. I would agree that work could be done on printing / plotting from WITHIN Seamly2D to be able to optimise, or rather NOT print blank pages.
hey @Ttailor,
Yes we know it’s counter intuitive. sorry about that for now 
Basically, create a BIG layout file, then go through the options to cut that image into tiles that will print on your dektop printer:
Summary:
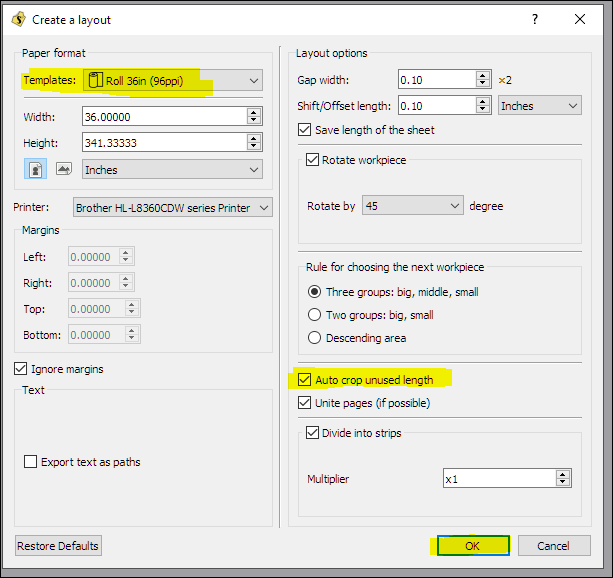
- Create a BIG layout that can contain all your pattern pieces by selecting Roll paper 36" & check the Autocrop length option
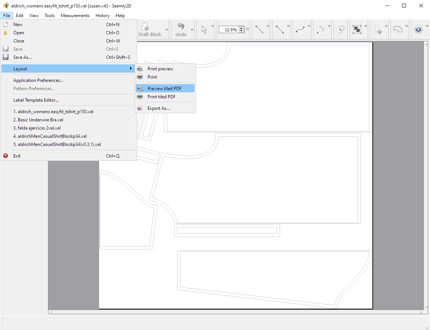
- Select File/Layout/Preview Tiled PDF
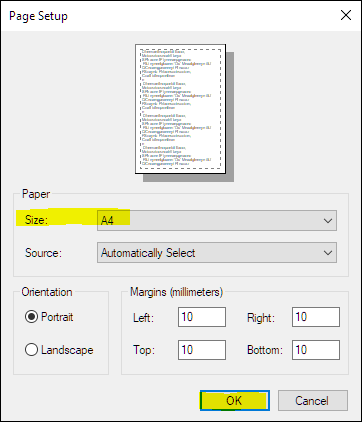
- Click Page Setup icon & choose your desktop printer’s paper size (typically “A4”, in USA select “Letter”.). Click OK.
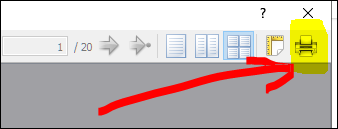
- Click Printer icon to print.
Details:
Step1: Create your BIG layout image.
- Choose a fake “paper” size that’s big enough to hold all of your pattern pieces. Obviously, A4 is much too small to hold your entire pattern.
- So I always choose Roll paper 36" wide and check the box to Autocrop unused paper length.
- This BIG layout image will be chopped or “tiled” into smaller bits later.
- Click on “OK” to generate the BIG layout image.
This is my BIG layout image:
Step 2: Cut the BIG layout into small bits or “tiles”
- Click “File”, “Layout”, “Preview Tiled PDF”
The popup window will display a single tile:
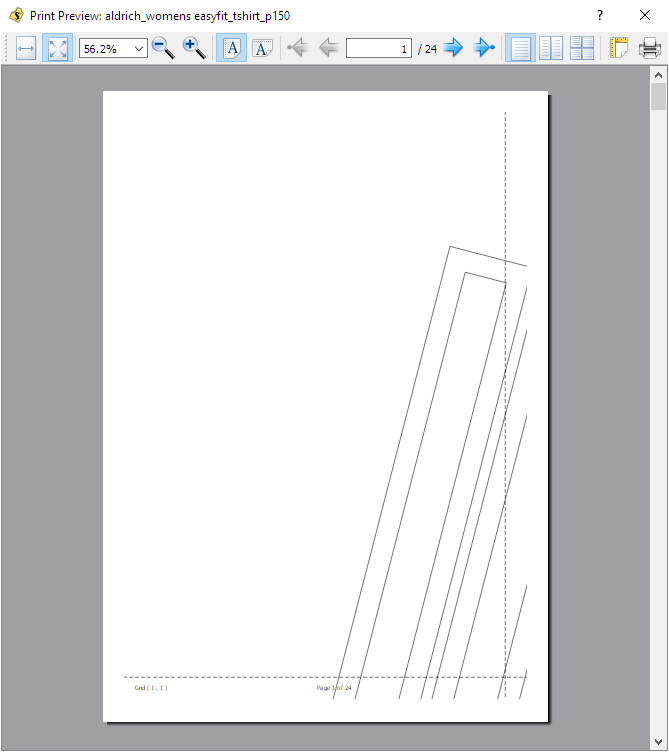
- To view all the tiles, change to multi-tile view via the “Multi-Tile” icon.
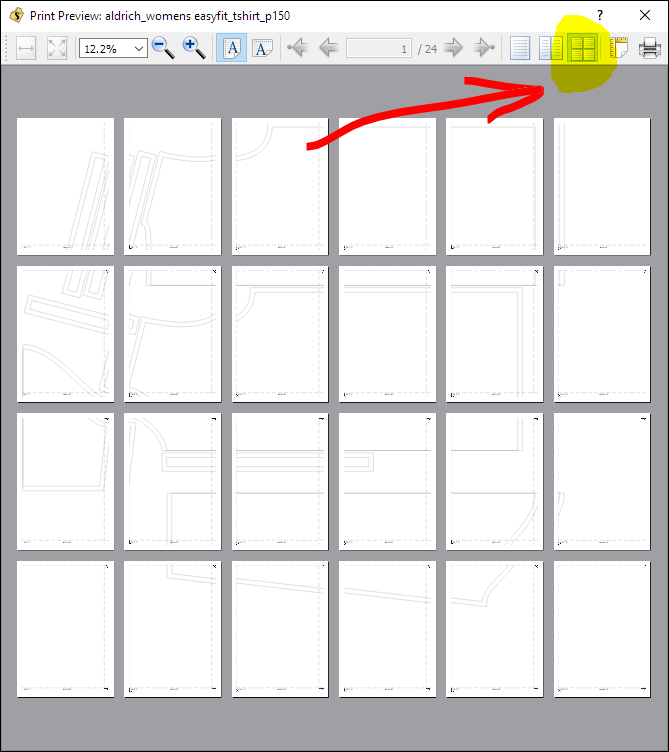 The display will show as many tiles as it can in each row, so the display’s rows & columns DON’T USUALLY MATCH the rows & columns of your tiled layout. Except in this example where the rows & columns of the display DO MATCH & you can recognize the layout image in the tile display popup. This is rare, don’t count on it happening often. This step isn’t necessary but I like to see all the tiles.
Step 3: Select your desktop printer’s paper size via the “Page Setup” icon.
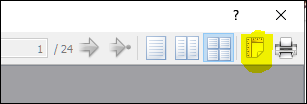
- Typically select “A4”, in USA select “Letter”.
- Note: the “Landscape” option doesn’t work as it should. Just leave it at “Portrait”.
Step 4: Print it
Click on the Printer icon.
Ok, yes, that makes sense. Pdf is not your realm! When you make a layout and choose A4 paper, because you do want to print on A4, you cannot make a layout because you get an error message telling you that some of your pieces are larger than that paper size. So you keep going through the paper sizes. but using file / layout/ preview tiled I get the pattern placed on pages 4-6 and 11-13 rather than grouping them in what would be a more logical position.
sorry slspencer I think I posted before or as your reply came through. I will read through it.
Okay, That seemed to work much better using the same settings as you had in the example include gap offset and rotate piece at 45. I am working on a child’s size bodice pattern and it is now showing 5 pages with pattern and one blank. it at least looks like it should. thanks.
@Ttailor Yes, exactly 
Would it be worth starting/resurrecting a thread to discuss how the Layout view ought to work? Or are too many things higher priority at the moment, since it is somewhat usable?
i’m not sure what to say here regarding the technical side of things, as I don’t know how to help or what you guys are dealing with overall. I would be happy to chime in and discuss it.
I appreciate the help!
When printing a tiled PDF, there are often blank pages and even pages with a small amount of detail. You can choose to not print these pages by selecting the page ranges. Like “3-10.” If there are pages you want to print in the middle of a page run, you will have to run the print again to get those page ranges. If there is a small amount of detail in a page corner, I usually just skip it then cut a piece of paper to tape in and draw the detail in.
It is also generally possible to print out a comma delimited list of pages. So you could print 2, 4, 5, 7, 8 or 3-5, 8-10. At least, I’m pretty sure it’s normal in more than just Linux.
Yes, my ageing memory said you could do multiple delimited runs, but not so with my Windows 10. Tried it first before posting. Maybe my recall was for the old Mac PowerPc. Of course it might be what the printer drivers dictate ?
IMO a topic is always worthy of discussion… as I get older though it’s a matter if I can remember what was discussed. Lol
That being said… a “tiled PDF” as the OP refers to is a separate issue from creating a layout.
