I gave it a look. I could well be missing something, but I don’t see any problems on the drafting side. I think it’s a bug, probably having something to do with the way the curves interact.
I do think that if you want the Jacket to fit a range of sizes, more of your formulae will need to be updated to equations with variables, not numbers.
@Douglas will be by some time with further enlightenment.
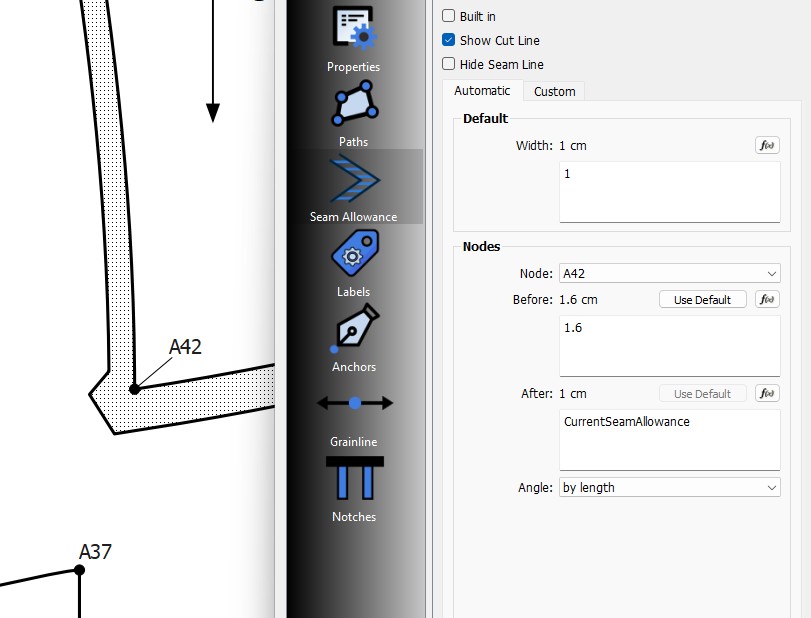
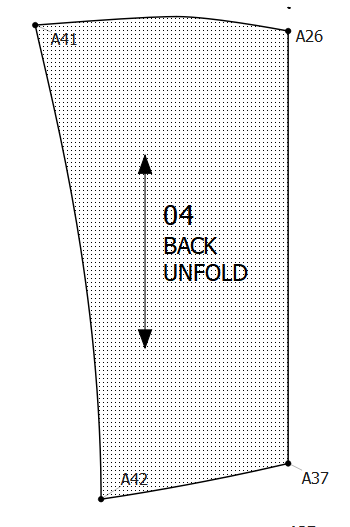
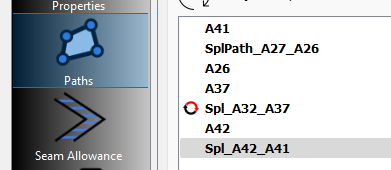
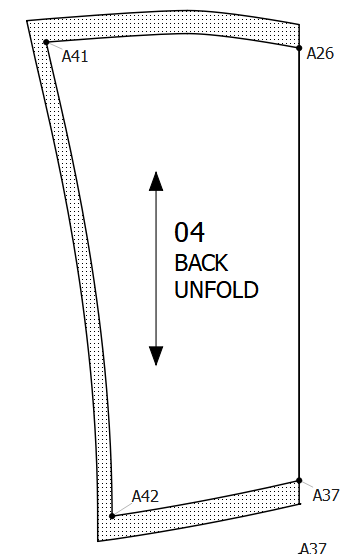
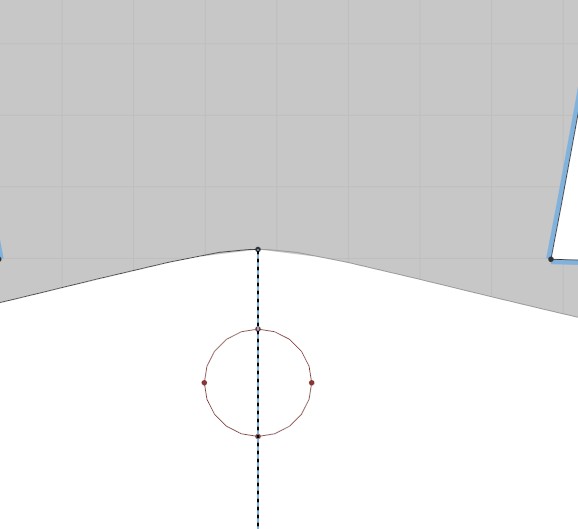
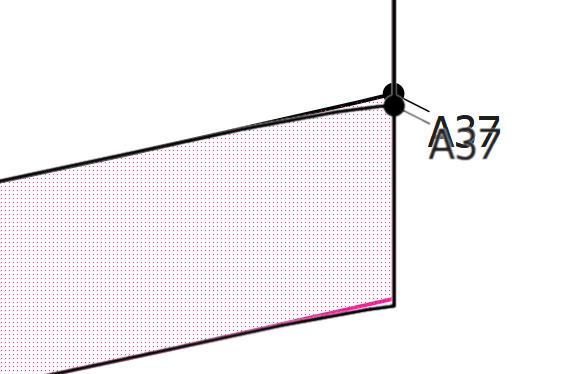
Why the control point at A37 is affecting the SA is a bit of mystery to me, but I suspect it has to do with the curve is reversed and / or point A42 is a point ON the curve, not an endpoint.
Note:
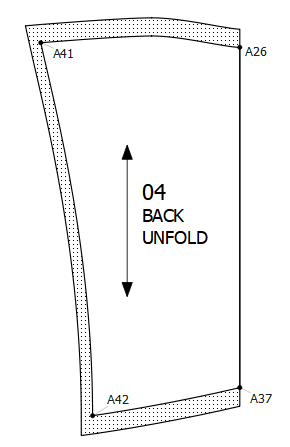
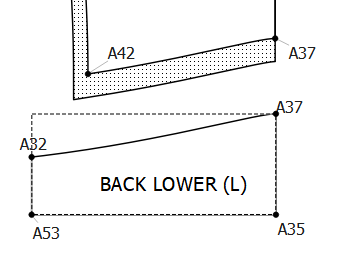
Since I’m going to assume that seam A42 to A37 is to match the Back Lower piece?
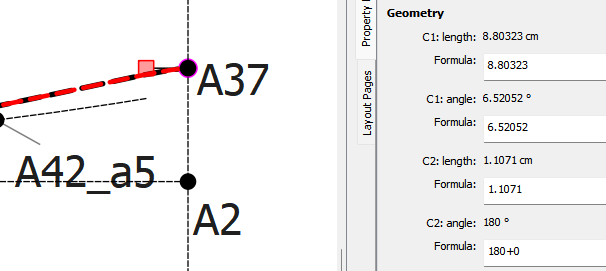
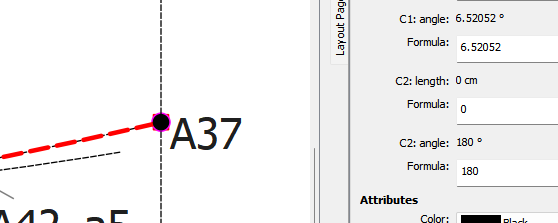
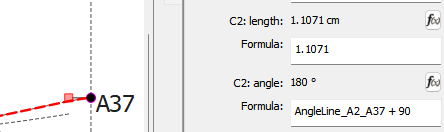
It’s unneccesary for the seam A42 to A37 to be perpendicular to A26 to A37. What matters is that the angles at A37 of the 2 pieces add up to 180. The same can be said for the seam at the top. The length of the control point at A26 can also be 0.0.
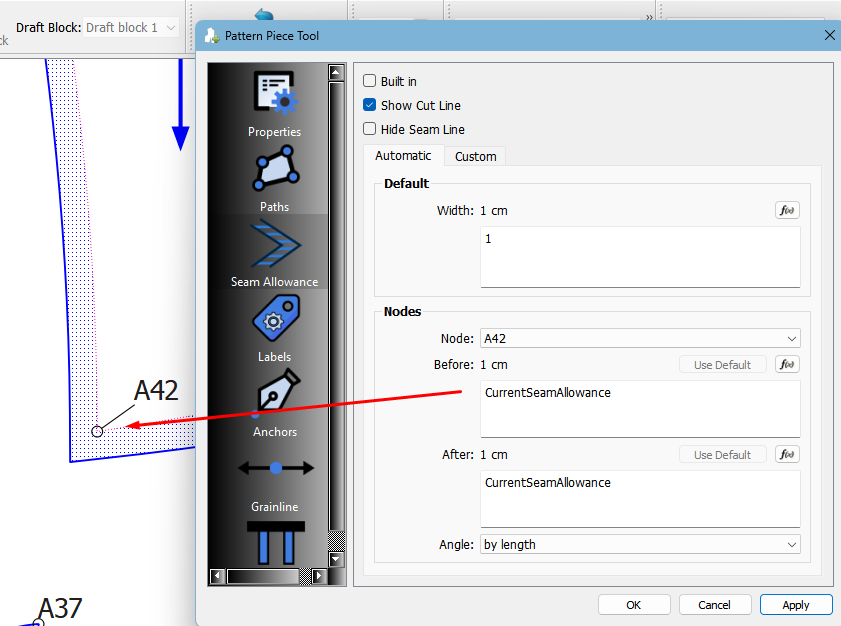
Thanks, this solves it. I just need to adjust the control point length at A37 a bit.
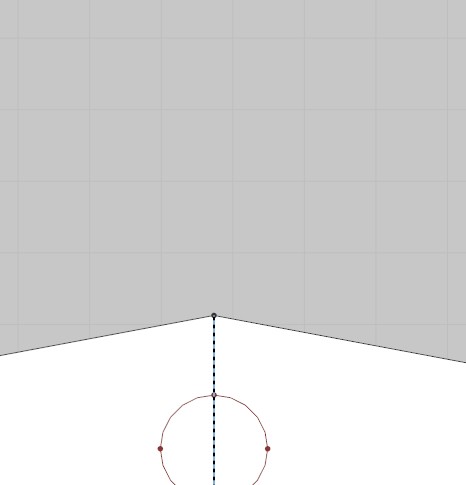
BTW… 180 + 0 is not redundant for me. It prevents the angle to change when I manipulate the control length by hand. I purposely make it perpendicular to prevent a sharp pointy turn when than piece it unfolded, it is a matter of design choice.
With that short of length it’s not going to matter… especially if it’s getting stiched to a lower piece and the yoke. More than a foot away you’ll never see it. Heck you can hardly tell on the screen zoomed way in there’s a difference. The difference between the 1.1071cm and 0.0 CP length is about the width of a #18 sewing needle.
I wouldn’t call that subtle… IMO you’ll need a longer CP length than 1.1071. I’d try something more like 4-6cm. Which BTW also seems to solve the orginal problem.