So I’ve drafted a dress, but I’m not sure how to organize the pattern pieces in a way that will all nicely fit on a 44" wide fabric, especially with one of the pieces being a semi-circle skirt. How do you guys make pattern layouts that will fit a given width? Also, how would you divide the semi-circle skirt pattern into the least amount of sub-pieces that still fit a 44" wide fabric?
Other Issues:
I’m, for some reason, unable to incorporate the arcs in the Semi-Circle Skirt into a pattern piece. Other than that every pattern piece has been created, but the Sleeve pattern piece is supposed to have an empty hole in the middle for the arm, I used an internal path to add that but it doesn’t let me add seam allowance. Is there a different way I can get that circle-shaped hole in the middle?
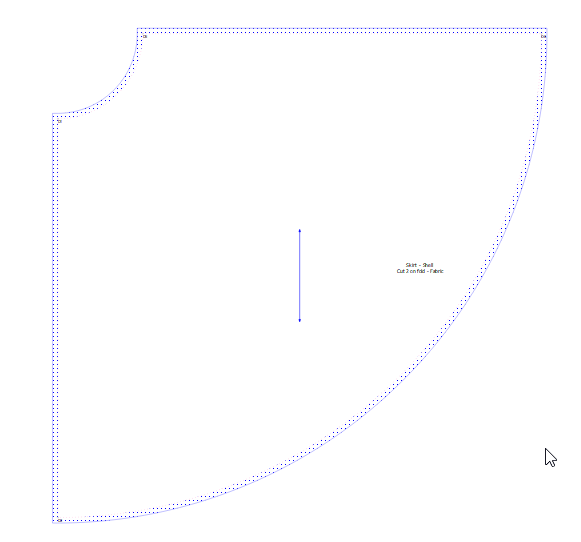
Also, the Pieces labeled lining and the pieces labeled shell will be on separate fabrics, and the semi-circle skirt is supposed to be on the shell fabric.
If anything I said didn’t make sense, please let me know and I will clarify. Any help, even a sentence or two is greatly appreciated!
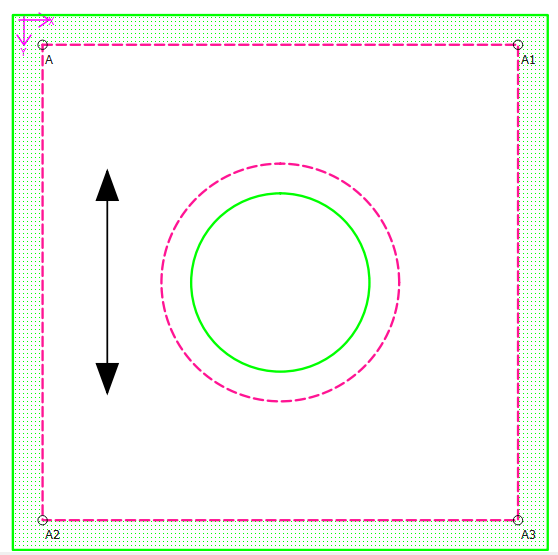
Starting with the short answer, I think @Douglas is busy working on updating the internal paths, so a SA on them may be coming soon. In the meantime, you can offset another circle in the middle of the circle armhole, at the distance of the SA, and add it as another internal path with a solid line to indicate that it’s the cut line.
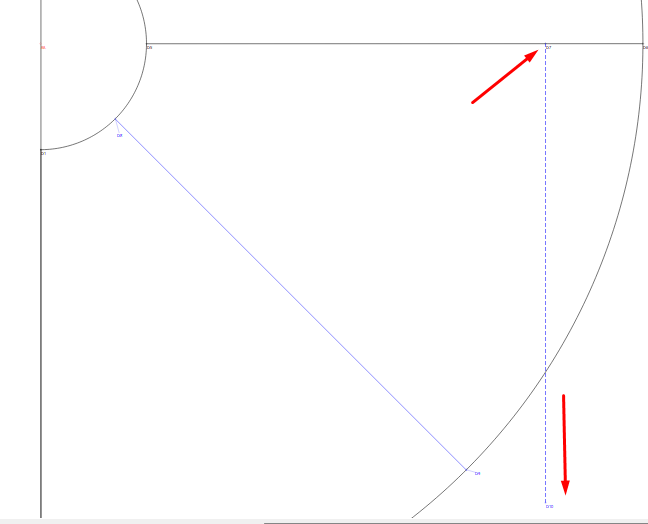
I didn’t have any problems creating the skirt piece using the arcs. Just remember that the waist arc is going in the correct direction (clockwise), while the hem arc needs to be reversed, so you need to hold down the shift key when selecting it.
Now for the big one… There’s no way you can fit the skirt onto 44" fabric unless you want to have seams in places where I’m sure you don’t want them. The only way is to make more panels and have the seams going straight from the waist to the hem. I’d suggest 4 panels - 2 for the front and 2 for the back:
Some things to consider before you cut your fabric…
Remember that the distance from the waist to the hem at the back and the sides is normally longer than in the front because the hips and buttocks are normally more curvy. If you would like the hemline to be parallel to the floor, I’d suggest that you use proper measurements for the front, side and back lengths and do proper splines instead of arcs.
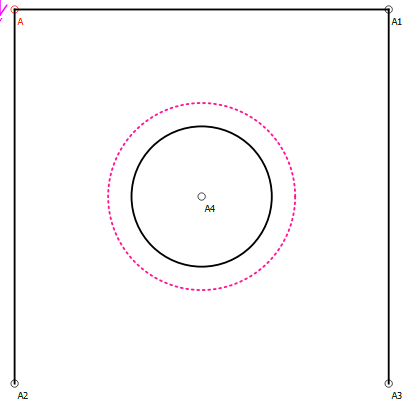
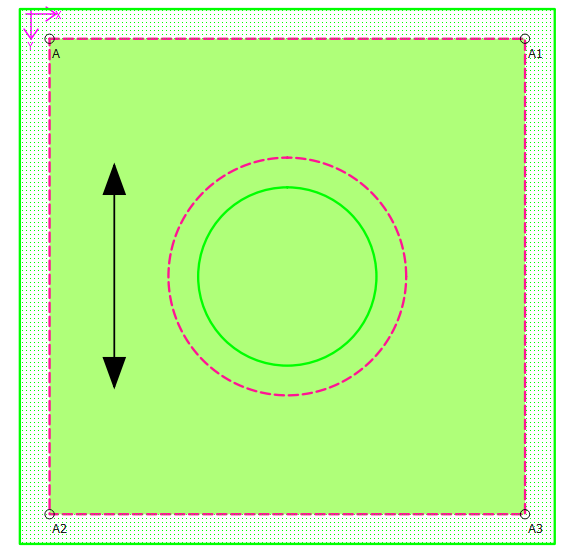
You can use 2 arcs (0-360deg) with one radius 1/2 the dia of your seam line, the other radius being that radius minus your seam allowance width. Here’s just a sqaure with a circle in the middle:
And yes… the sleeve flounce is a perfect example of why we need cutouts with SA. We used to make some 18th century dresses at my costume shop that had a square flounce at the end of the sleeves.
Yes… I’ve been working on the Internal path tool, and have thought about adding “cutouts” to it… but it’s not going to be for a while. I’m starting to work on the Marker feature. We can work around the cutouts for now, even though there are some things that don’t work quite right for cutouts to truly work, Cutout paths have to be combined with the Main path or we get this:
Where the center hole should be white, and the cutout seam allowance the same fill as the rest of the piece SA.
The other issue with implementing cutouts is the same issue as displaying a seam line with the “built in” SA… where a path has to be calculated “inside” a (main) path rather than outside. Plus there’s the fact that an Internal path really can’t have SA… it has to be a Cutout with a closed path.
Thank you! Also, how did you come to this conclusion? What is your thinking process when trying to figure out the least amount of panels needed to still fit the fabric? I’m asking so that I’ll know how to make the decision, too, in the future.
How did you create this image? I see that those are the same pattern pieces from my file. Is it a different software or did you use Seamly 2D? It seems like it would be helpful to layout the pattern pieces into a working pattern!|
Ohh, that’s cool! Thank you for putting so much hard work into making Seamly 2D a better software! I’ll definitely use this advice until internal paths can have seam allowances!
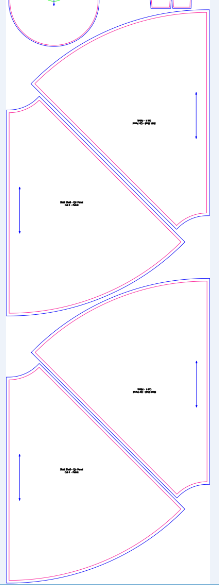
It was really very simple… 1st I put a point at 44" from the edge of the pattern piece to guide me. I’d already checked that the hemline was quite a bit longer than the width of the fabric.
Then I put a guide line downwards for a distance just so that I could visualize what to do next.
Then I thought… What would be the neatest way to do this and decided that a center seam would be the neatest, placed a point at 1/4 of the arc on both the waist & hem arc’s, checked that it fitted onto the 44" & drafted the pattern piece because I could see that it would fit comfortably into the 44":
As @Douglas said, you can’t use Seamly to turn pieces upside down or to flip them yet. I used Inkscape.
I exported the pattern pieces from piece mode in .svg format. I opened the .svg file using Inkscape and changed the size of page to 44" x 72" (2 yards). I copied the skirt panel and rotated it by 180° and dragged the 2 skirt panels to fit onto the page and, I’m afraid, I just dragged the other pieces anywhere & dragged the page longer so that everything was on the ‘fabric’. It was really just to show you how you could fit the pattern pieces onto your fabric as an idea. Like I said, I don’t know if your fabric has a pattern or a pile that will need the pieces to go in the same direction.
@Sue posted directions to a full circle skirt a few years ago. Here is one of them: