This is what is often referred to as a “proportinal” pattern, where the pattern is proportional to the chest (and waist). Systems like Crooborg’s Supreme system start off with the basic block with a proportional draft… but then you can apply direct measures or apply adjustments based on heght to refine the draft for a better fit. If you make a straight proportional draft it’s like “off the rack”, where as if you refine the pattern with direct measures it’s a “made to order”. In either case when a suit is made by a tailor it generally means there are fittings to make the suit fit. This also includes making alterations for things like drooping or sloped shoulders, etc.
Yup! Whenever I find an old tailors book online and check it, they are almost always calling their system a “proportional system.”
Based on what you’re saying, this domestic system is sort of a “proportional system, with a bit less details” -system, where you just have to use a bit more elbow grease to get a pattern out 
At the same time, I suppose that was just as well for your average rural tailor, who just made cheap suits and clothing for locals in a sort of a off-the-rack way.
I’m following your journey very closely and I think it will be an inspiration to others in the future, even, perhaps, 20 years from now. This is what the forum is all about… Sharing ideas, experiences and how to solve the problems.
So please don’t stop now. Let’s follow you to the end 
Haha, well I hope someone finds this useful!
I spent all day yesterday with pen and paper, trying to come up with a method to scale the collar in a different proportion to the the rest of the pattern, but still remain within reason and that would give me a proper size for the collar opening.
As most of the sizes use Variable “#Part” (which is essentially ((@ChestCircumference/2)+6)/54 from the instructions), I made a new variable #CollarPart. This is driven by a variable called #CollarFactor, which is just more or less arbitrary numbers that fit this particular pattern (perhaps others?).
So for example in size 48 the #Part returns value of 1 cm. I then have #CollarFactor with the formula “0,9645 - 0,385 x (#Part -1).” Here the 0,9645 sizes the #Part distance smaller and the 0,385 adjusts the rate at which the size changes when changing pattern size.
#CollarPart is then just simply driving a formula of #Part x #CollarFactor, resulting in 0,9645 in size 48. Essentially making the collar section ~96% of the instruction collar size.
In size 56 however the #Part is 1,14815 cm and the #CollarPart is only 1,0419.
This gives me the following measurements for the collar in the end (seam allowances are included in the actual measurements, here the length is just shown without it):
46 = 40 wanted → 40,08 calculated
48 = 41 wanted → 41,13 calculated
50 = 42 wanted → 42,13 calculated
52 = 43 wanted → 43,09 calculated
54 = 44 wanted → 44,00 calculated
56 = 45 wanted → 44,89 calculated
Since the collar shape is driven by a somewhat complicated set of guidelines, I couldn’t get these numbers to match exactly the rate no matter what I tried. So for now, I reckon this is close enough, since cutting + stretch are eventually going to mess up with this more than the calculated error margin gives me anyways.
Those that are more mathematically inclined can obviously comment on this calculation and I’m more than happy to try something else as well to get better results!
—
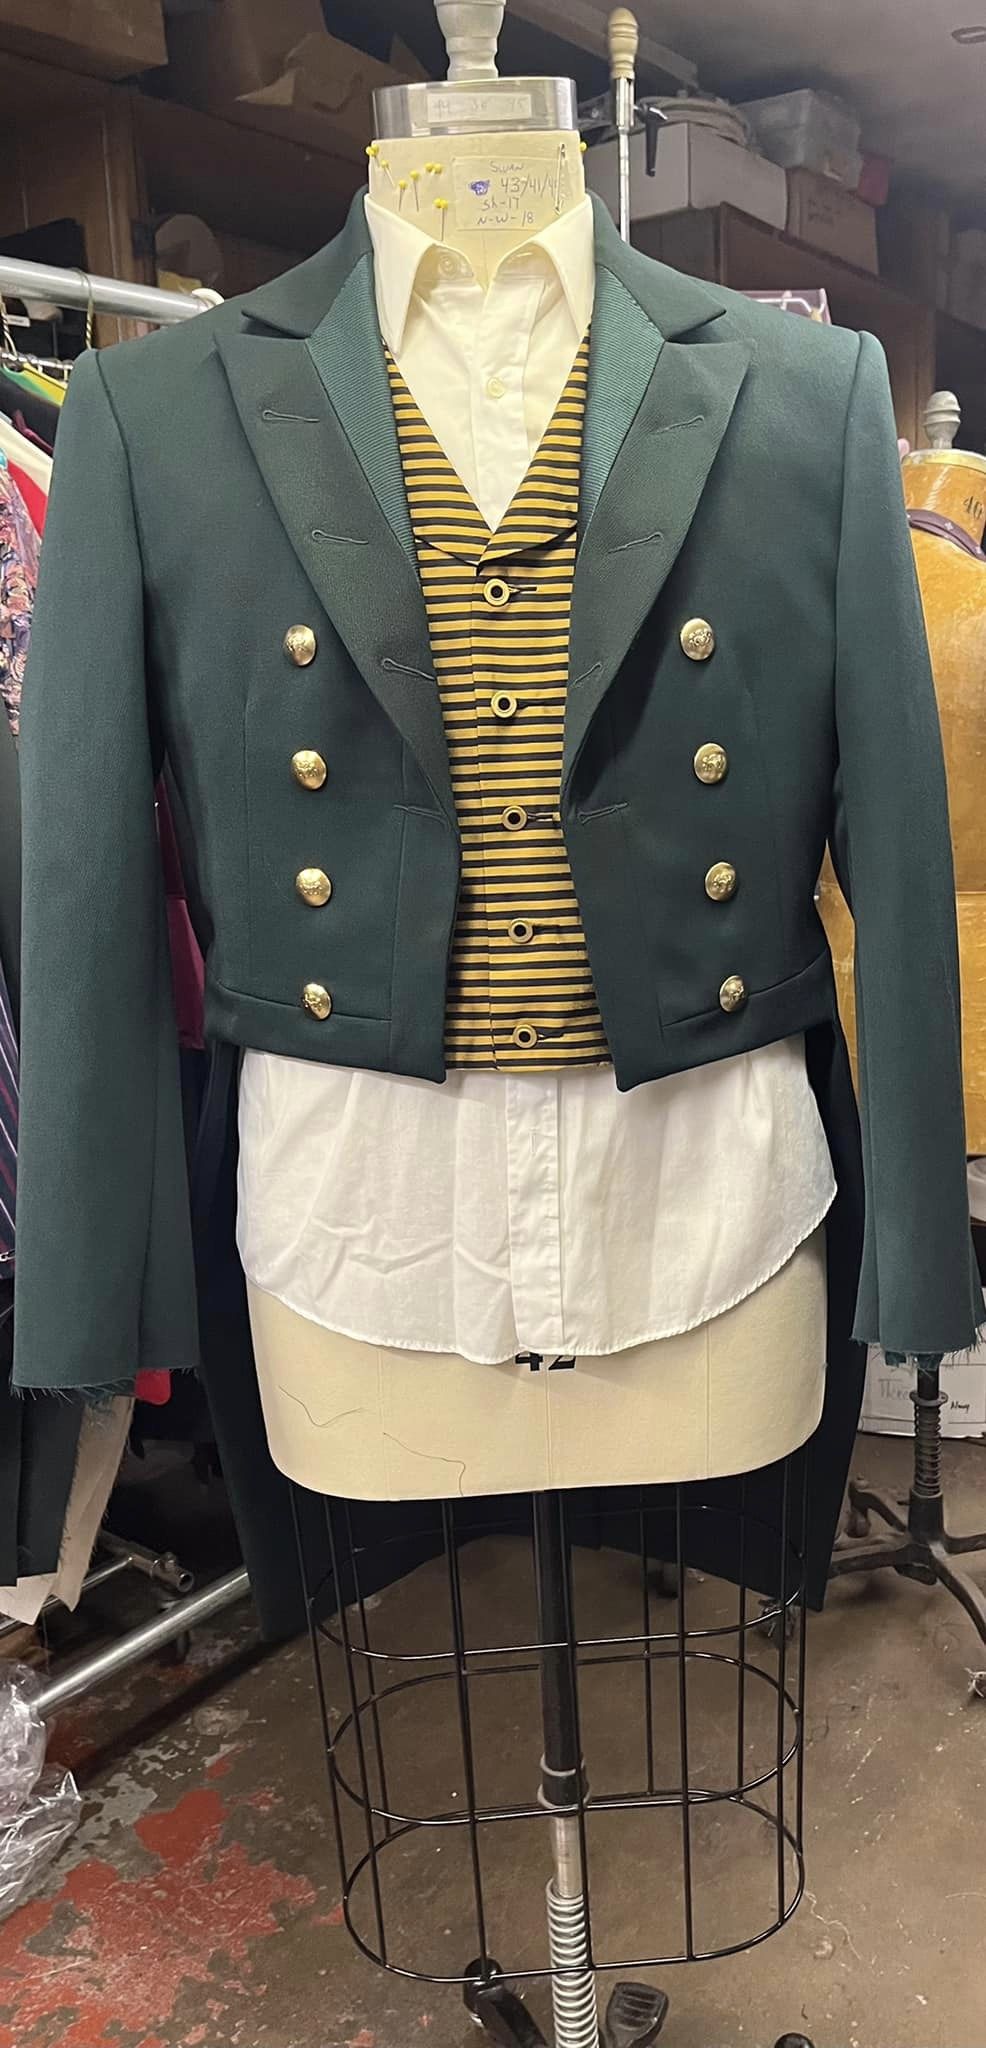
On another note, I am just slightly torn right now between having to add seam allowance to the collar or not. Unfortunately neither of the original jackets I’ve taken apart have their size stamps left, so I am not sure what sizes they are supposed to be originally. They’ve also obviously warped over their 80+ lifespan, so direct measurements off of them aren’t too reliable. They’ve also been sewn together by monkeys (seams go from anywhere from 0,5 cm to 1,5 cm wide, and they are cut all over the place with wobbly lines in some parts). Mass production issues, eh?
So I’ve tried t o compare the full back length and shoulder seam lengths but I just can’t tell anything about the sizing.
So right now I am slightly leaning towards adding 1 cm seam allowance on the collar and adding the collar to the cutline (or seam line in the right most piece). But it could also be that this was already calculated in the pattern. In either case, the collar length doesn’t really change as the shoulder seam allowance is there and just moves the spot where the collar should be sewn down in almost the exact same proportion.
Concidering that the full back length is supposed to be the same number as in the size table given, it would seem to me that there’s no collar allowance included in this drafting instruction and that I would need to add it to this.
Now I’ve got a whole lunch break to make a decision if I include it or not, then it’s off to preparing the first toile for tomorrow…